Connecting cables
It's important for all cable connections on your motorcycle, whether made with a connector or soldered, to be completely reliable.
There is a wide range of work performed on the two-wheeler that makes it necessary to make or renew cable connections. Examples include if you attach a high-steer handlebar to the motorbike, mount additional headlights or have to overhaul the wiring harness on a classic ride. Simply twisting the wires together a little and wrapping tape around them may work at first, but not for long. Anyone who has ever had to search for a short circuit on a dark country road, possibly in pouring rain, will see the importance in having more durable cable connections in the future.
Basically, there are two ways to connect cables professionally:
1. Plug-in connectors
2. Solder connections
Here, we'll show you how to do both without much effort. But first, the groundwork for all connections:
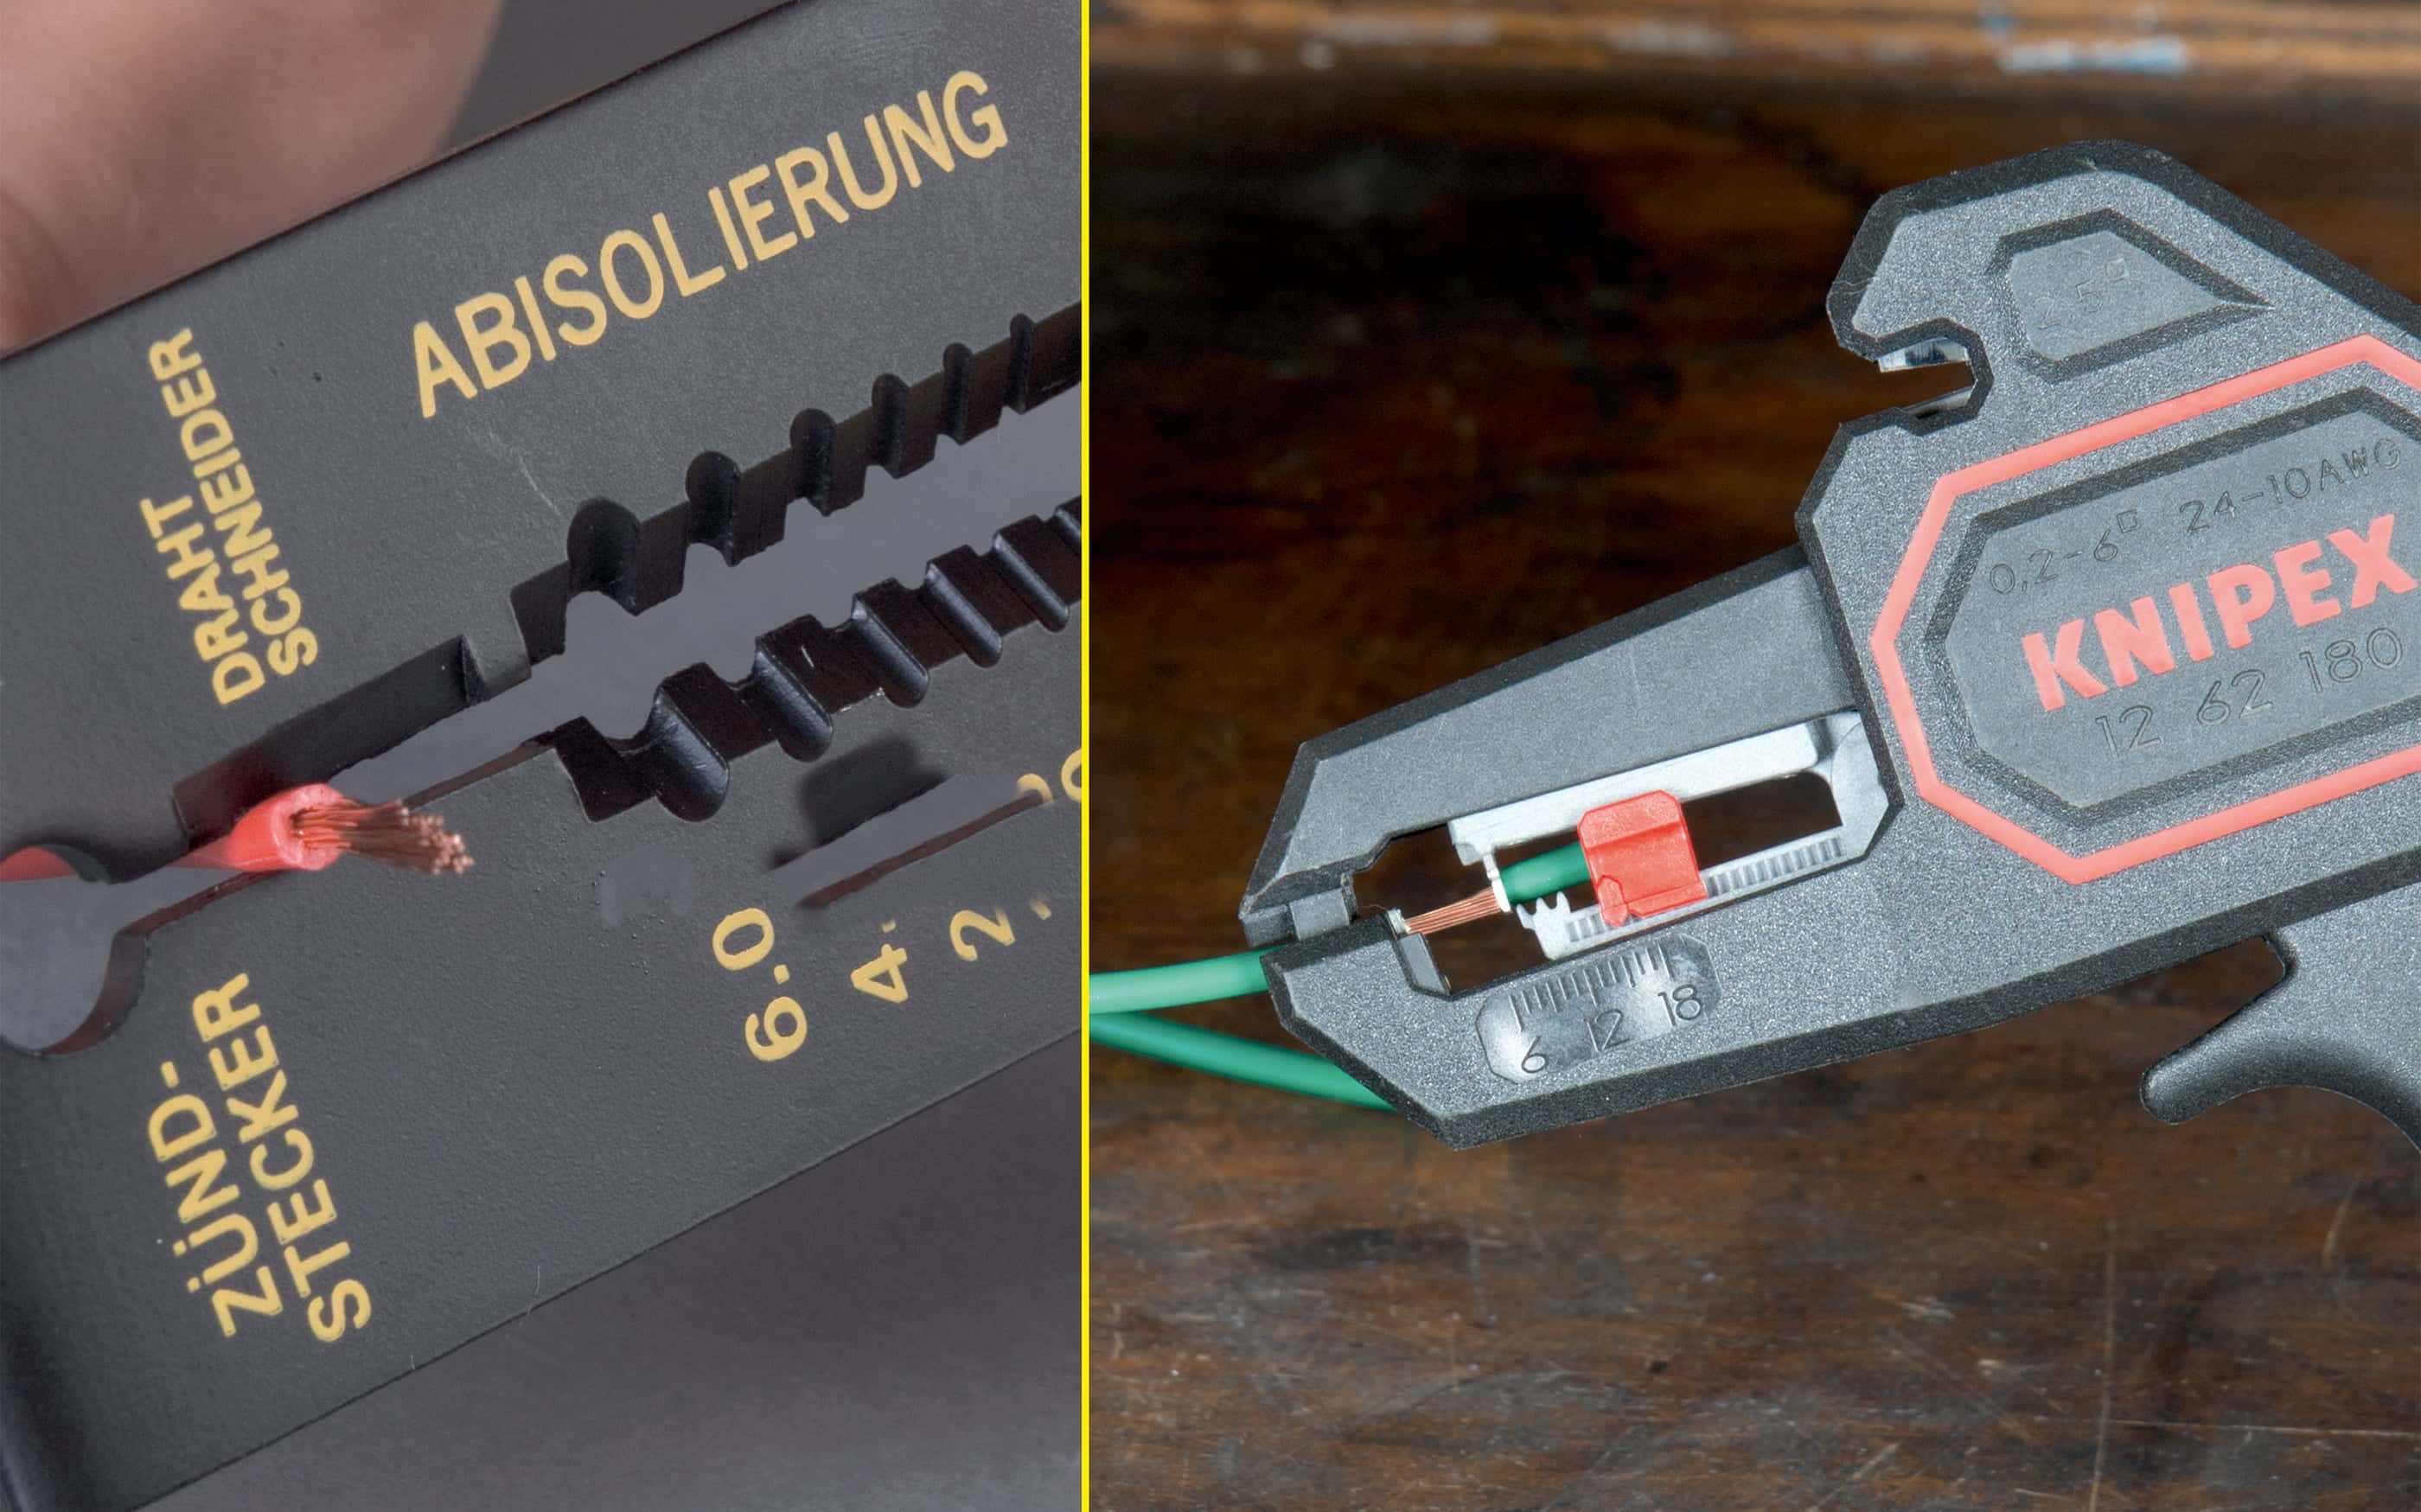
Cable connectors: An insulation stripper makes it easy to remove cable insulation
Remove cable insulation
Before you connect cables together, you first need to prepare them. That means stripping the cable core insulation. You can try doing this with a pocket knife, of course, but then you risk damaging the wires of cable core.
You can do a more professional job in less time using an insulation stripping tool. And the tidier result will make the subsequent connection that much easier, whichever of the following methods you choose.
1. Plug-in connectors
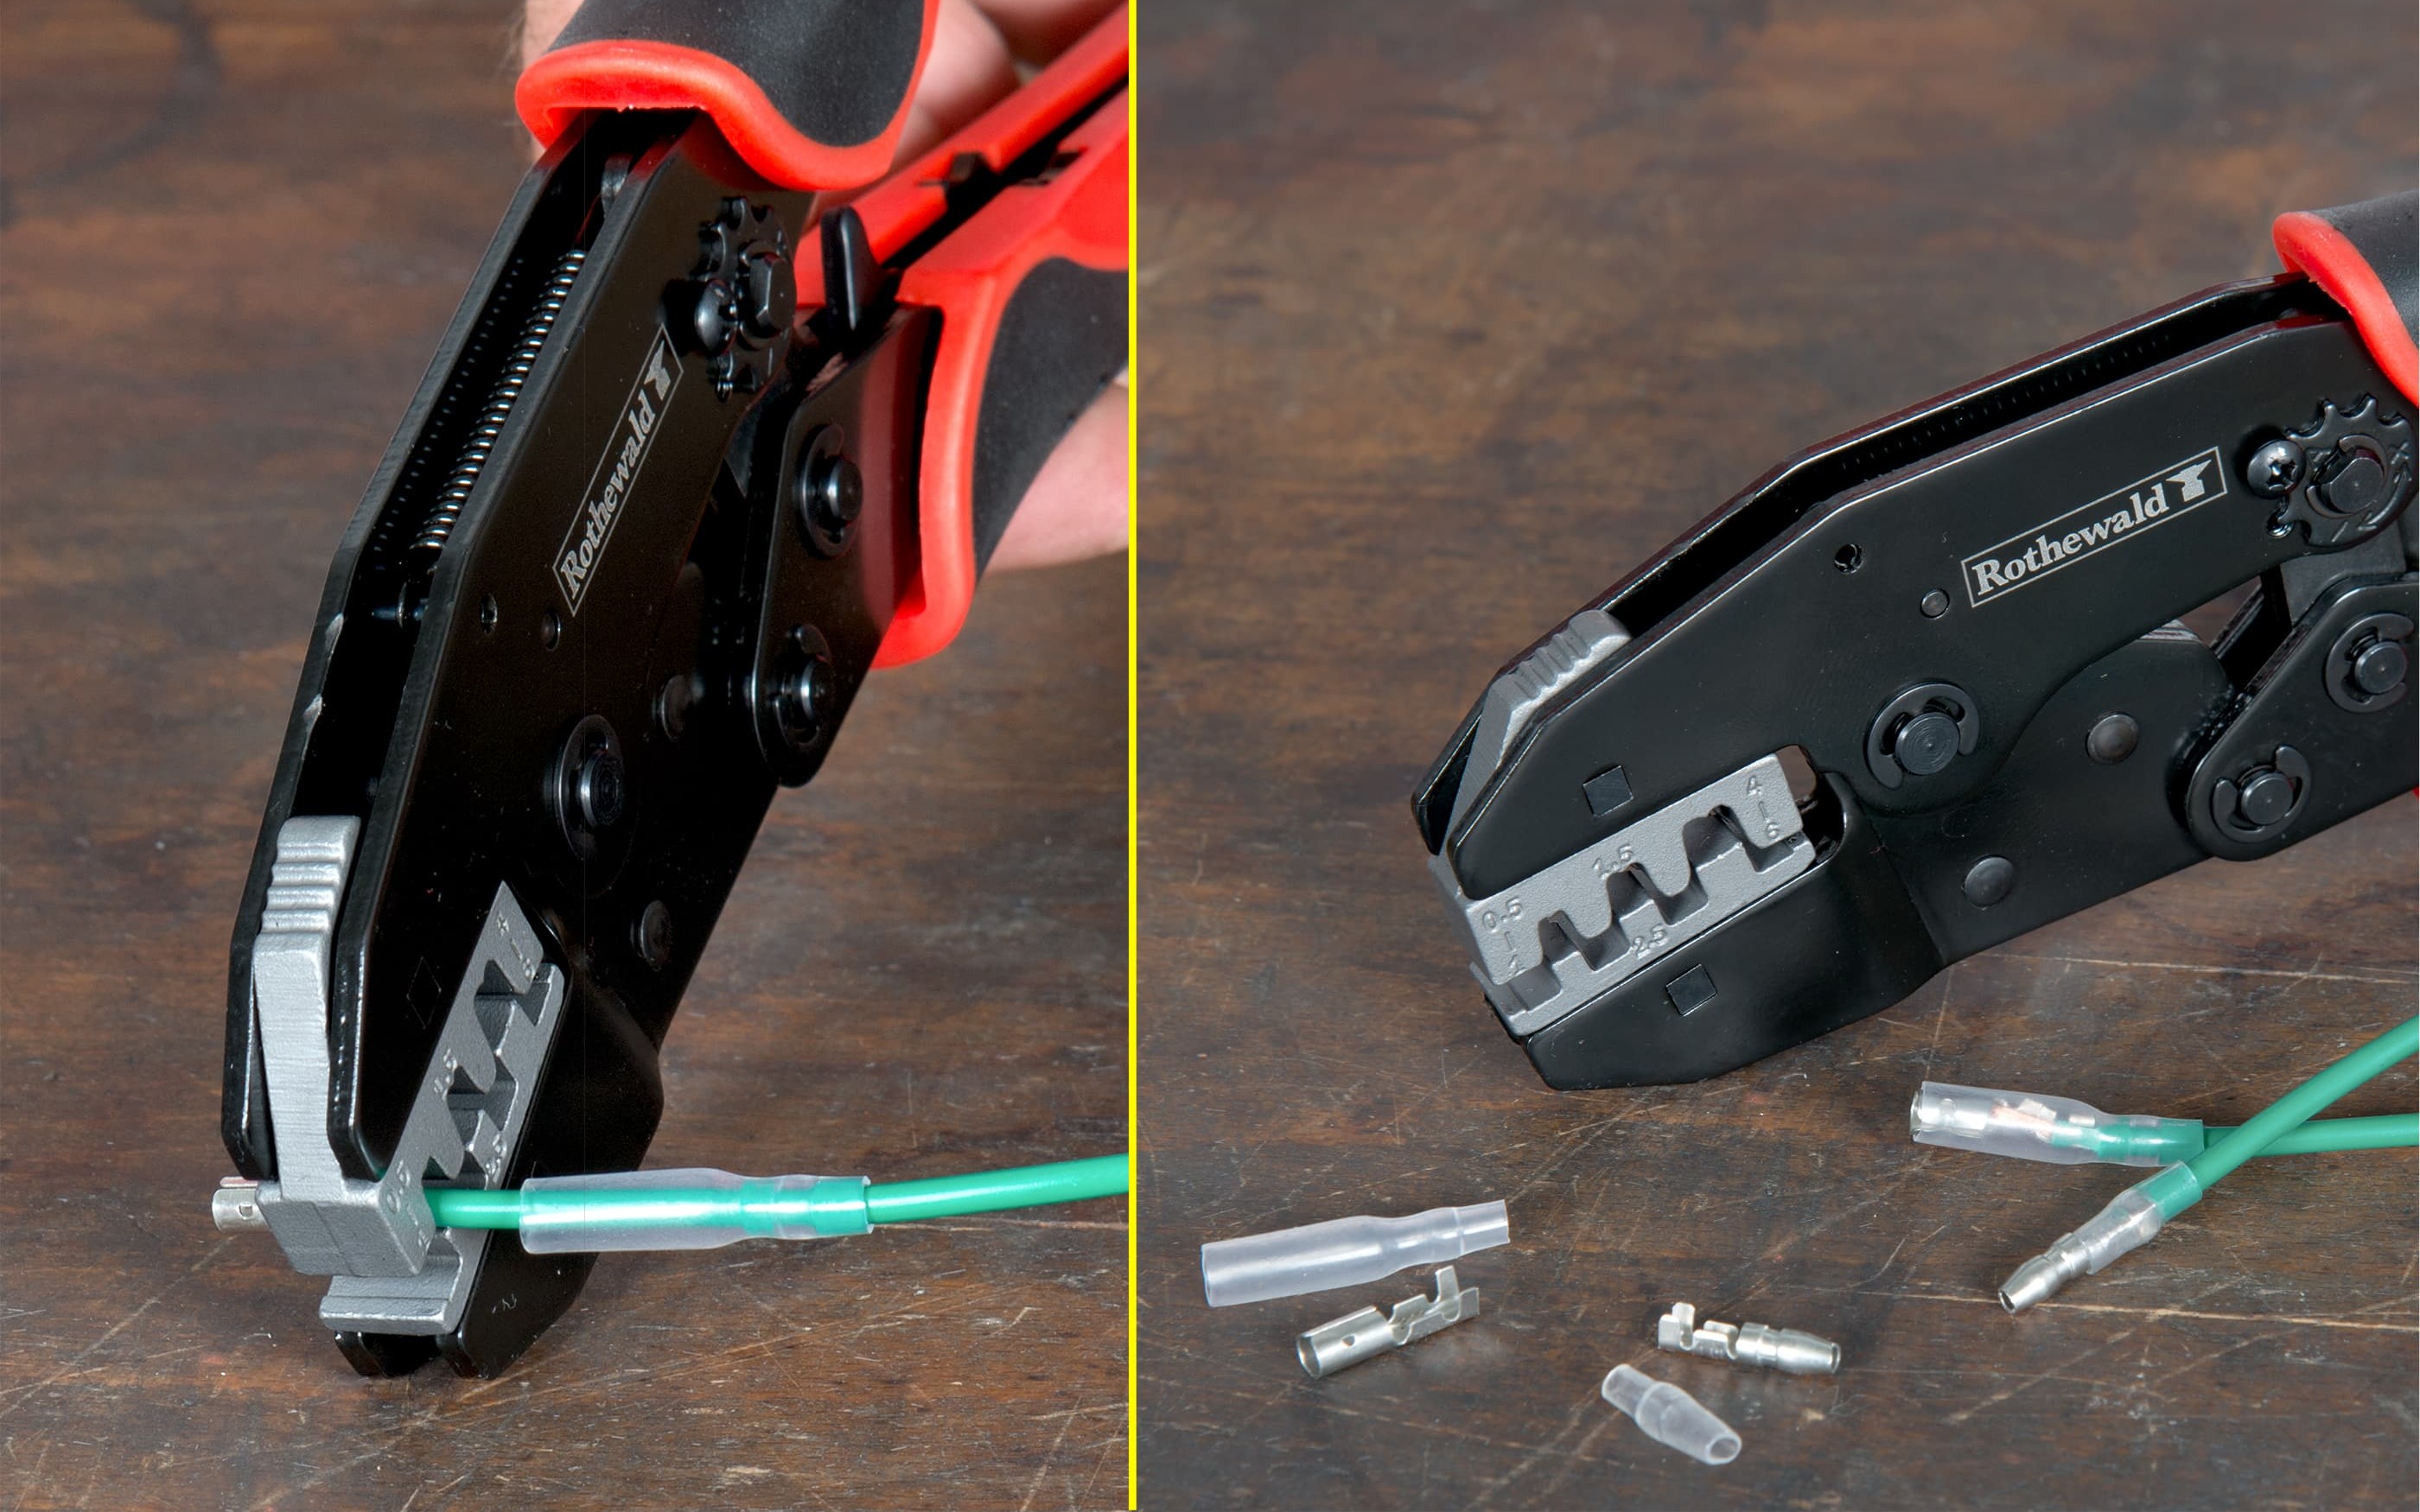
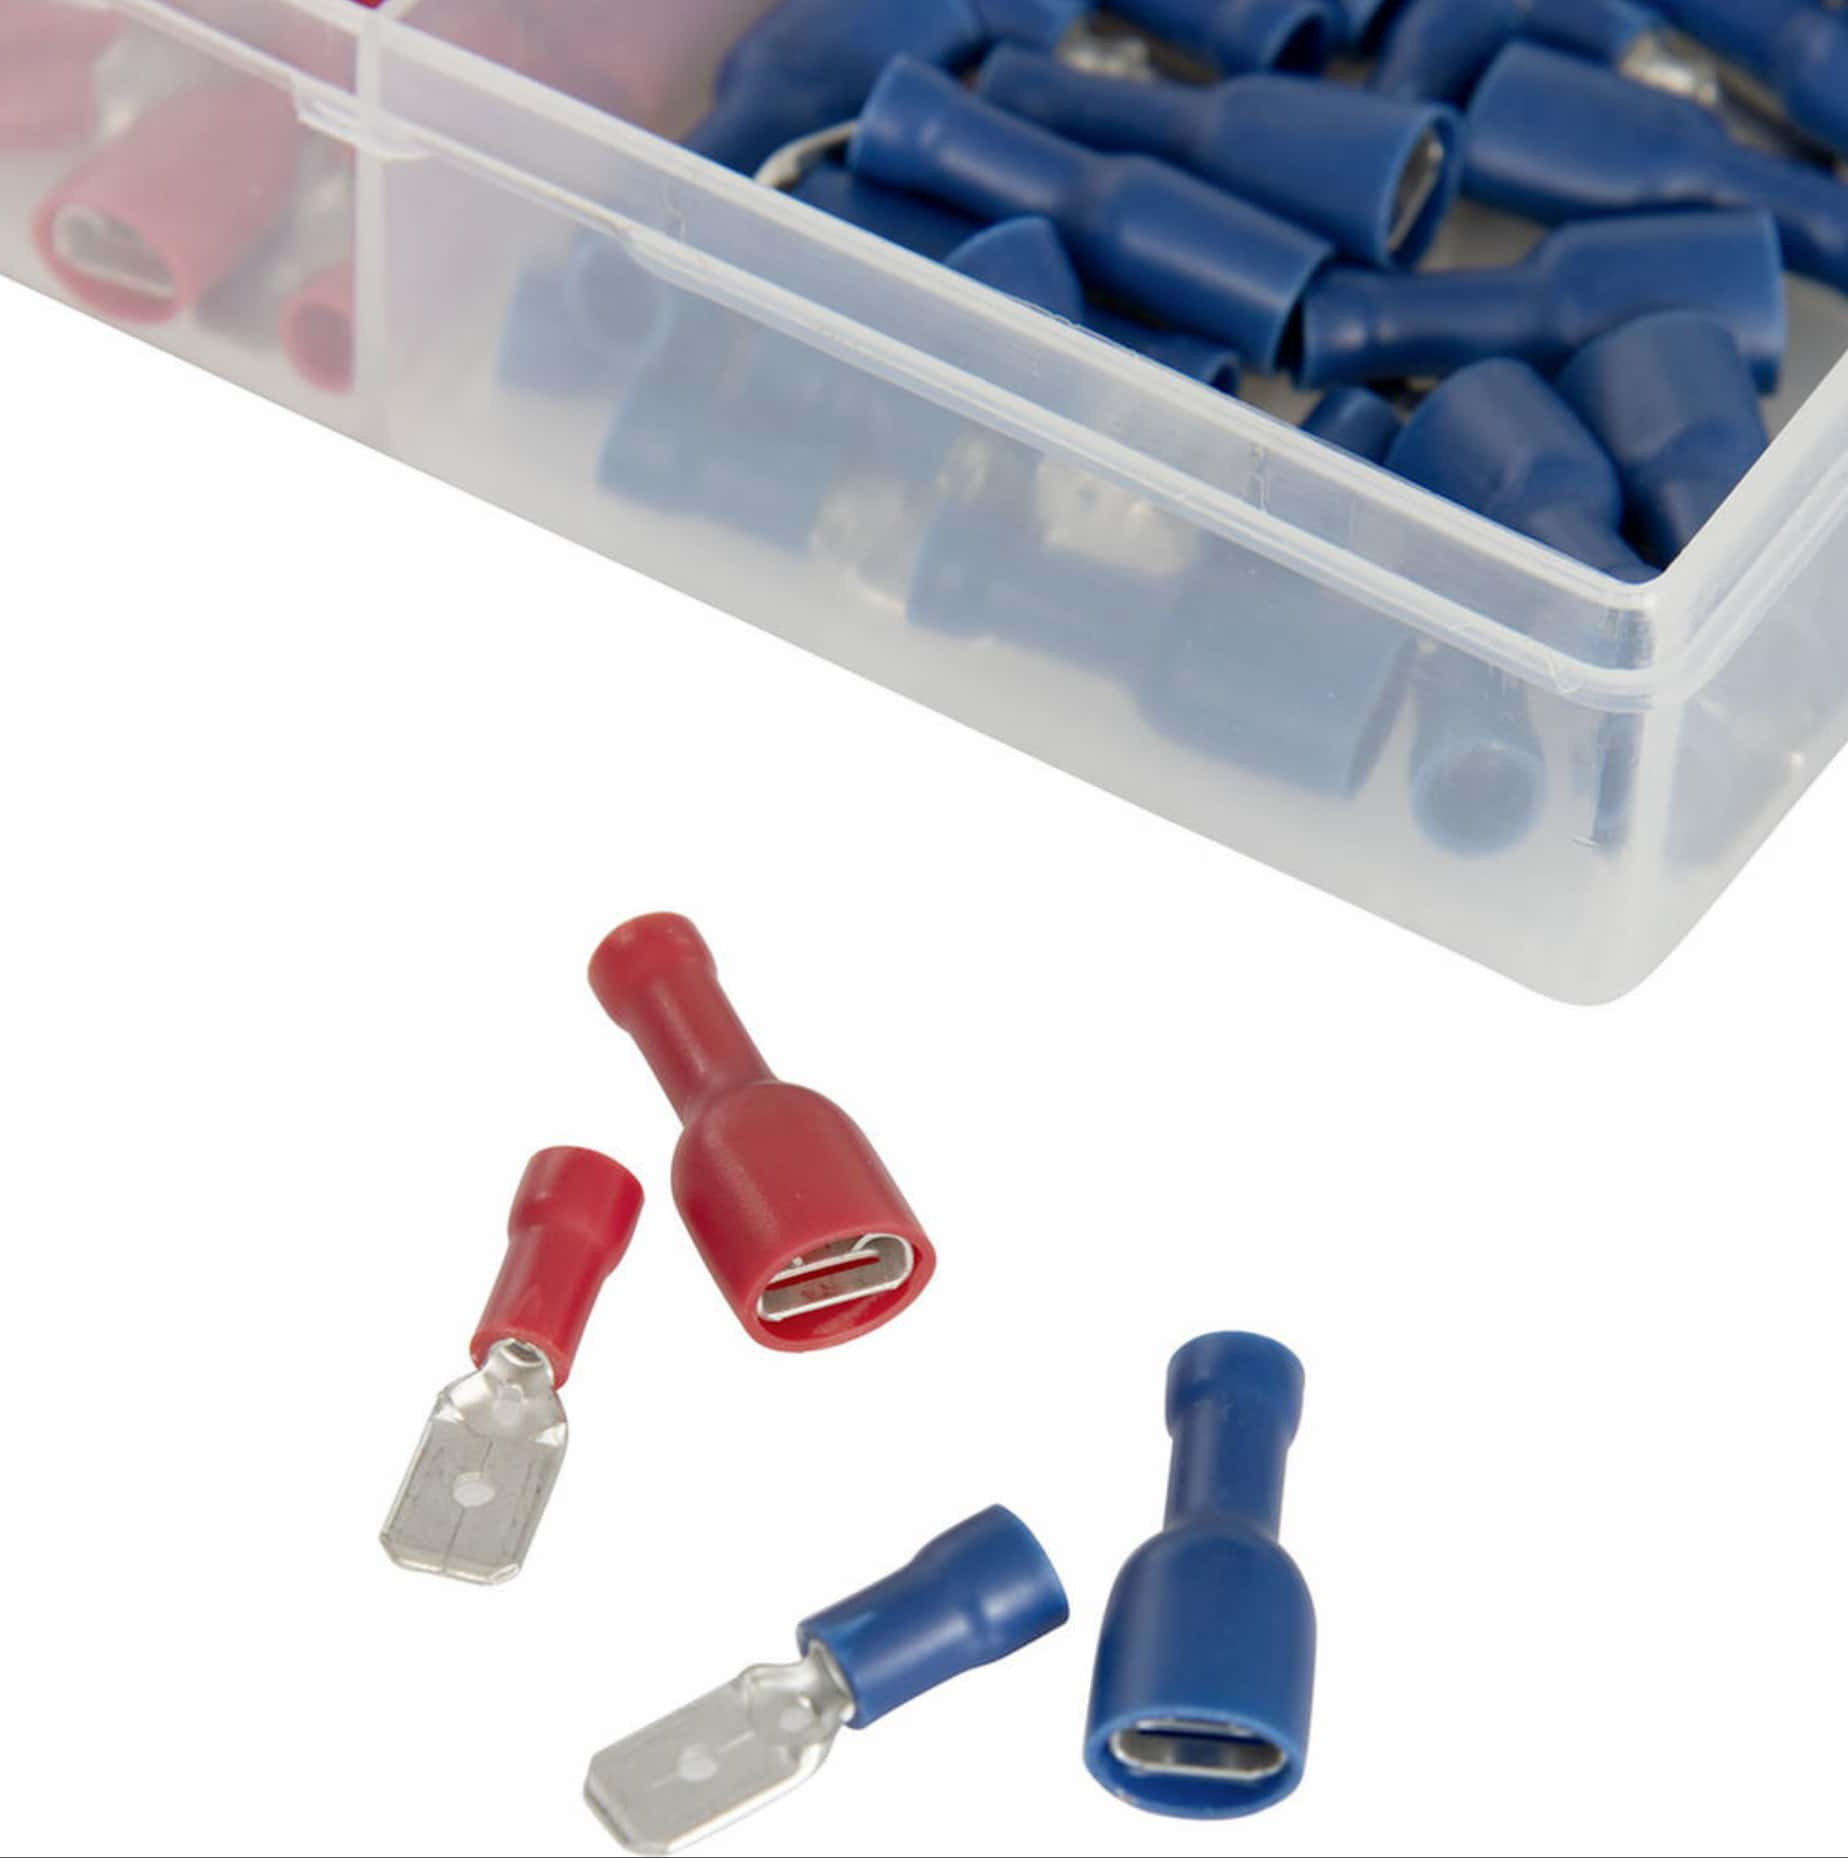
The standard connectors used on many Japanese motorcycle
Japanese connectors
On your motorbike's wiring harness, these connectors look more professional than the coloured terminals used on vehicles and, what's more, their plastic insulation sheath gives effective protection against moisture. Japanese connectors are always a perfect choice when installing a component on your motorbike with only a few connecting cables. What's important is to crimp the connectors securely. For this job, it's best to use a special crimping tool with suitable jaws into which the cable terminals of these connectors are placed and then cleanly and solidly crimped to the cable in a single action.
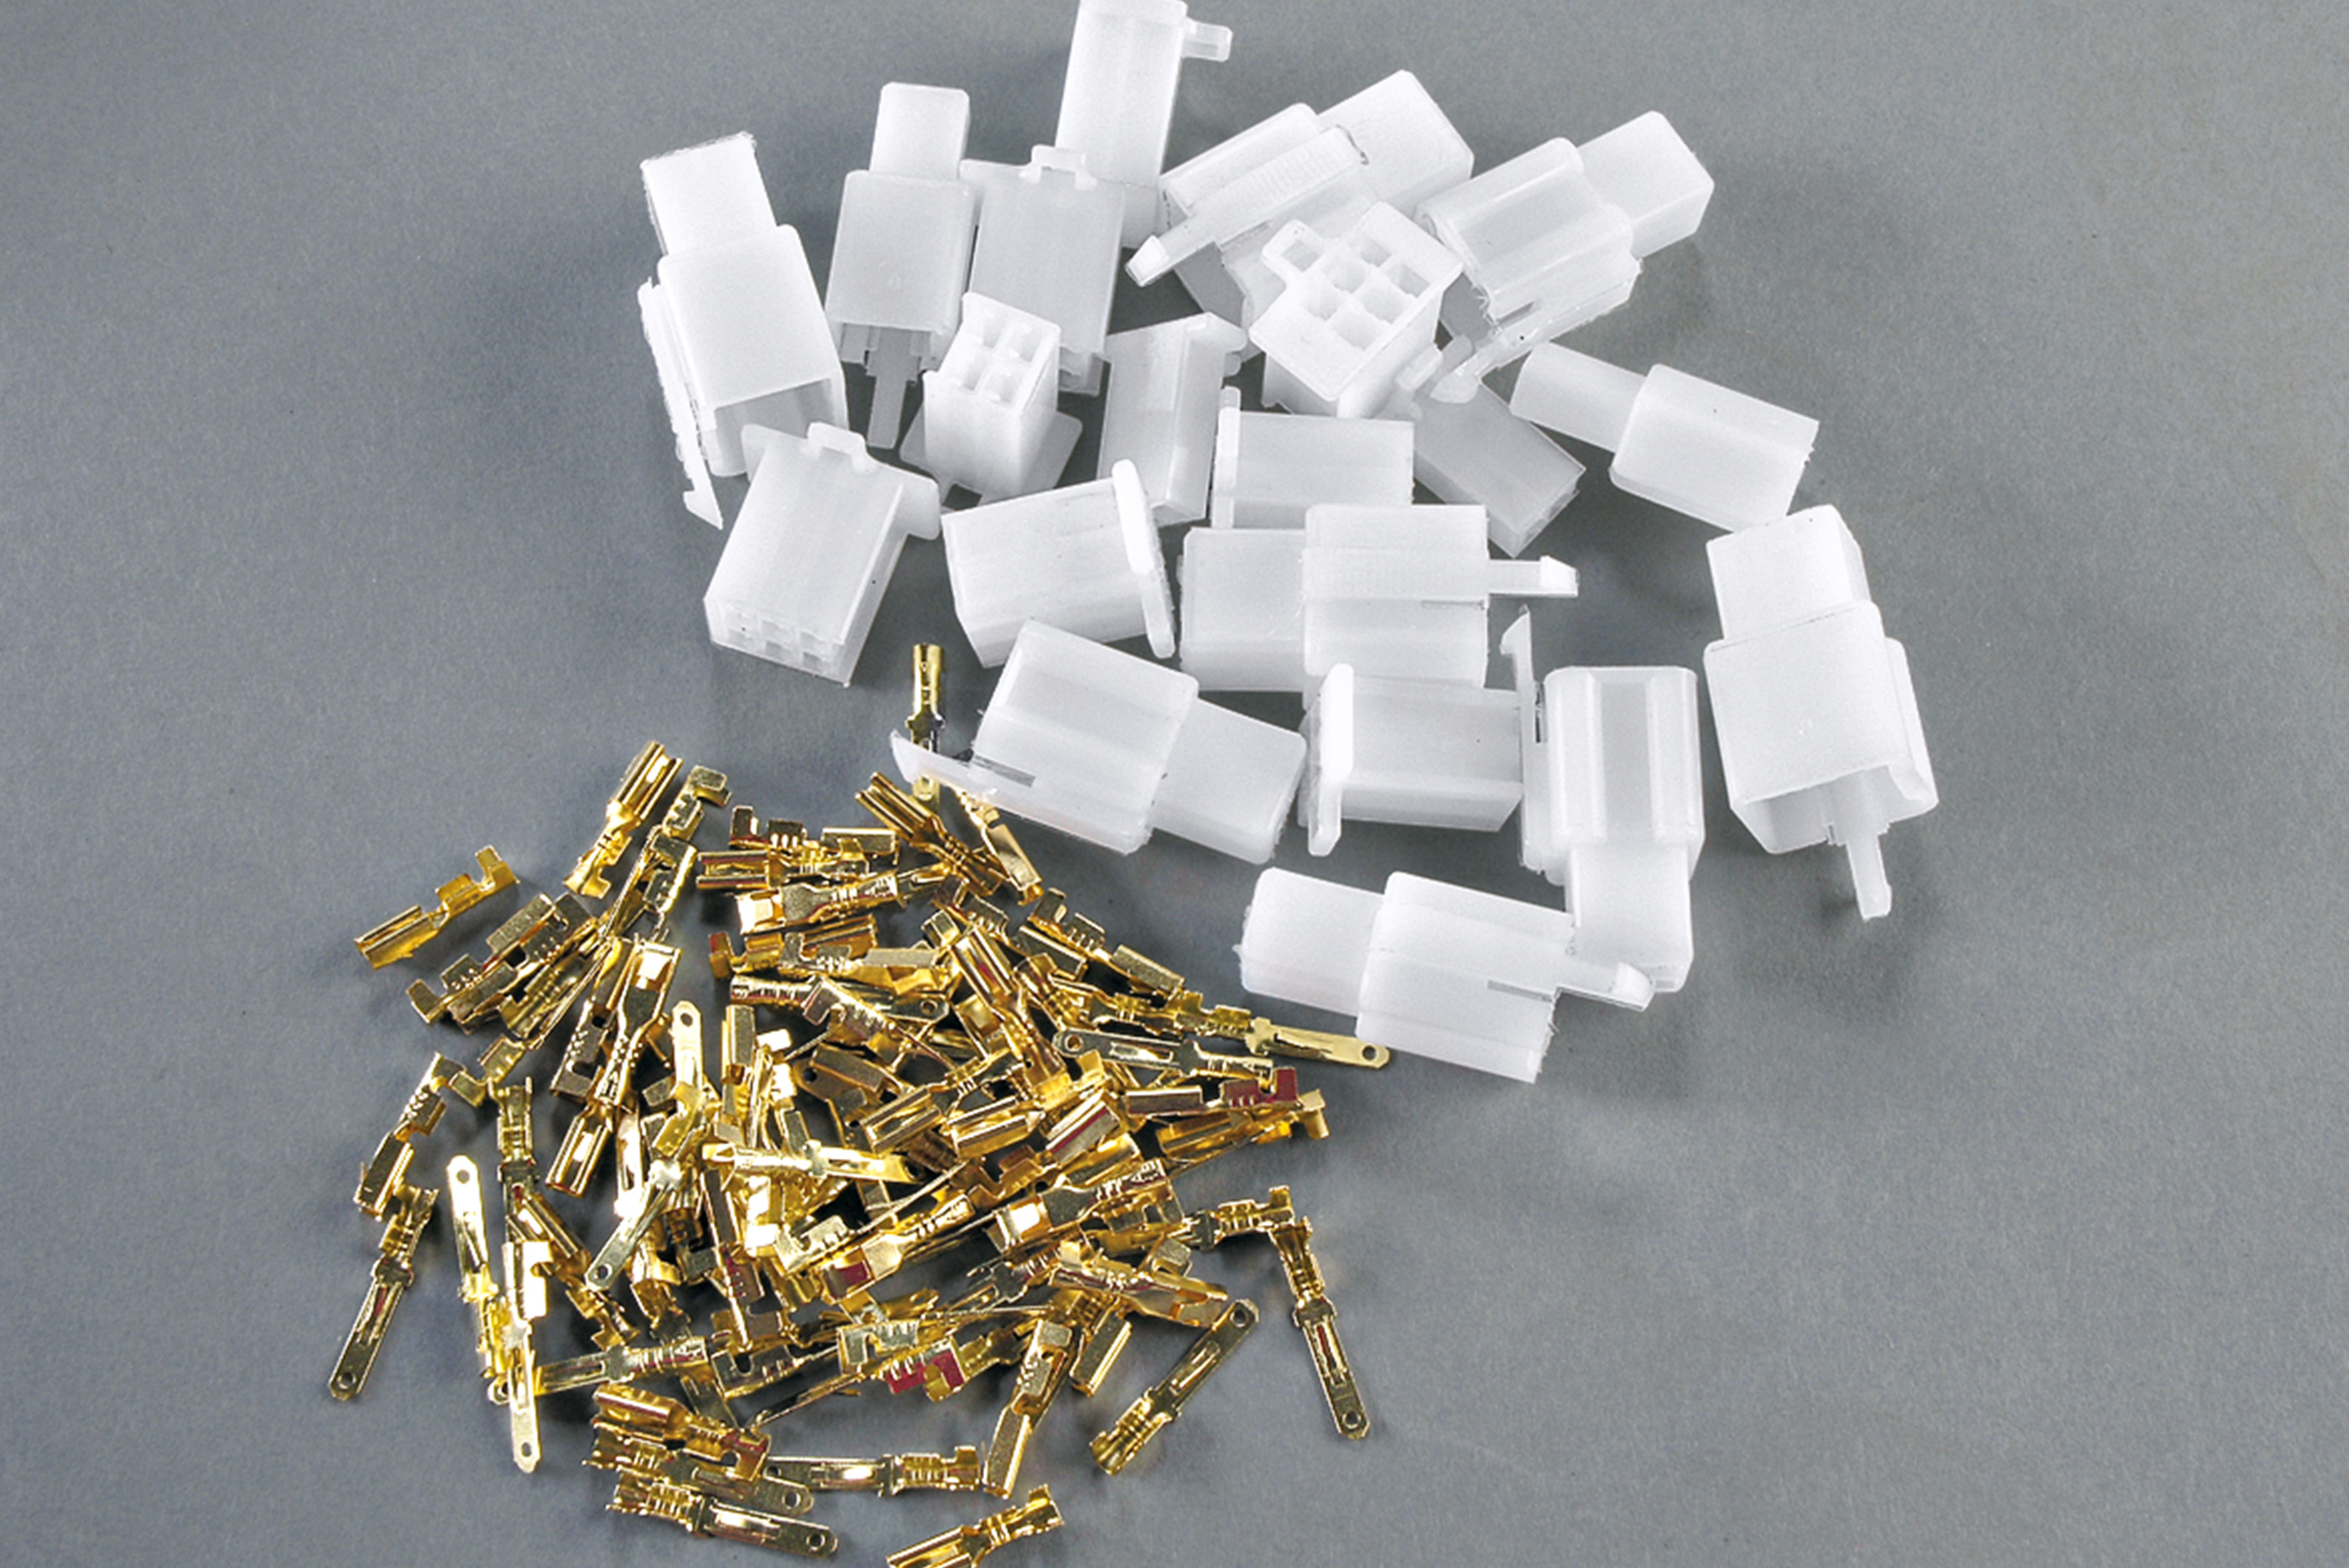
Watertight and reliable
Multi-connectors
If you're installing a component with multiple outgoing cables, or if you need to remove corroded or damaged connectors from an old wiring harness, it's a good idea to use multi-connectors. In order to remove the metal tabs from the plastic body of the old connector, you need to press in the small plate from below, using a very slender screwdriver, while at the same time pulling on the connector. For crimping, you should use special crimping pliers, as with Japanese connectors.
If you want to seal the connector against moisture after you have fitted it, simply brush some liquid sealant onto the cable inlet. Alternatively you can use watertight seal connectors from Baas.
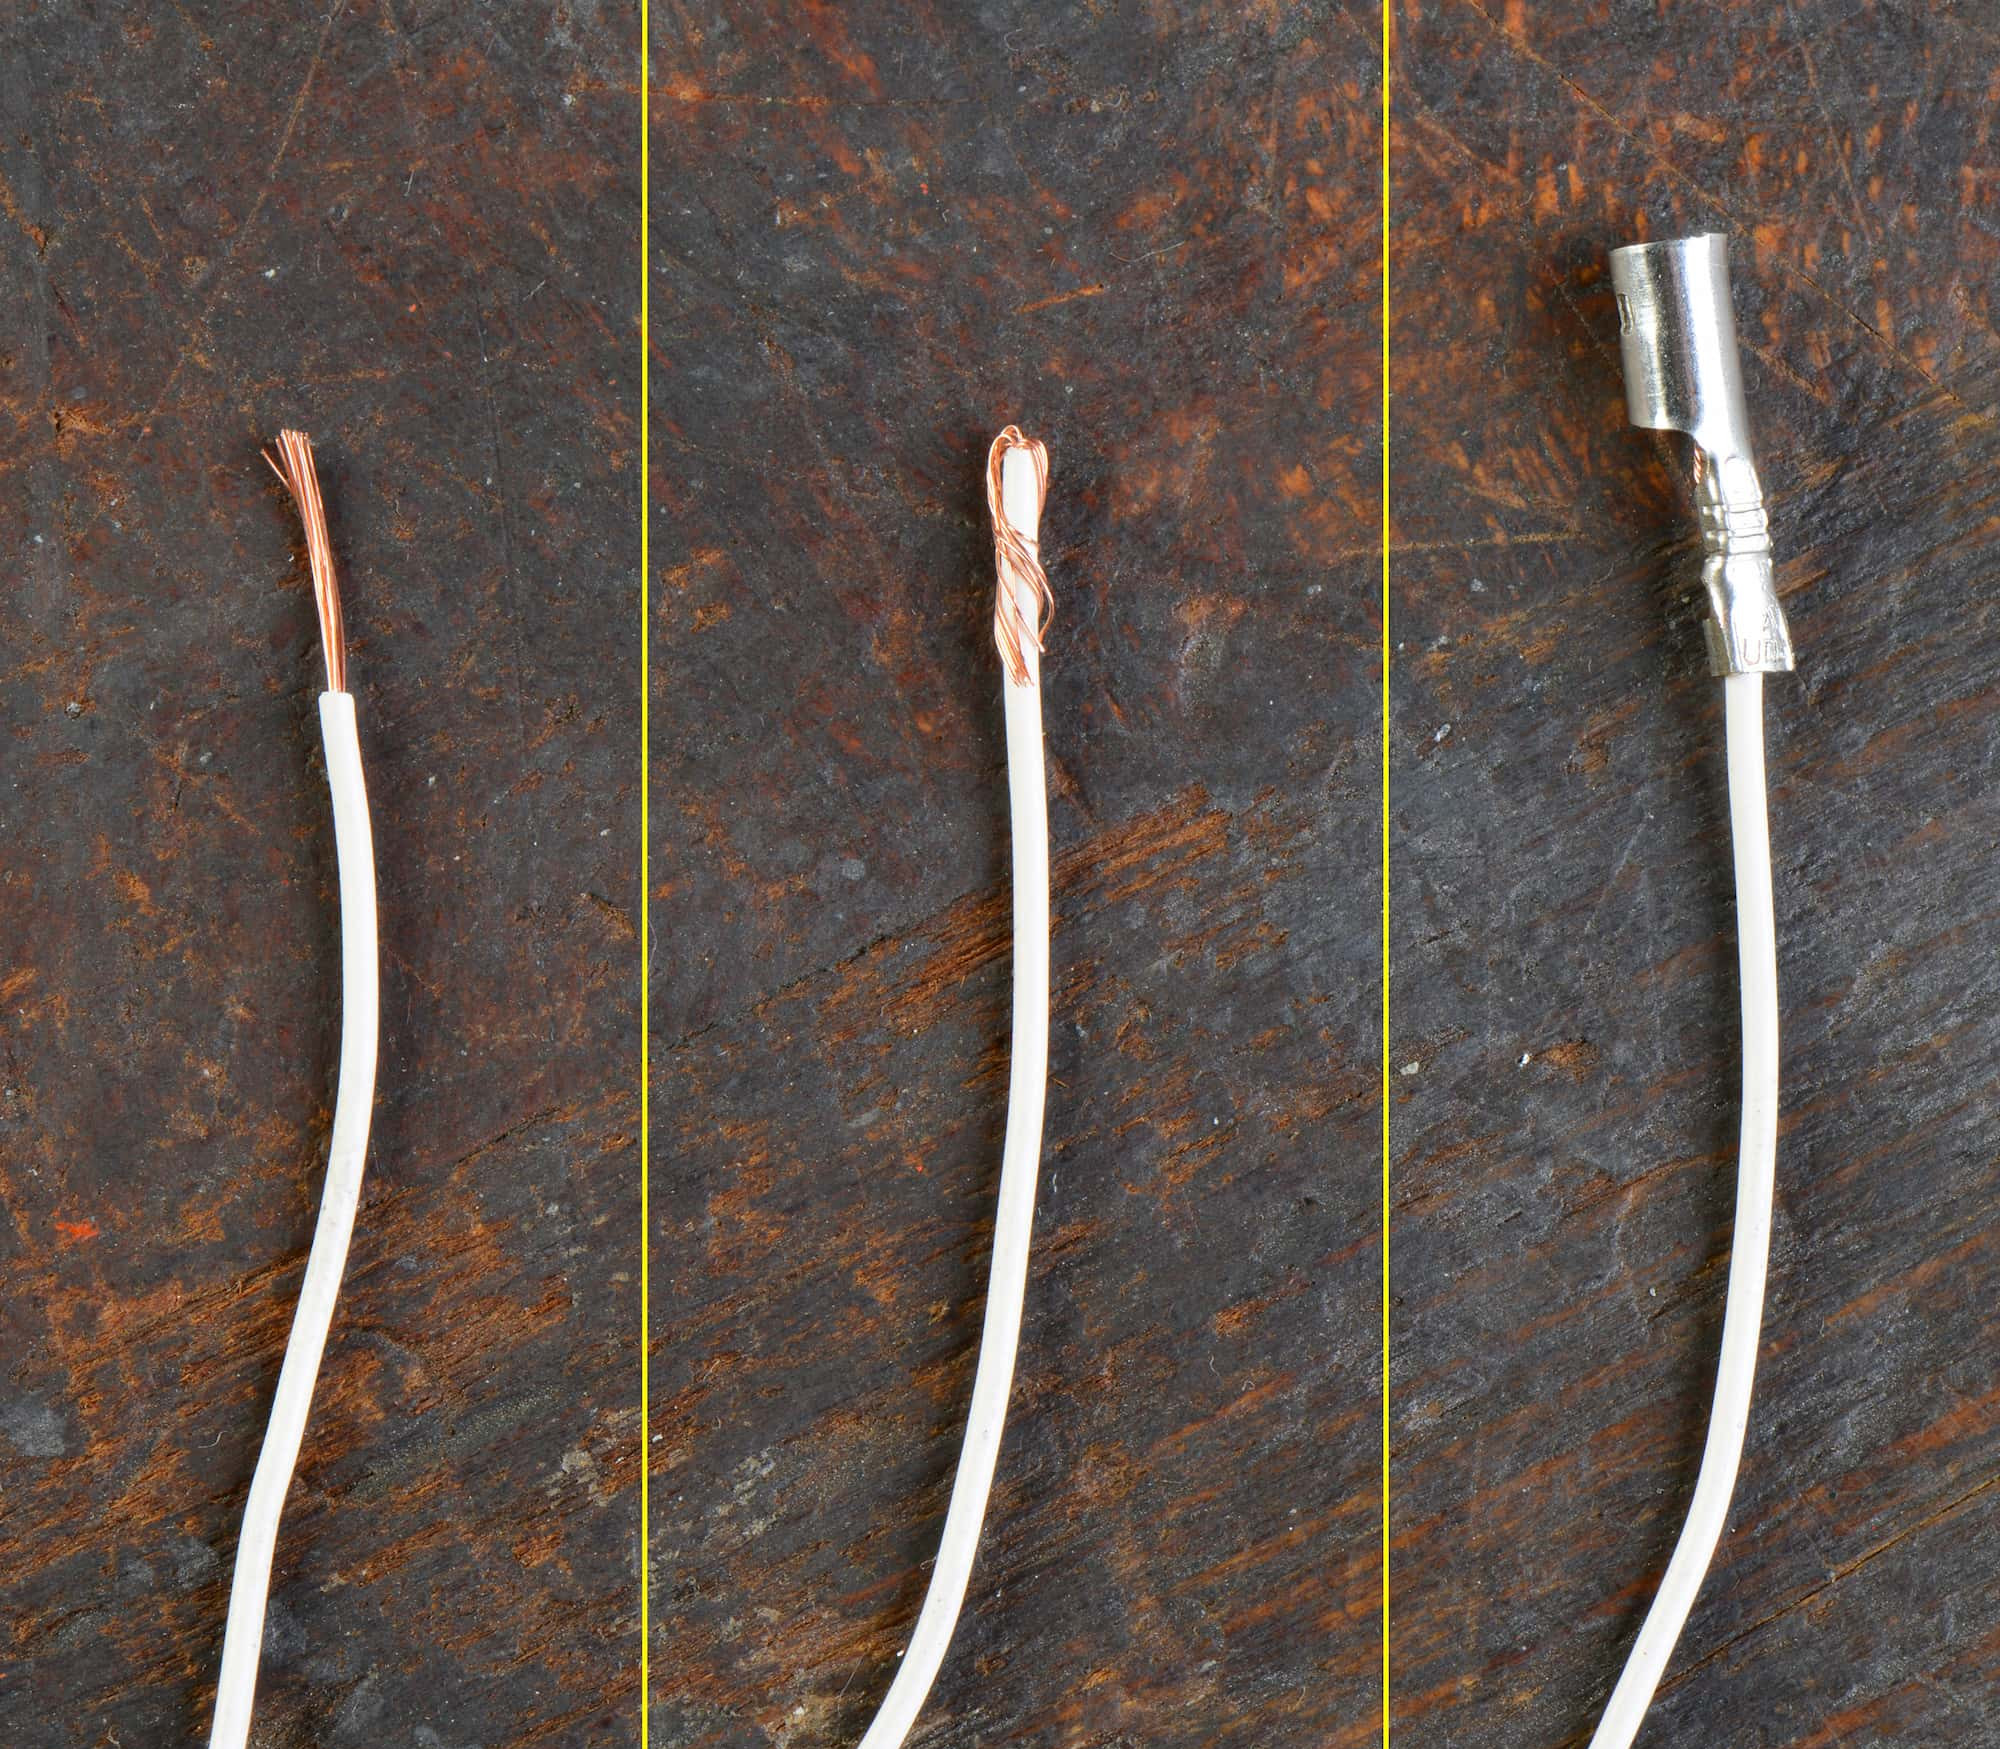
Wrap the stripped core around the insulated cable and crimp the connector
Extra tip for thin cables
If the cable is very thin, it's usually difficult to connect it securely enough, and there's a danger that it will detach itself from the connector. The answer is to wrap the stripped core around the outside of the insulated cable to increase the diameter. Now you can crimp the connector firmly to the cable.
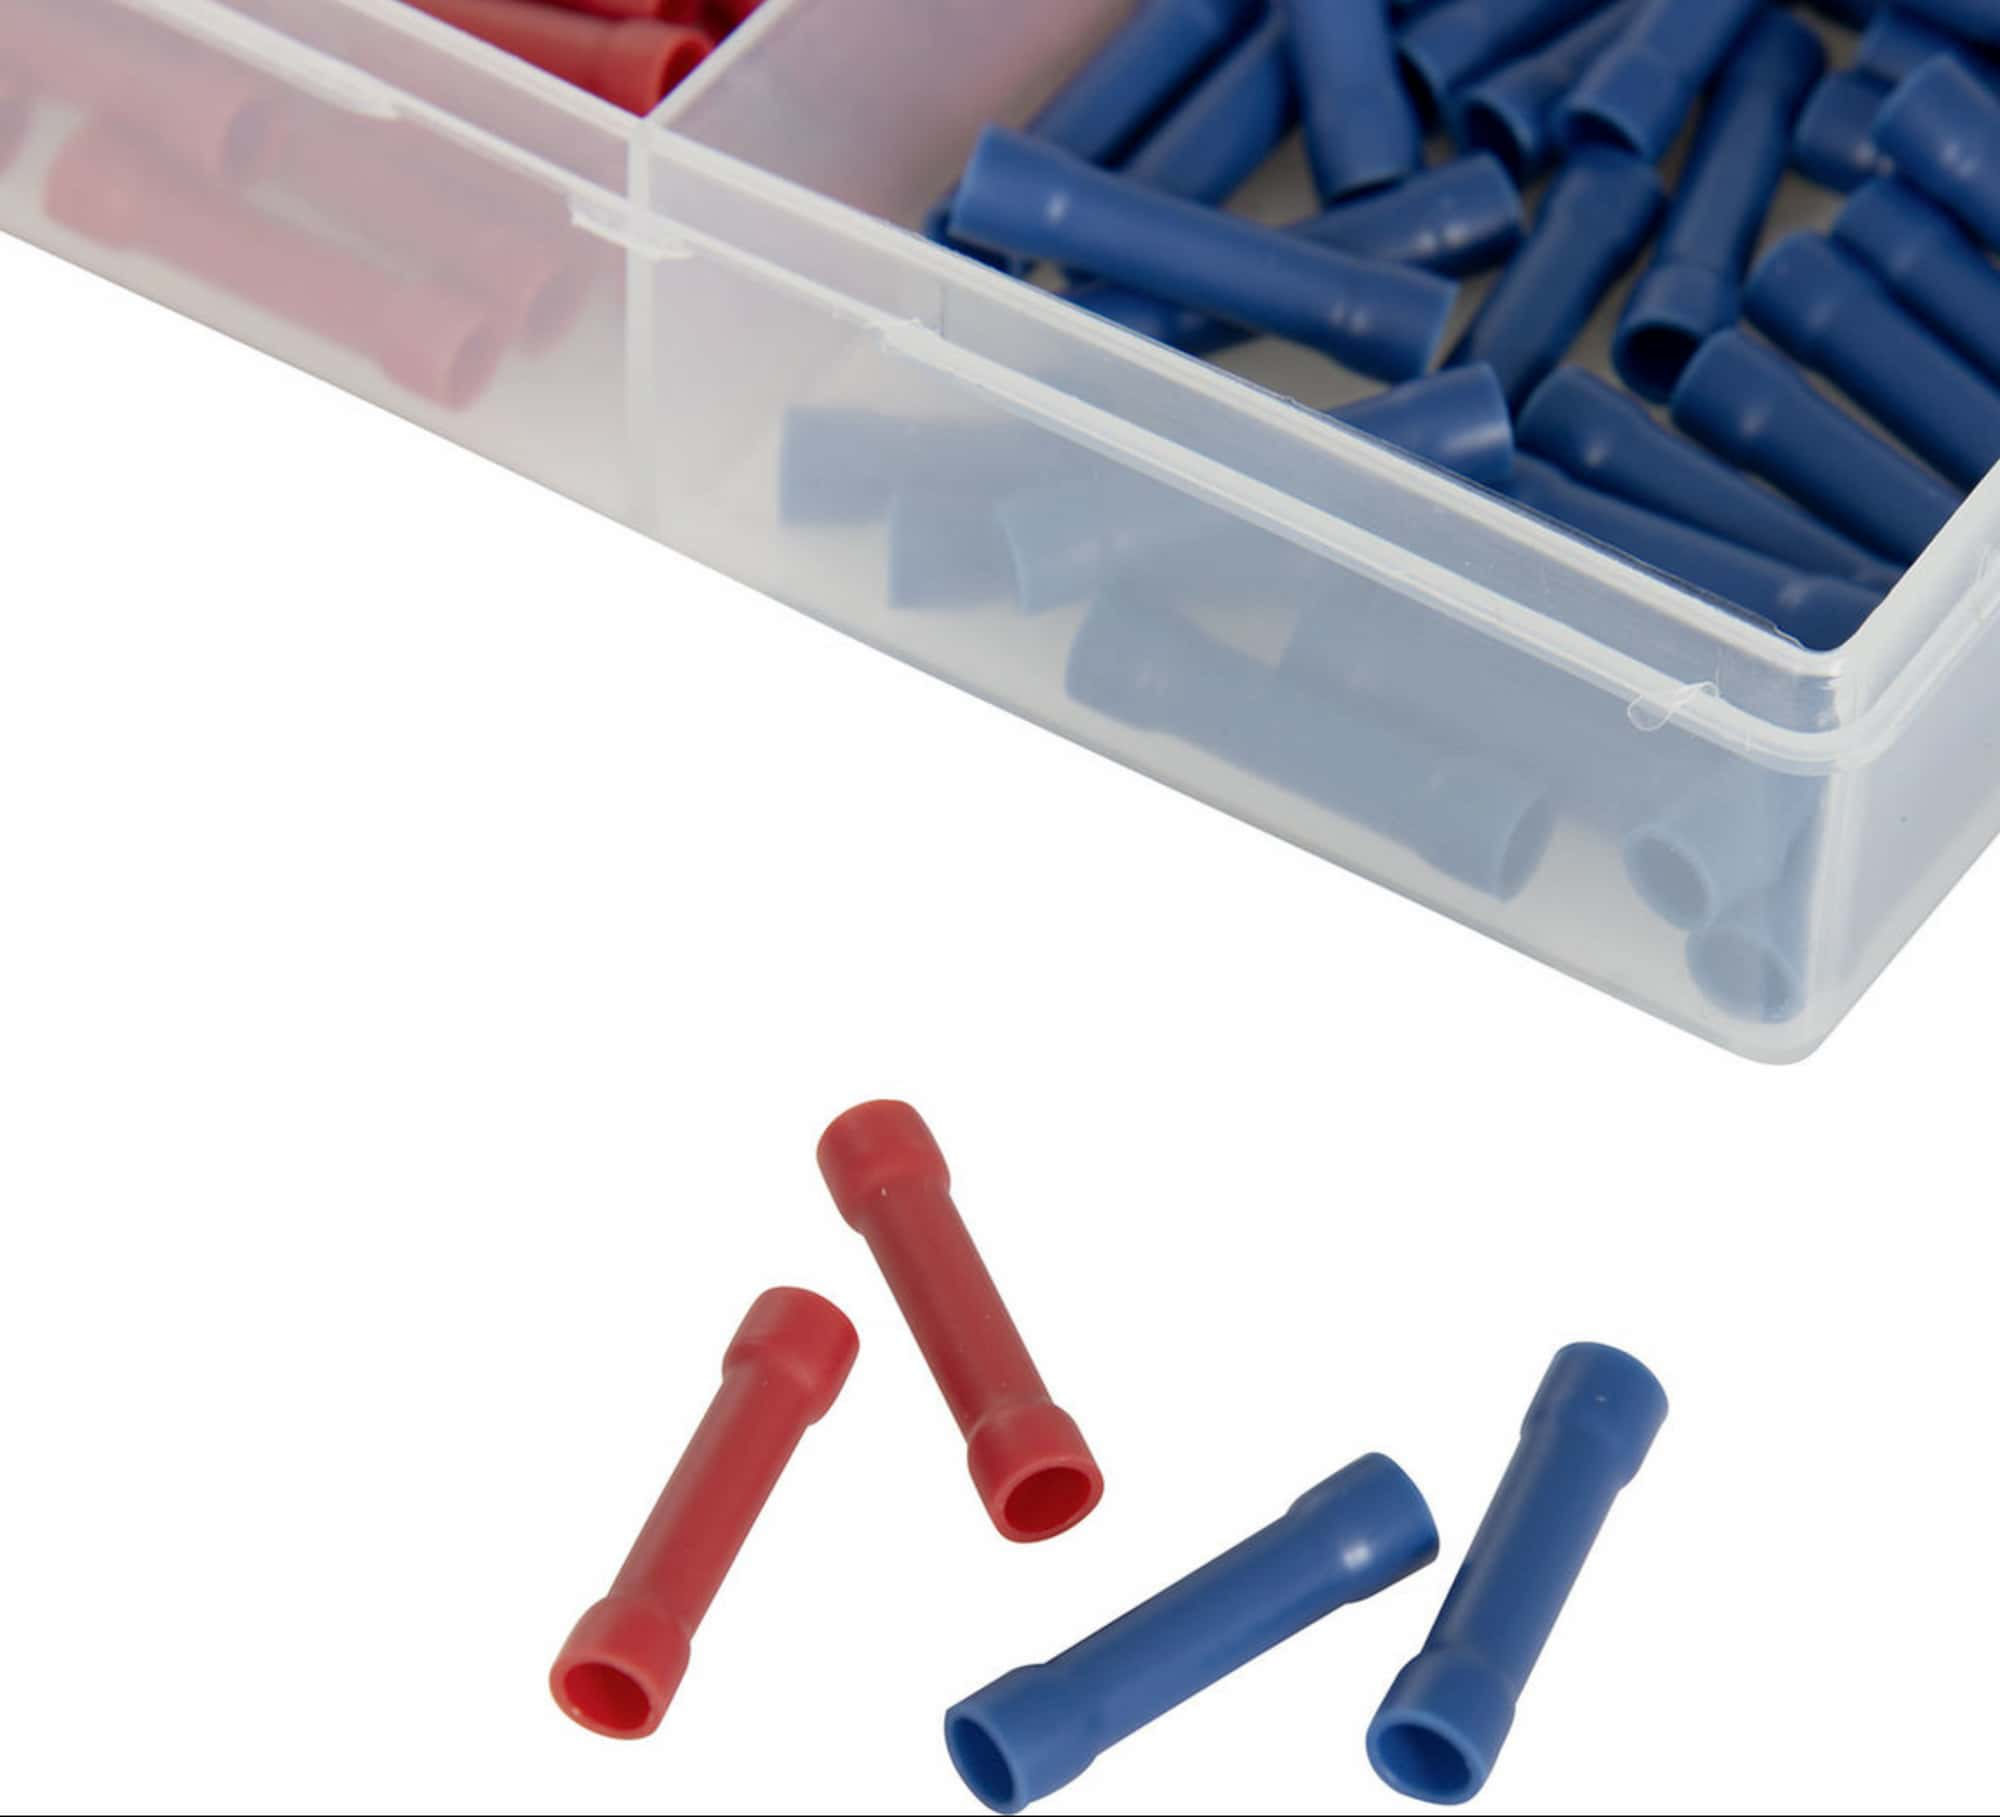
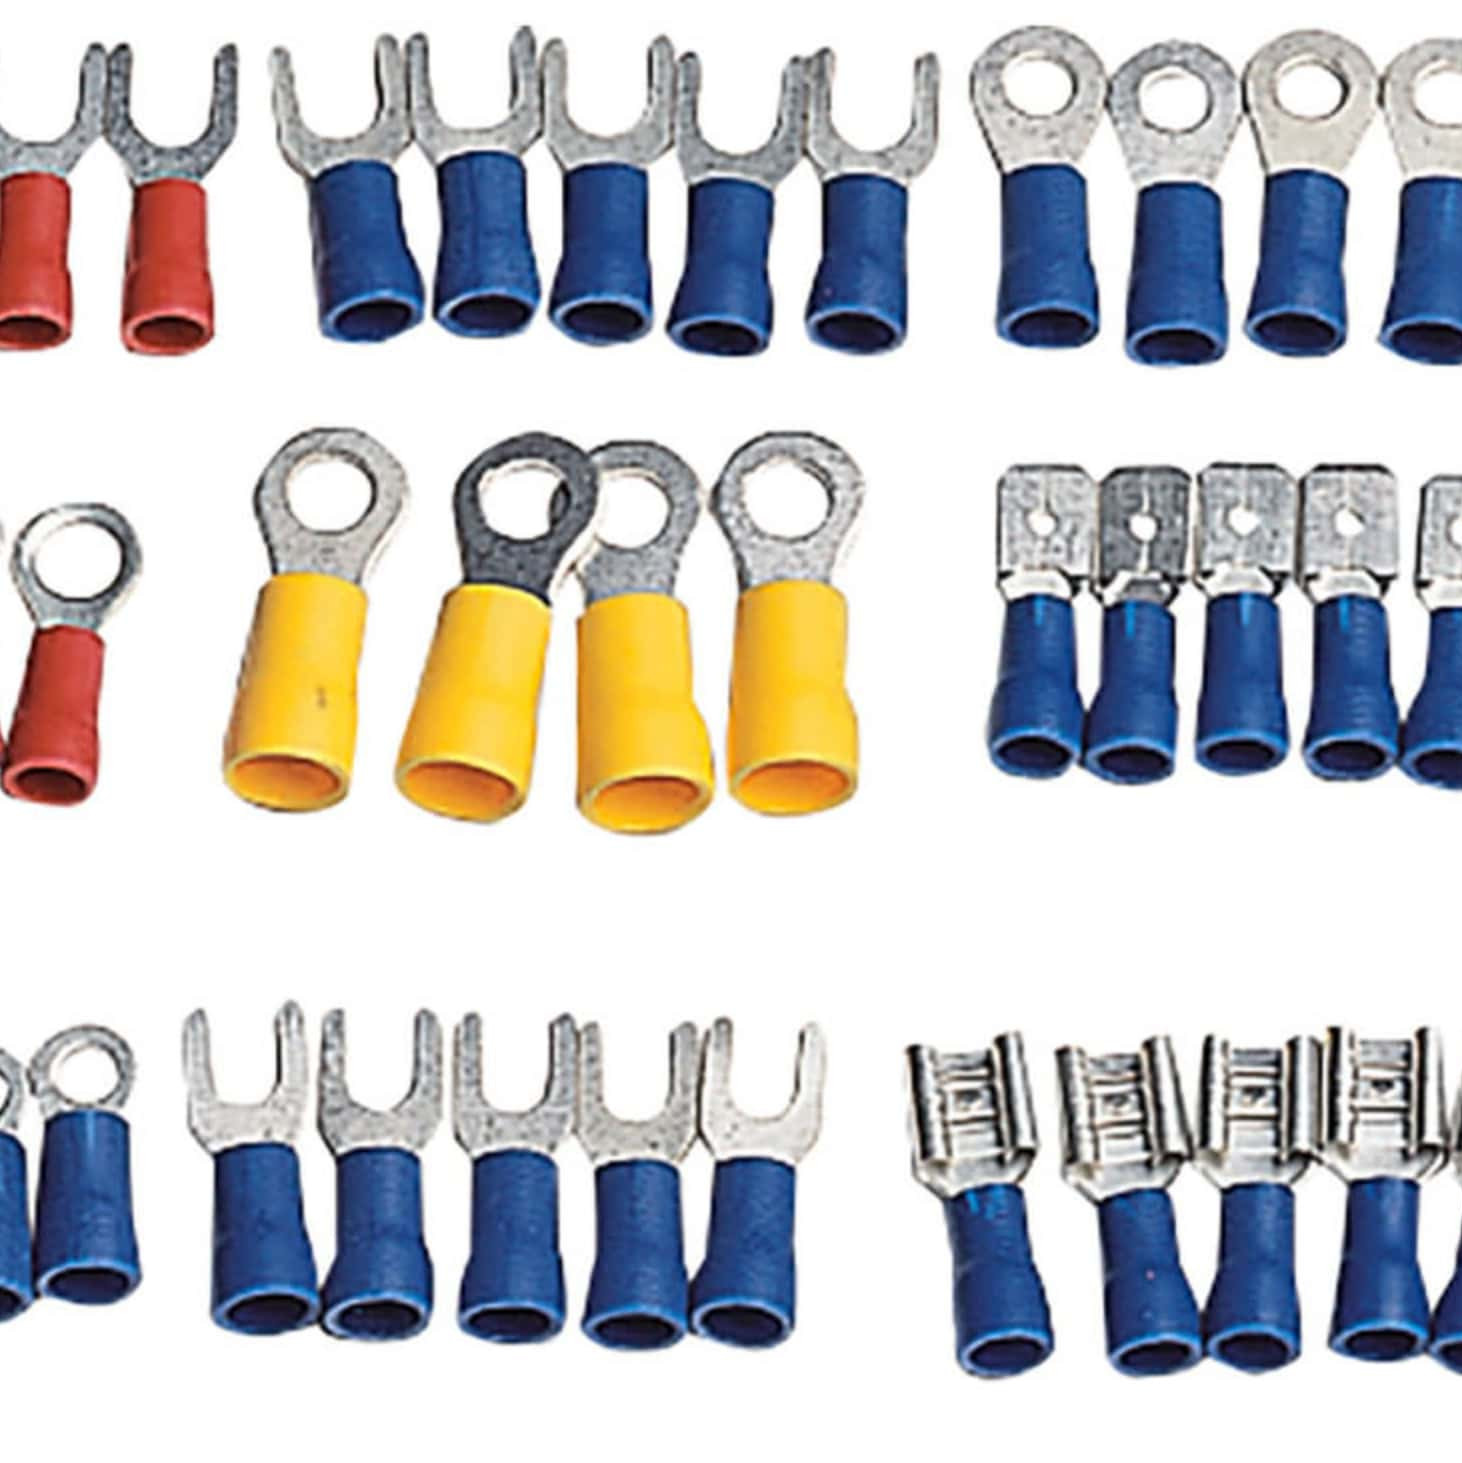
Other types of connectors:
2. Solder connections
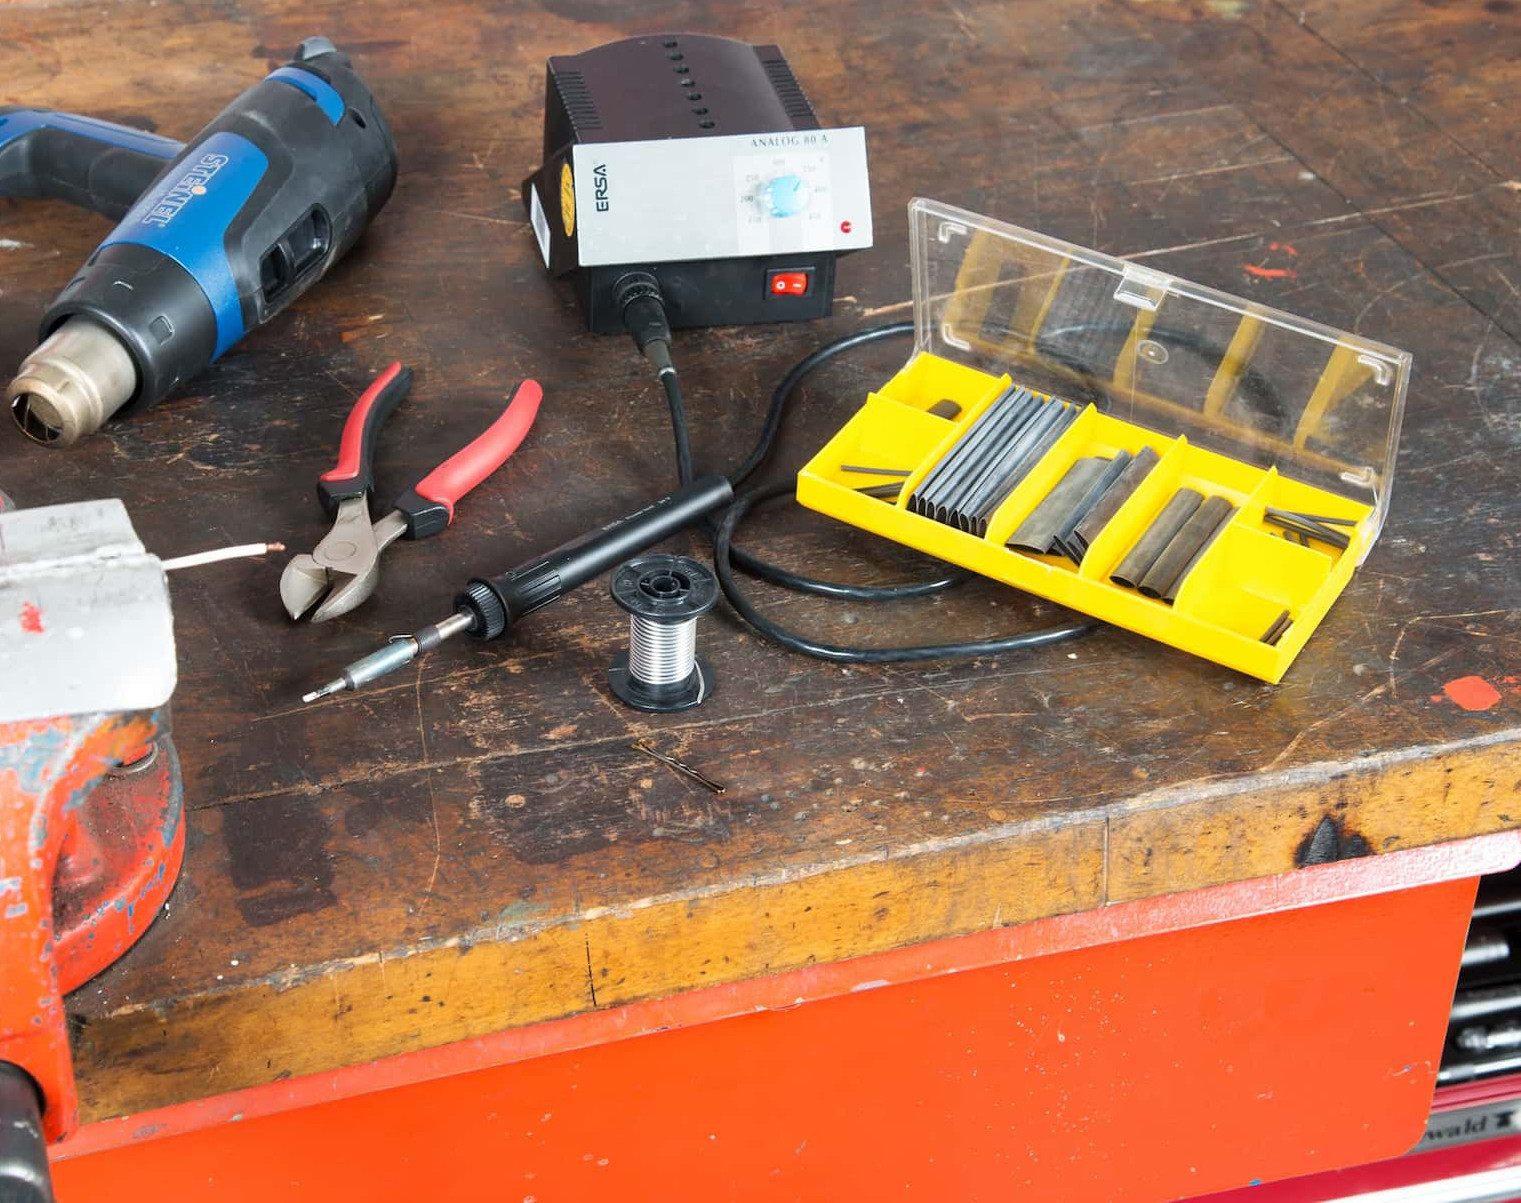
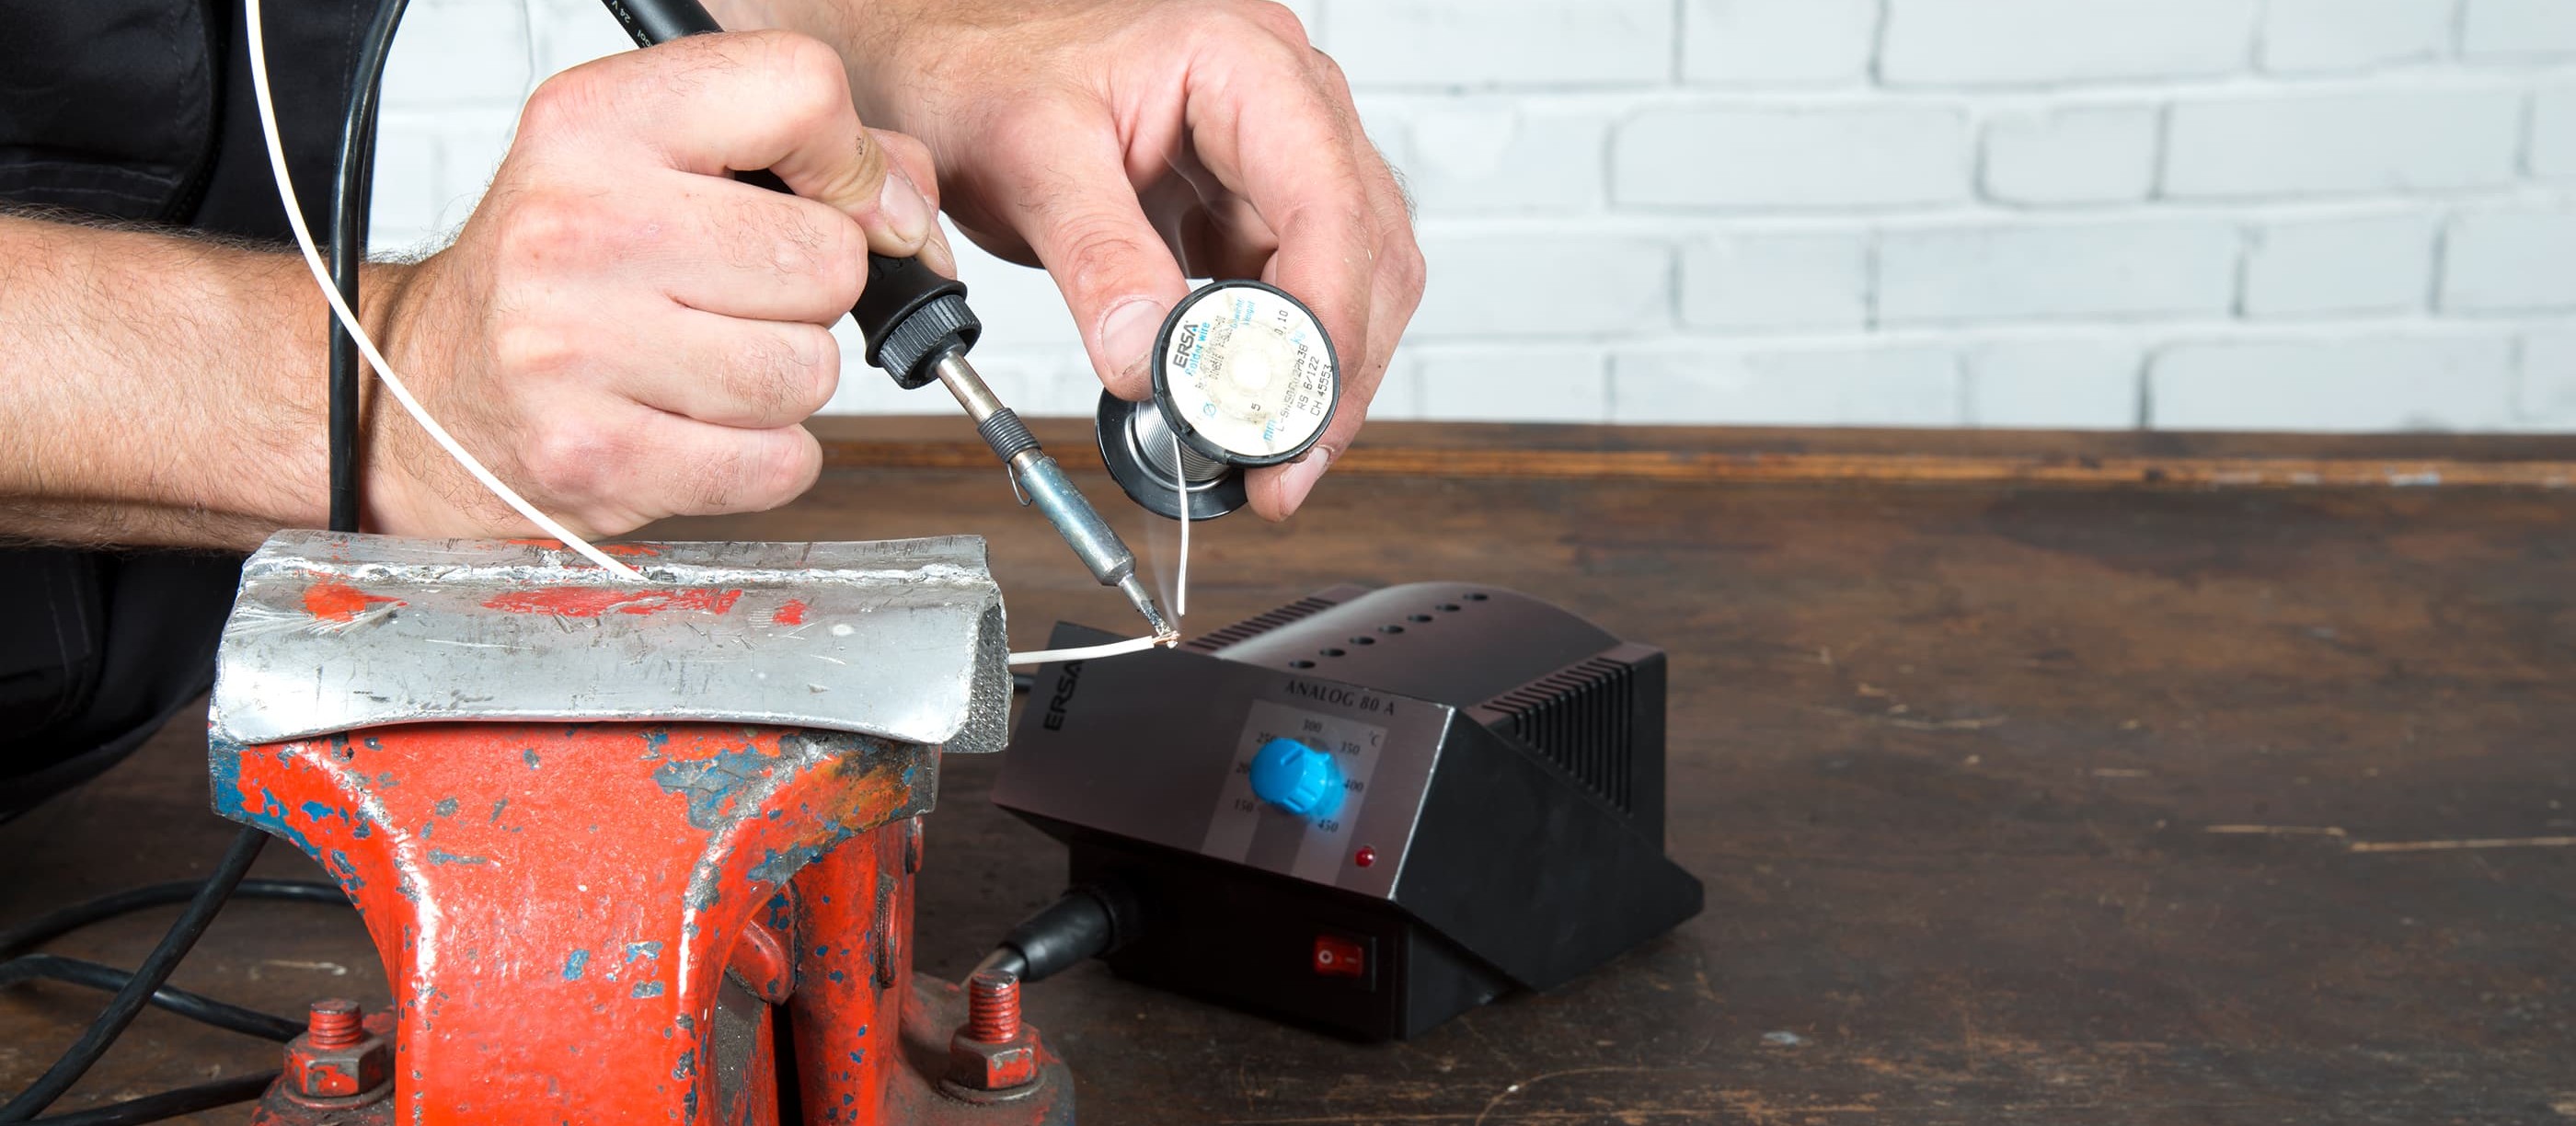
With the right equipment, soldering is really very easy
Solder and insulate
If you need to lengthen or shorten a cable in a place on your motorbike where cable connectors wouldn't look right, it's a good idea to solder the cable sections together using a soldering iron. The soldered connection should be insulated with heat shrink tubing. Once you've soldered the cable, you can insert it into a cable sheath.
Before you do any soldering, always make sure that the contact surfaces are clean and free of grease. The inner cores of the cables must always be free of corrosion because cables with copper corrosion ("green rust") cannot be soldered. In fact, they should be replaced in any event because the corrosion means that the resistance is too high.
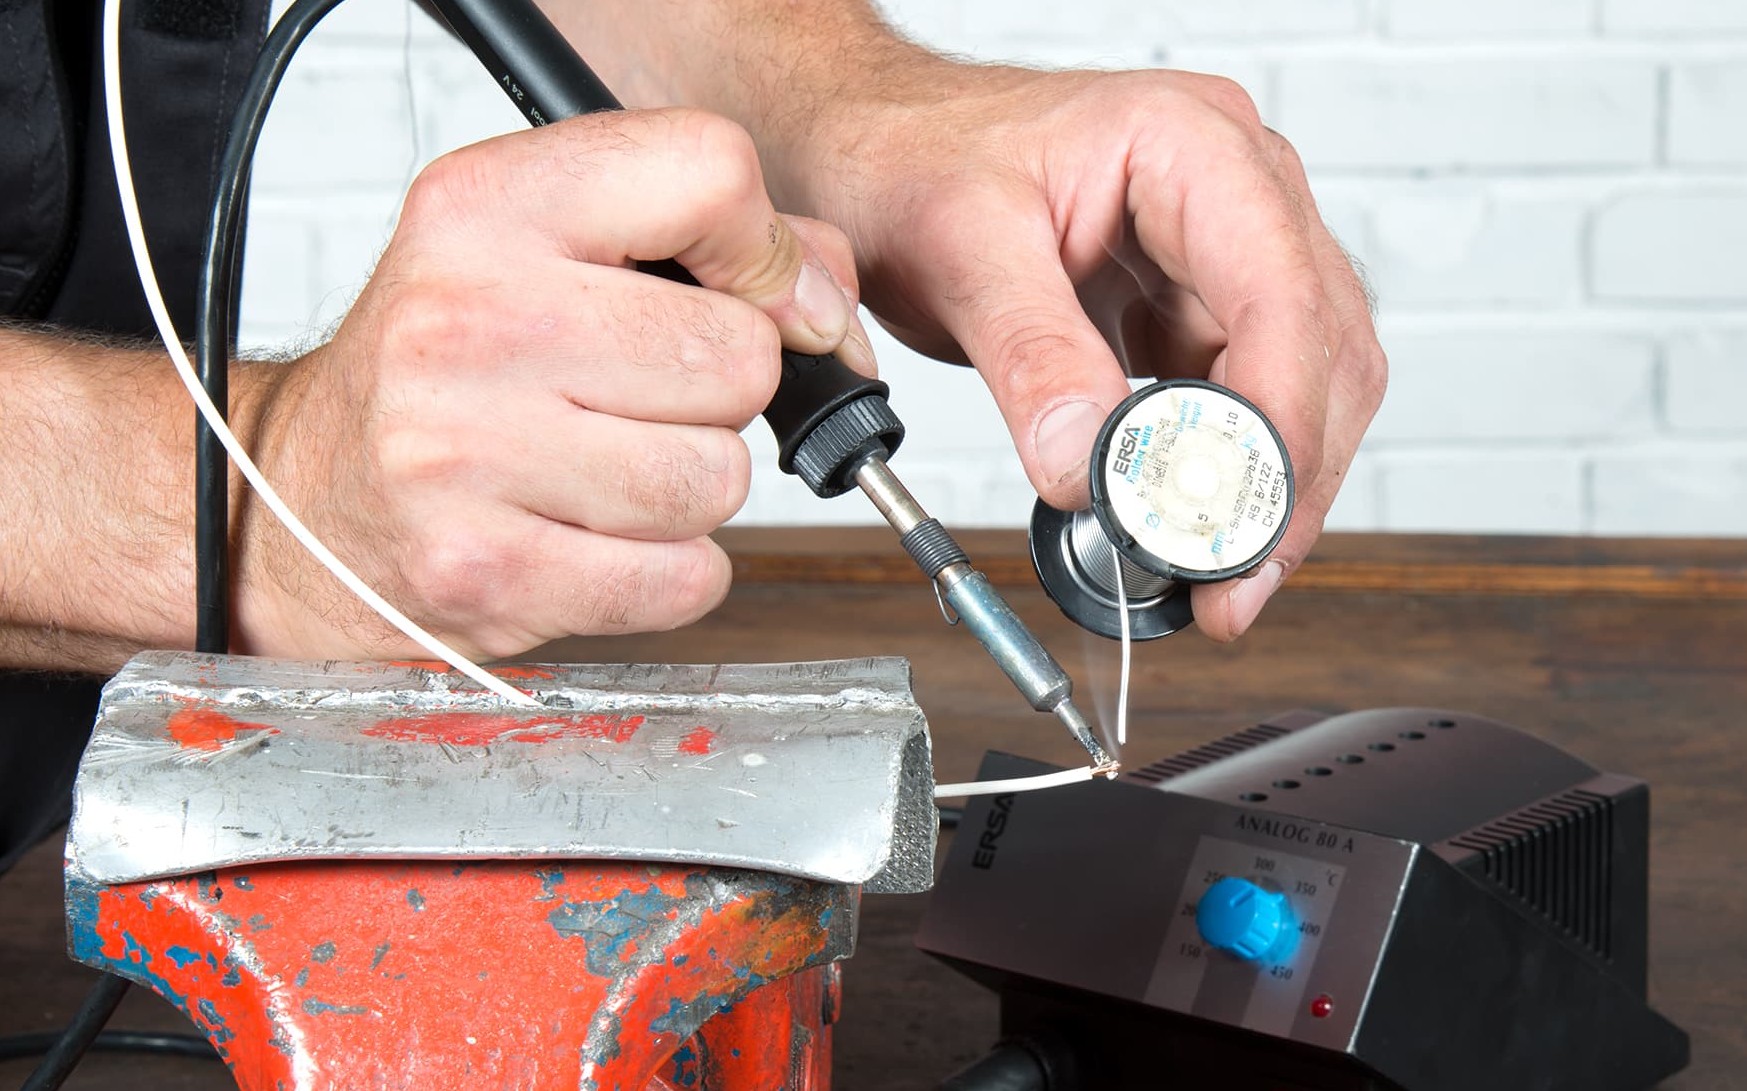
Step 1: Melt solder onto the soldering iron and join the cables
Step 1: Soldering
- While the soldering iron is heating up, prepare the cables for soldering, i.e. cut them to length, carefully strip a few millimetres from both cable ends, and fit a piece of heat shrink tubing over one of the cables before connecting.
- Once the soldering iron is hot enough, apply solder to the stripped cores of each cable end by holding the soldering iron underneath and melting a little solder onto it from above.
If the cable core is clean, the solder will be "sucked" into the gaps. But if the solder rolls off in beads, this means that the wire is not clean enough for soldering. It's best to grip the cable in a bench vice for soldering. If that's not possible, it would be useful to have someone to assist you.
Now leave one cable end in the vice and press the other one against it while holding the tip of the soldering iron underneath until the solder melts and the cables are joined.
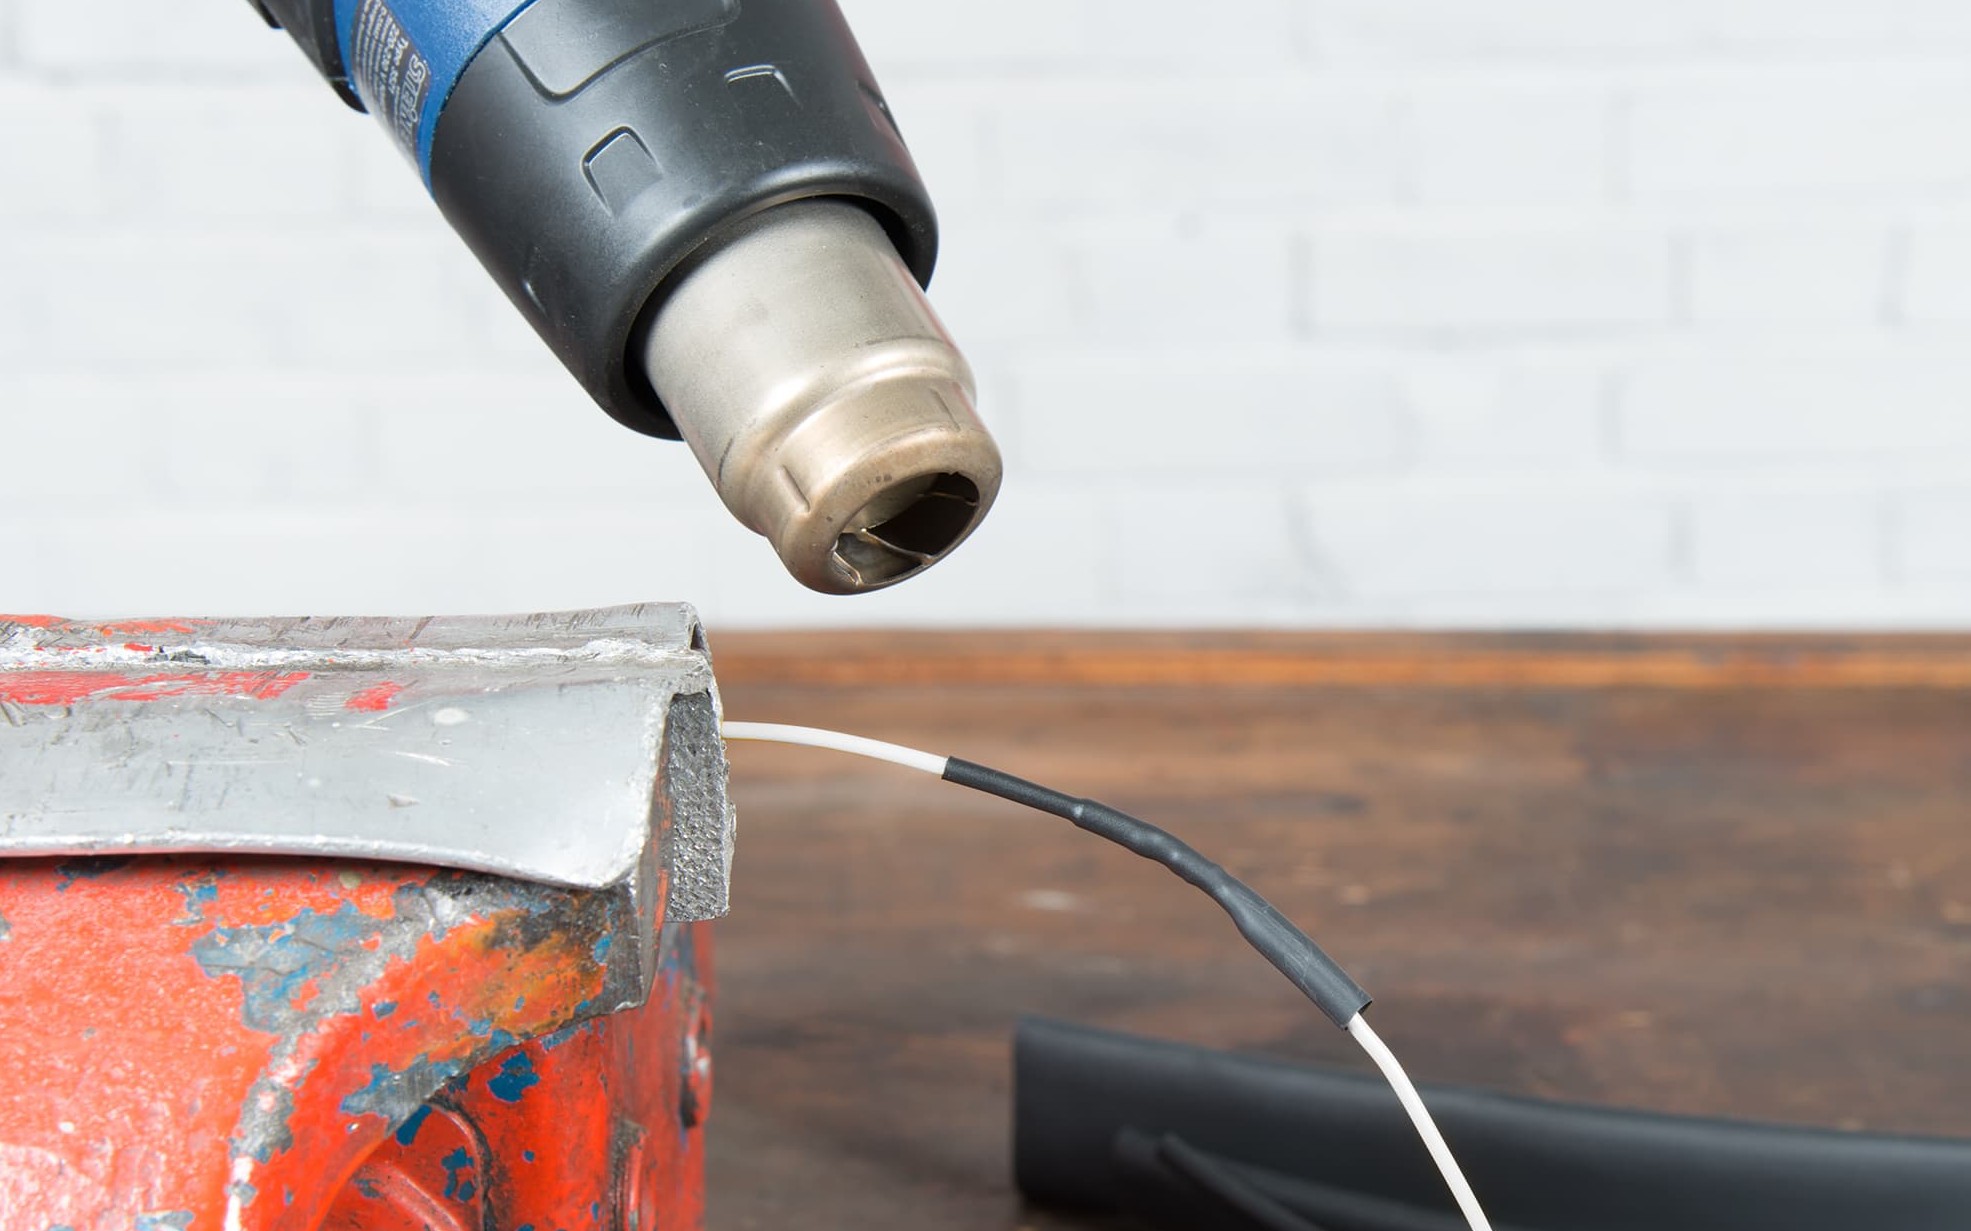
Step 2: The newly soldered joint is protected against moisture by the heat shrink tubing.
Step 2: Insulate
The soldered join only takes a few moments to cool down, and then you can push the heat shrink tubing over it. Now hold a cigarette lighter quite close to the tubing to heat it up and shrink it onto the joint. Of course, if you have a hot air gun, you can use it instead of the cigarette lighter.
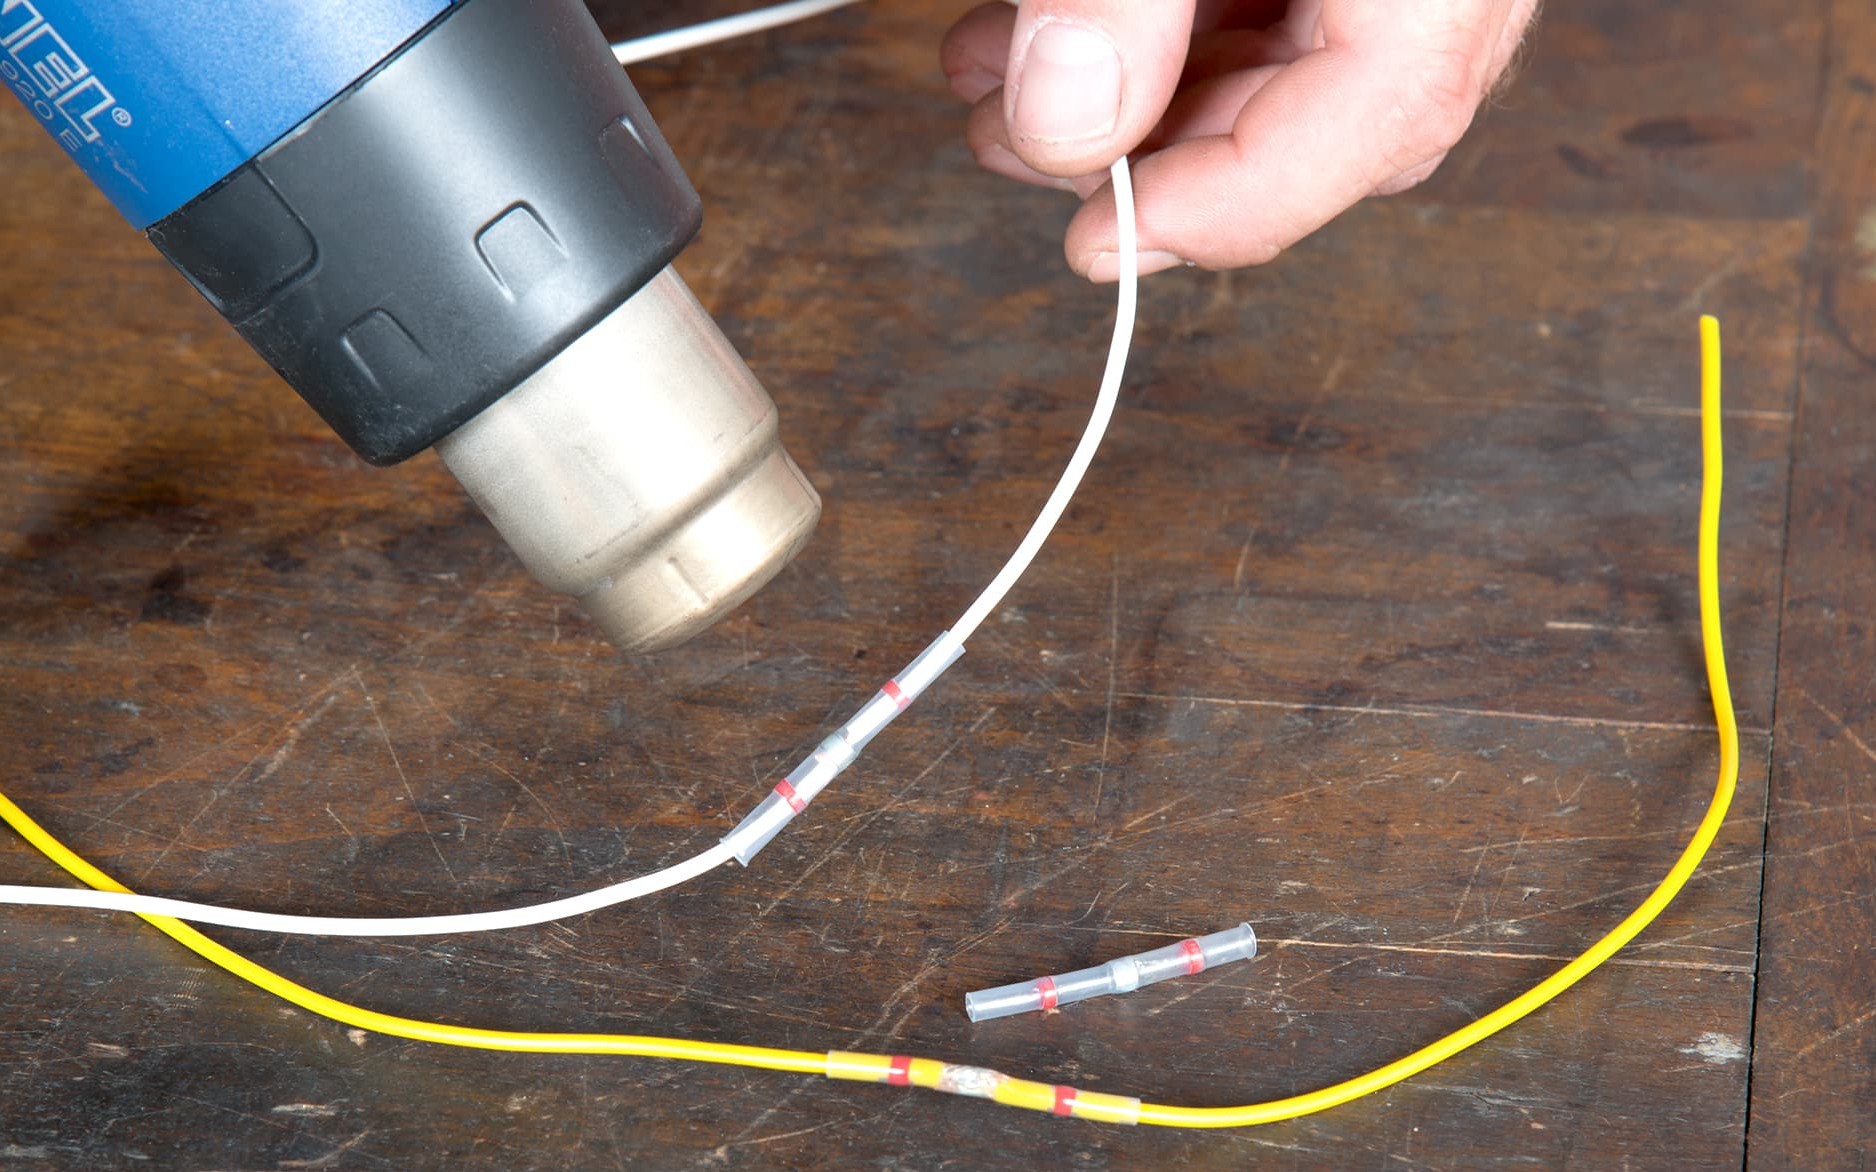
Solder connectors are ideal for permanently joining two cables
Extra tip: Solder connectors
Transparent connectors filled with solder in the middle are ideal for permanently joining two cables together because they're watertight, slender and look neater than the coloured crimp connectors that are sold as automobile accessories.
What's more, they are simple to attach. Choose the right size of connector, then simply strip the last few millimetres of each cable and push them into the connector so that the cable ends press against each other centrally. Then carefully heat up the solder located in the middle of the connector using a hot air gun or cigarette lighter until the solder melts and creates the connection.
In an emergency, you can even do this job at the side of the road without any electric power, pliers or soldering iron. For this reason, every biker should keep a few solder connectors, a cigarette lighter and a spare piece of cable in their travel tool kit.
The Louis Technical Centre
If you have a technical question about your motorbike, please contact our Technical Centre, where they have endless experience, reference books and contacts.
Please note!
These tips for DIY mechanics contain general recommendations that may not apply to all vehicles or all individual components. As local conditions may vary considerably, we are unable to guarantee the correctness of information in these tips for DIY mechanics.
Thank you for your understanding.


