Changing your engine oil
Engine oil ages. Over time, the additives and the lubrication performance of motorcycle engine oil deteriorates, and dirt accumulates in the oil circuit. It's then time for an oil change.
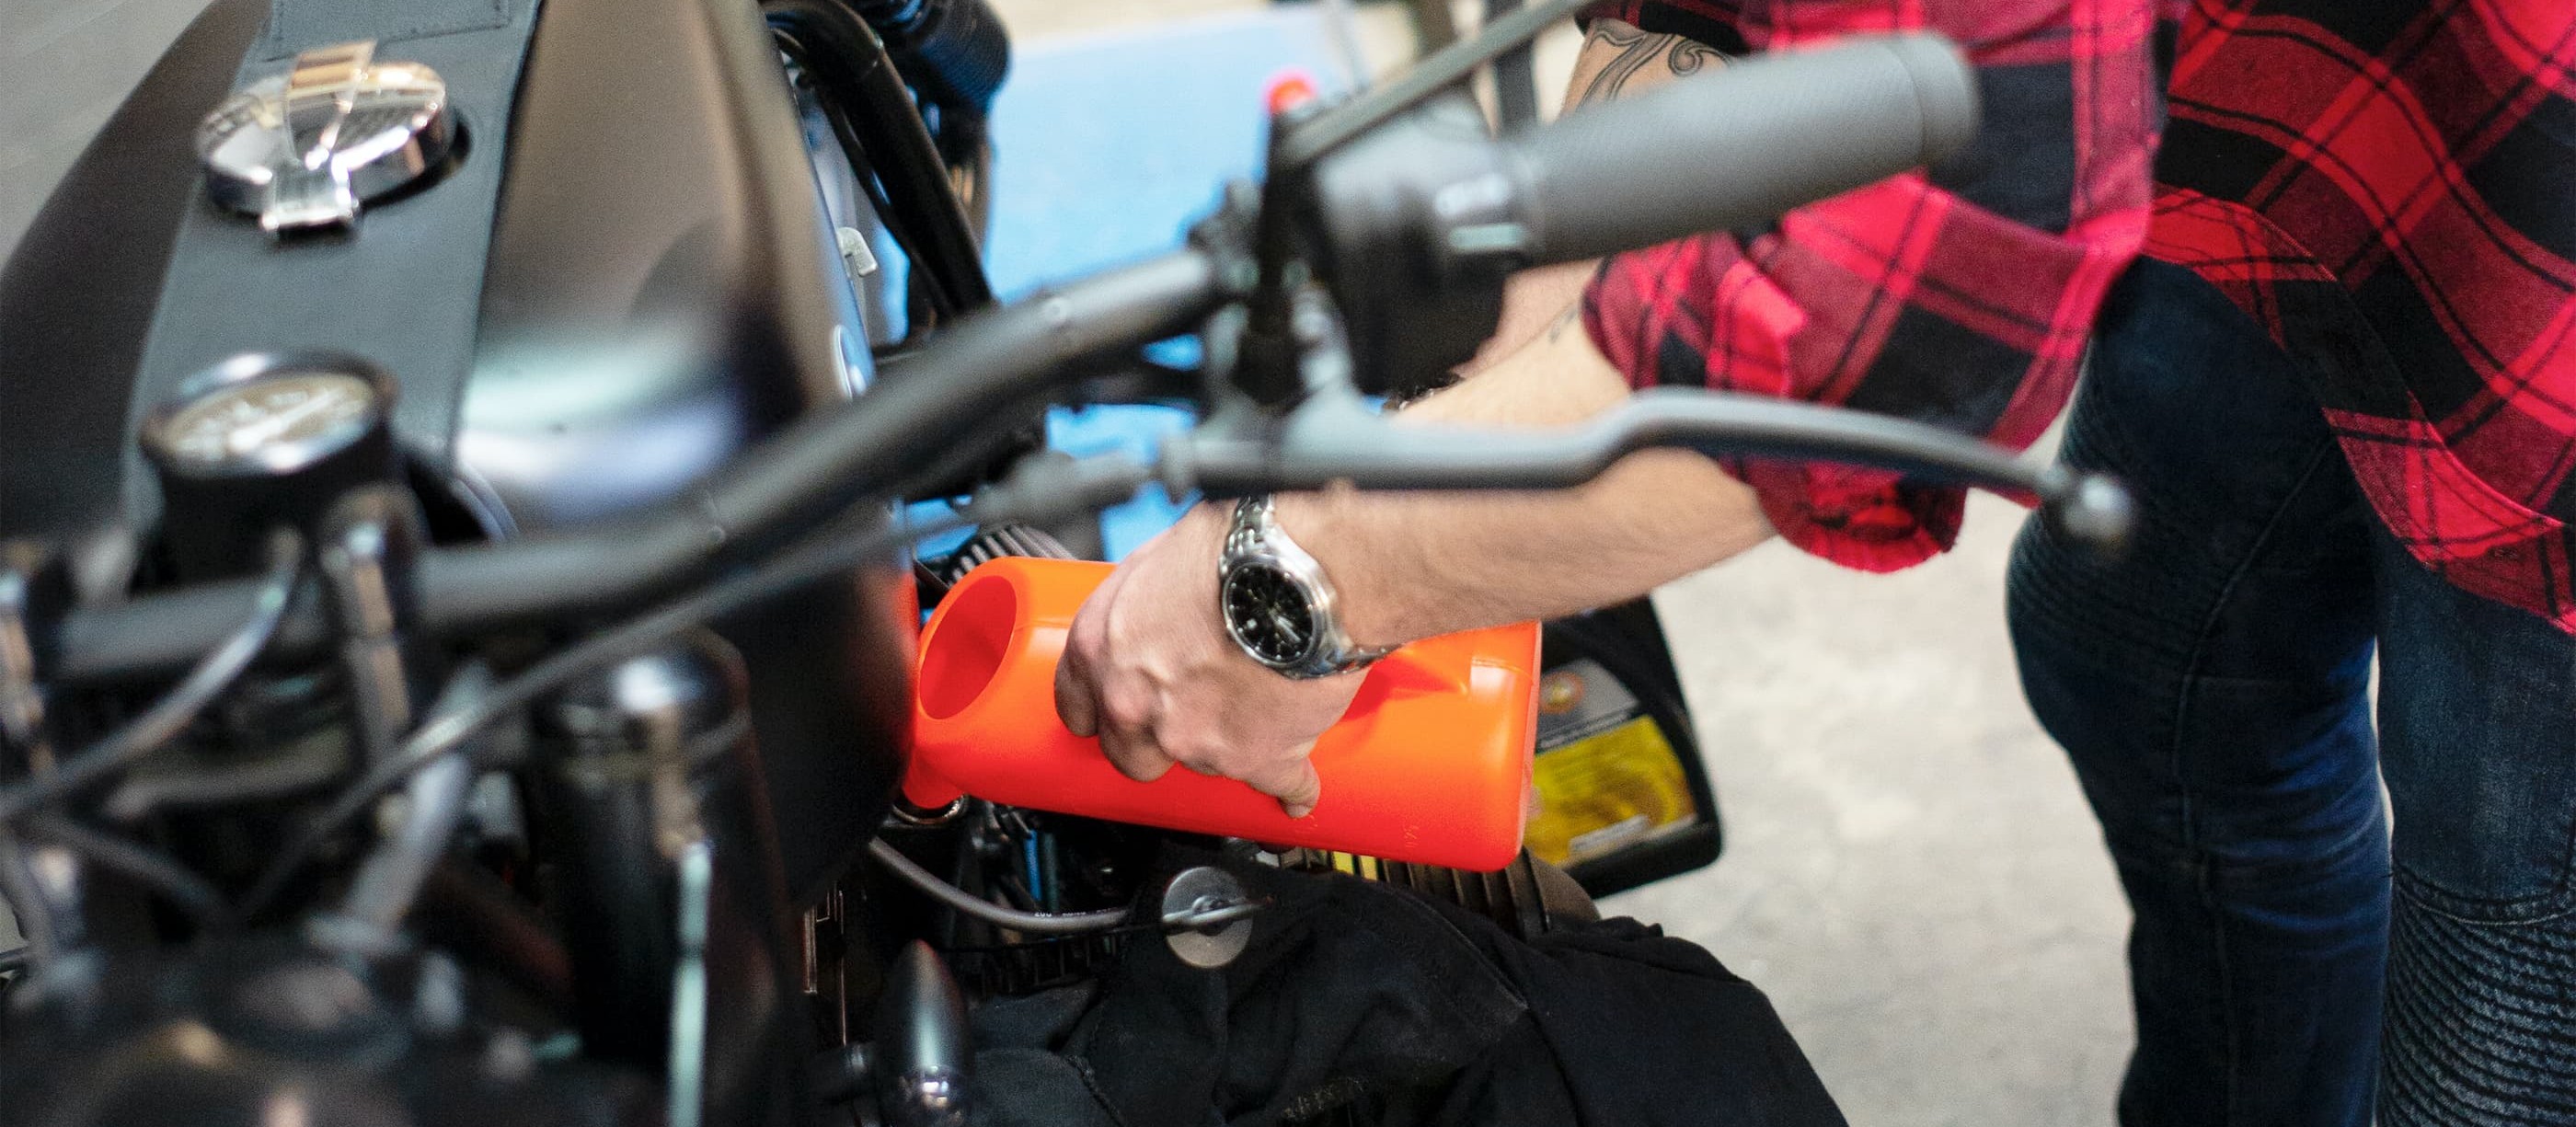
Note: The videos are in German.
- Motorcycle oil change
- The 5 deadly sins when doing an oil change
- Changing your engine oil – now let's get started
- 01 – Remove filler plug
- 02 – Drain the oil
- 03 – Remove oil filter with casing
- 04 – Oil filter without casing
- 05 – Pour in the oil
- 06 – Install a Stahlbus Oil Drain Valve
- 07 – Check the oil level
- All about engine oil
- Our recommendation
Motorcycle oil change
Engine oil is one of the “wearing parts” of a petrol engine. Mileage, engine heat and riding style are all factors which contribute to the oil and its additives gradually losing their lubricating property. So to make sure your engine gives you long, reliable service, you should always change the oil at the intervals specified by the manufacturer in your owner’s manual.
The 5 deadly sins when doing an oil change
- DO NOT: Change your oil immediately after riding your bike – risk of burns from the hot oil!
- DO NOT: Change your oil and NOT change the oil filter – the new oil would soon be contaminated by the old, dirty filter.
- DO NOT: Tip oil down the drain – oil is a hazardous waste!
- DO NOT: Reuse the old seal – oil may drip and land on your rear tyre.
- DO NOT: Put car engine oil in a motorcycle engine!
Changing your engine oil – now let's get started
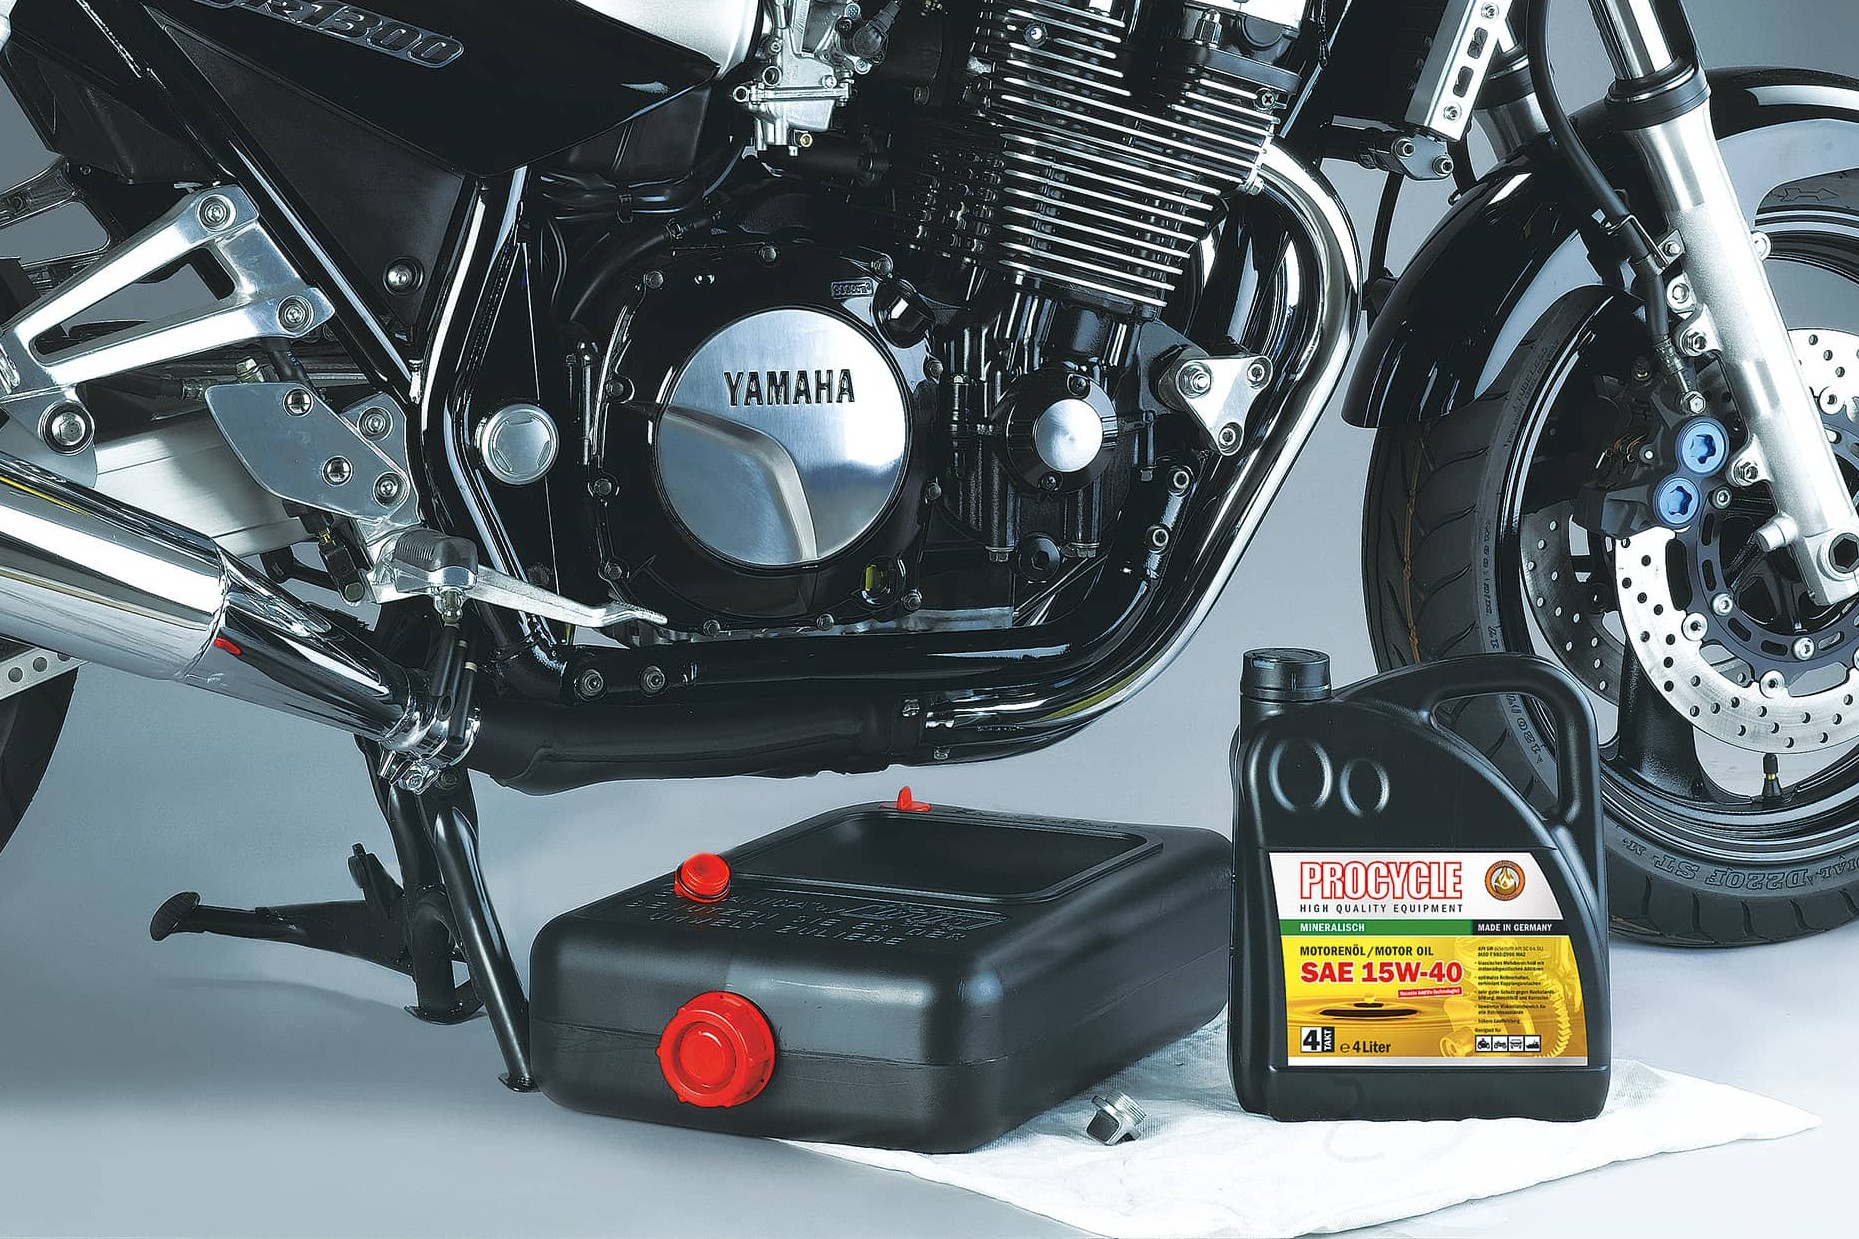
Step 1: Place a sheet on the floor, remove filler plug
01 – Remove filler plug
Before changing the oil, ride your motorcycle until it is warm (not hot). Protect your garage floor with a large sheet to catch any splashes. Depending on the motorcycle, you may first need to remove the plastic fairing to get at the drain plug. And rather than borrowing your mum's best kitchen bowl, now might be a good time to invest in a proper oil drip pan. To enable the oil to drain from the engine, you need to let enough air in at the top – so now undo and remove the filler plug.
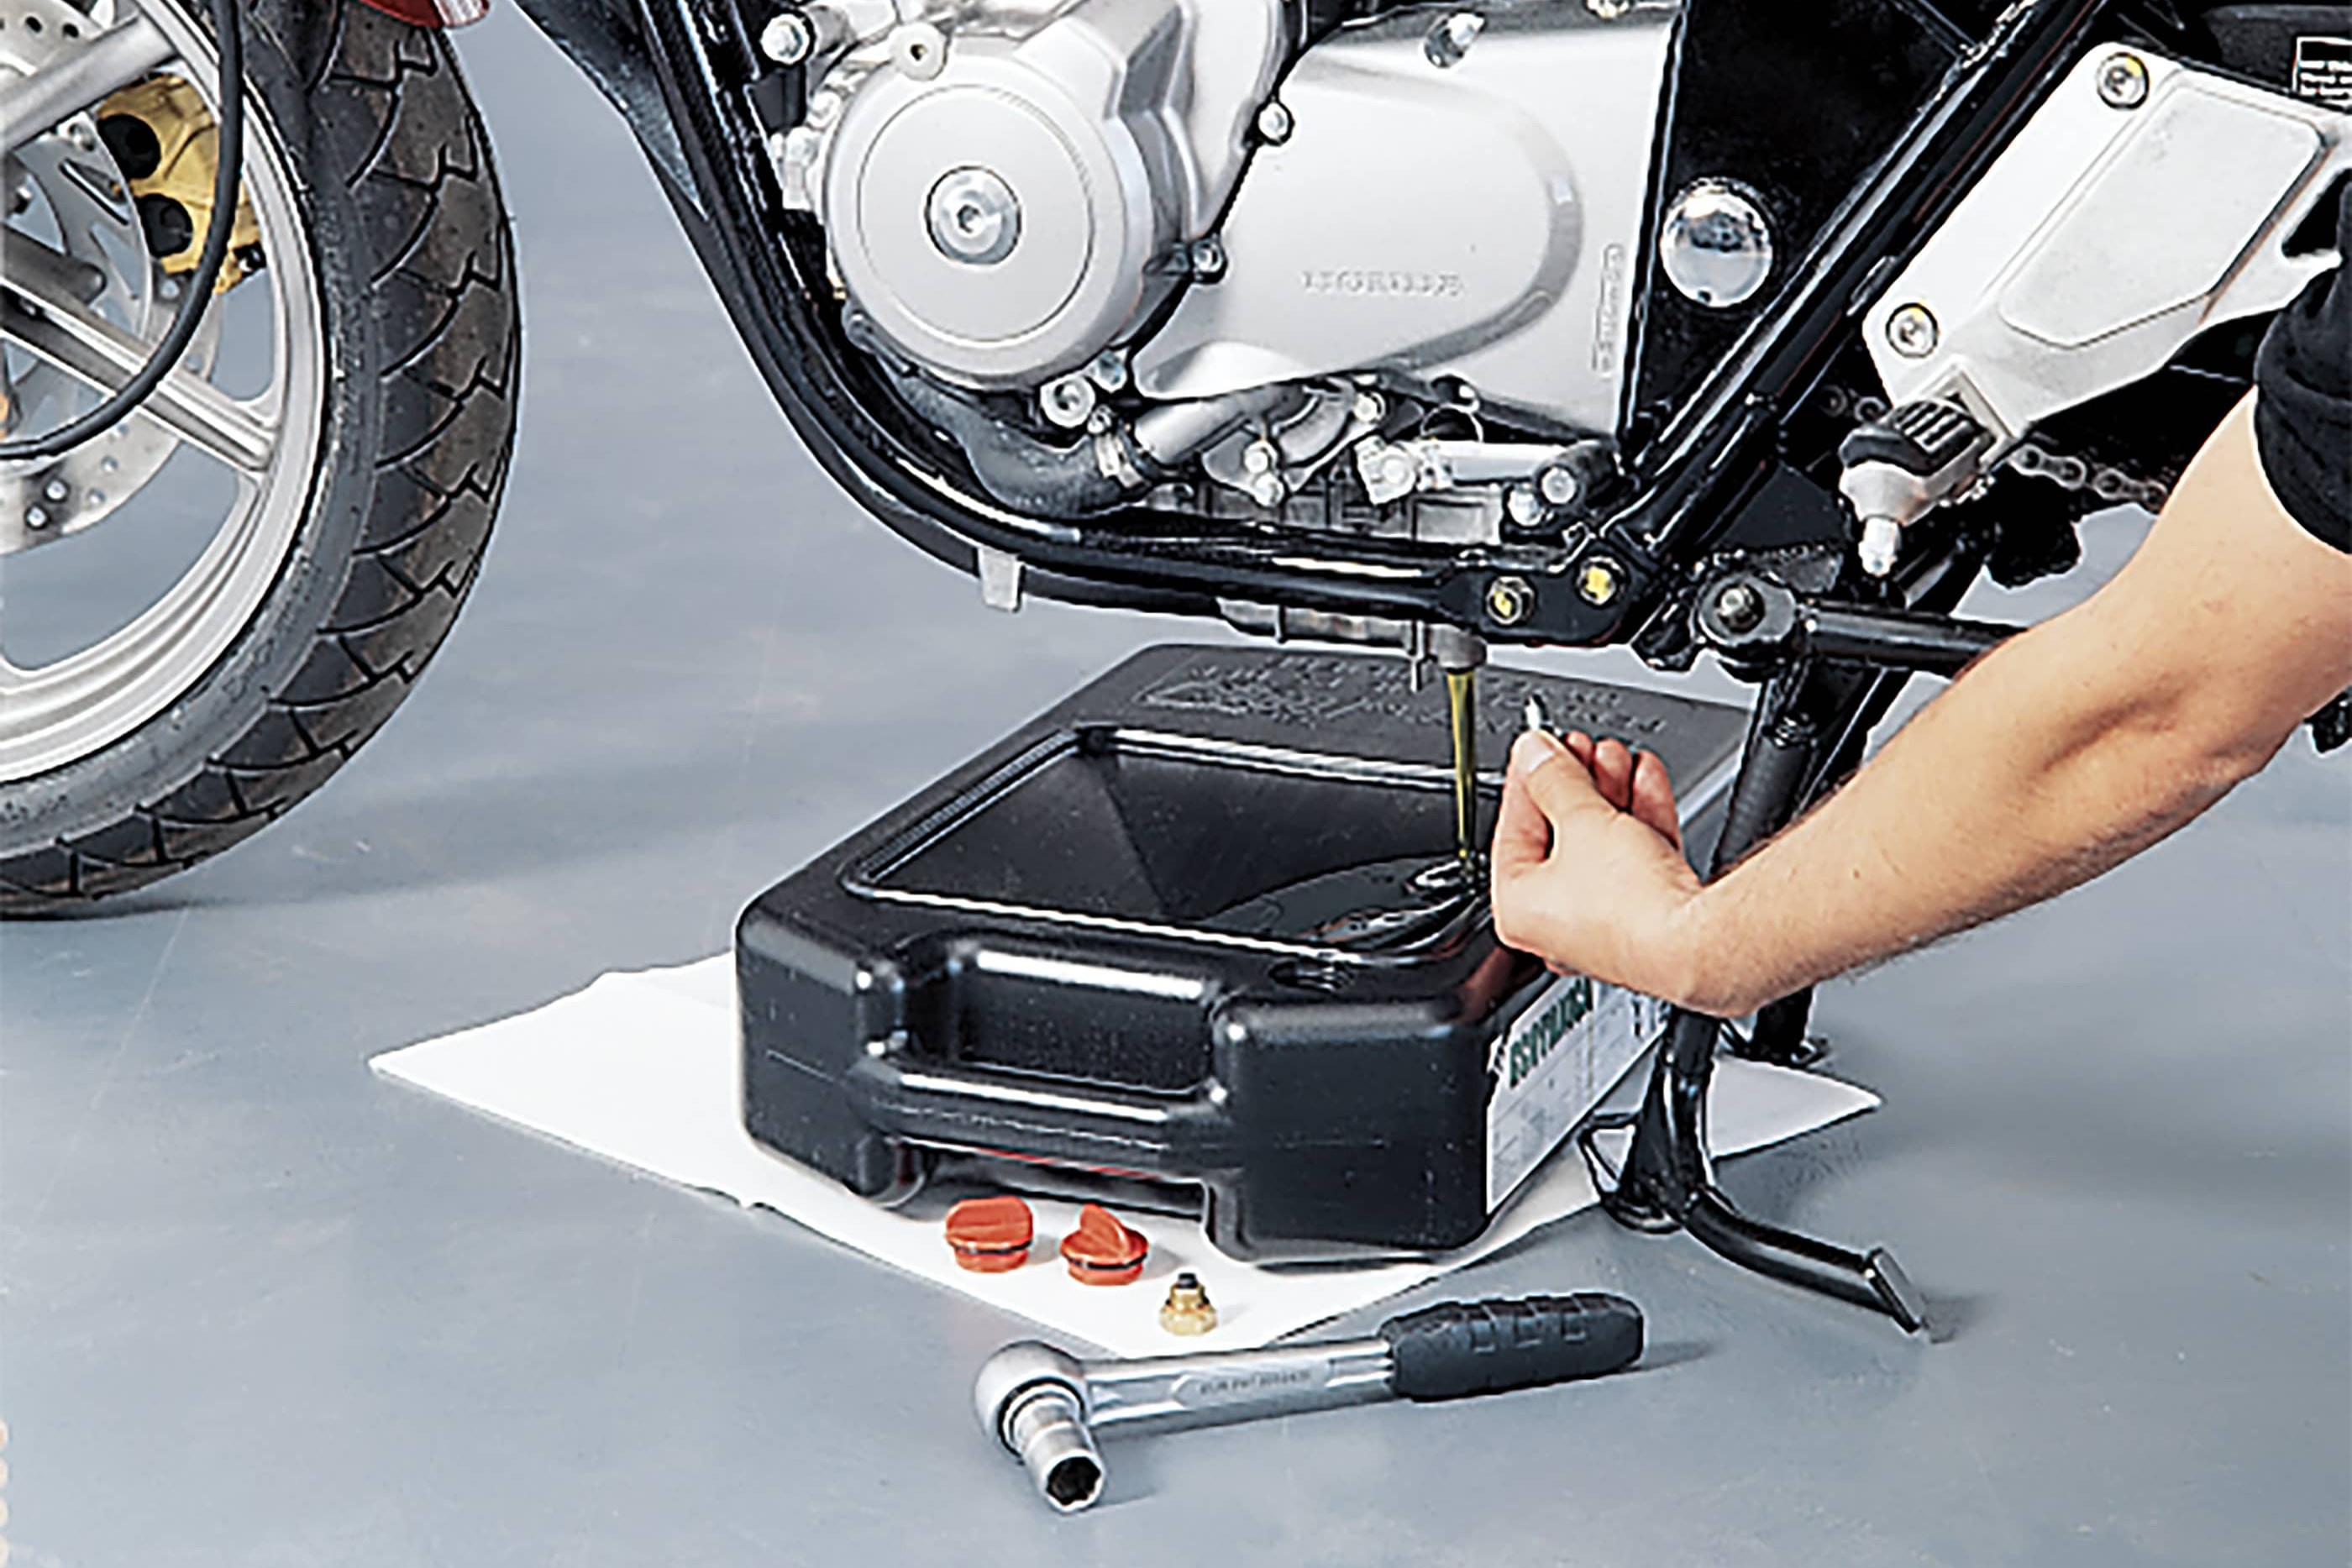
Step 2: Drain the oil
02 – Drain the oil
Using a ratchet with a hex socket, loosen the oil drain plug and slowly unscrew and remove it. The oil is probably still quite hot, so you might want to make the last few turns using a cloth to protect your hands.
Always fit a new oil filter each time you do an oil change. There are two types of filter: one looks like a can because it has its own casing, while the other looks like a rolled up mini accordion and is made of filter paper. This type needs to be installed in a casing on the engine.
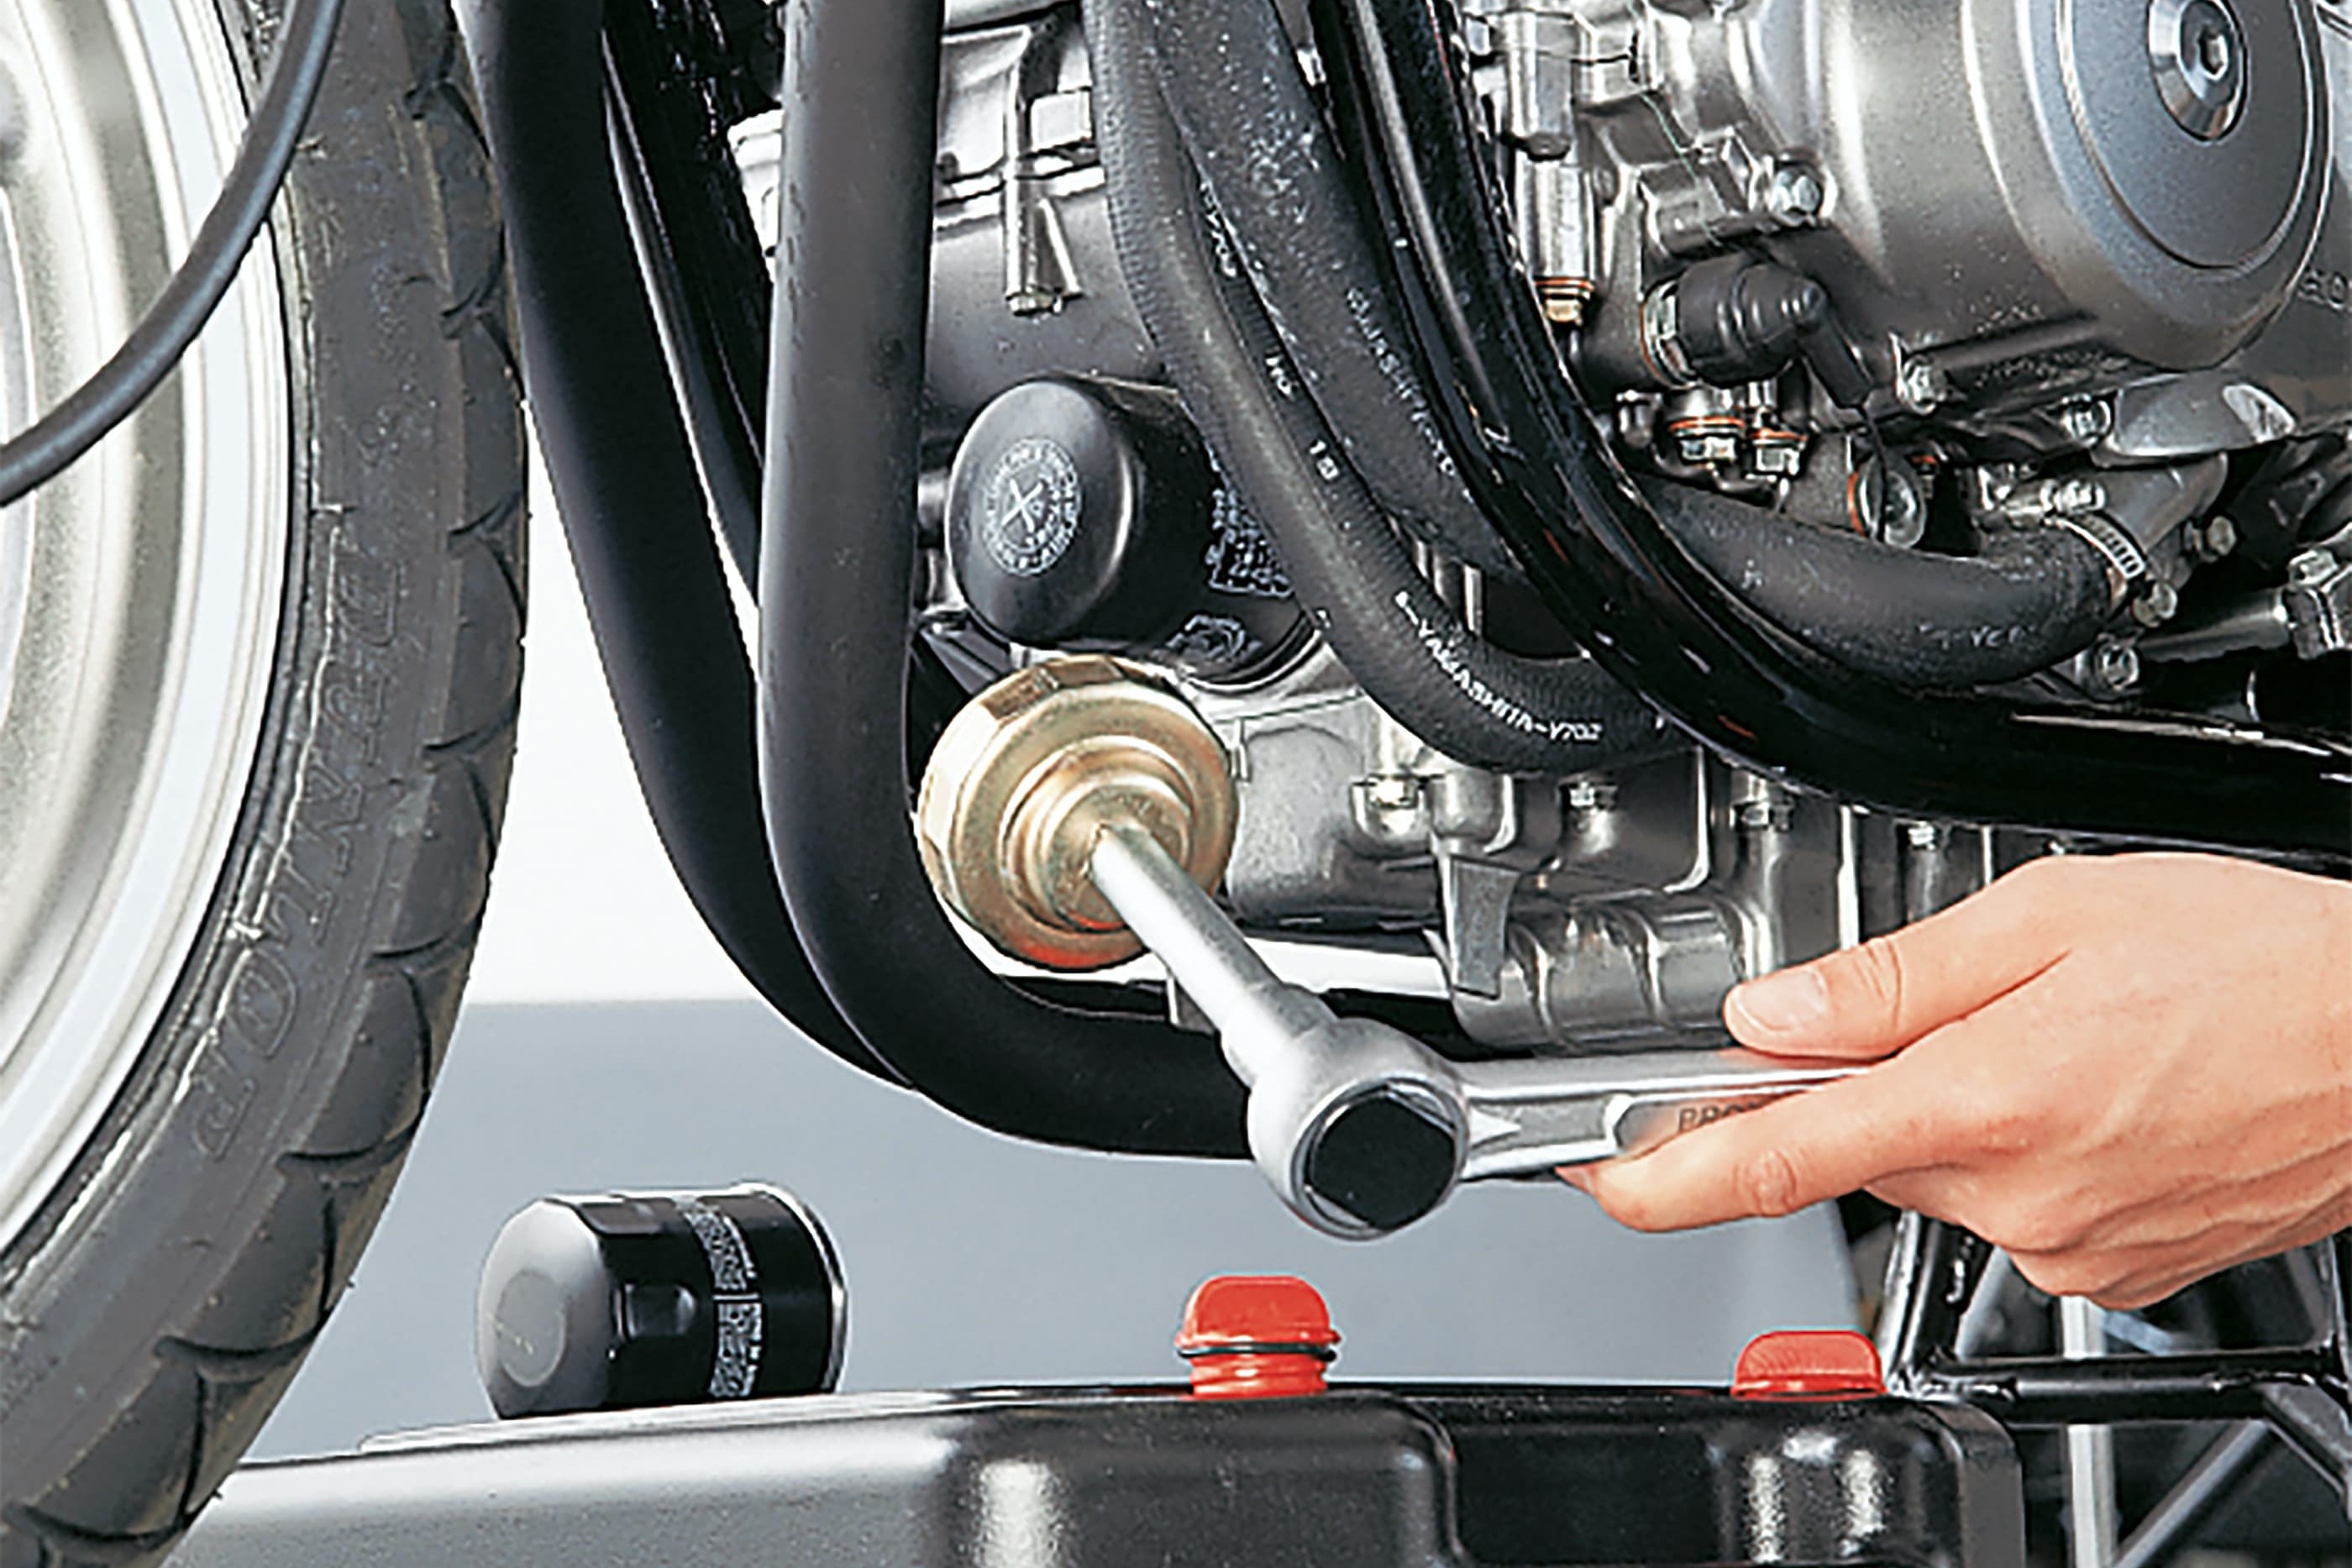
Step 3, Fig. 1: Remove oil filter with casing
03 – Remove oil filter with casing
An oil filter wrench attachment for the ratchet makes light work of undoing the can-type filter.
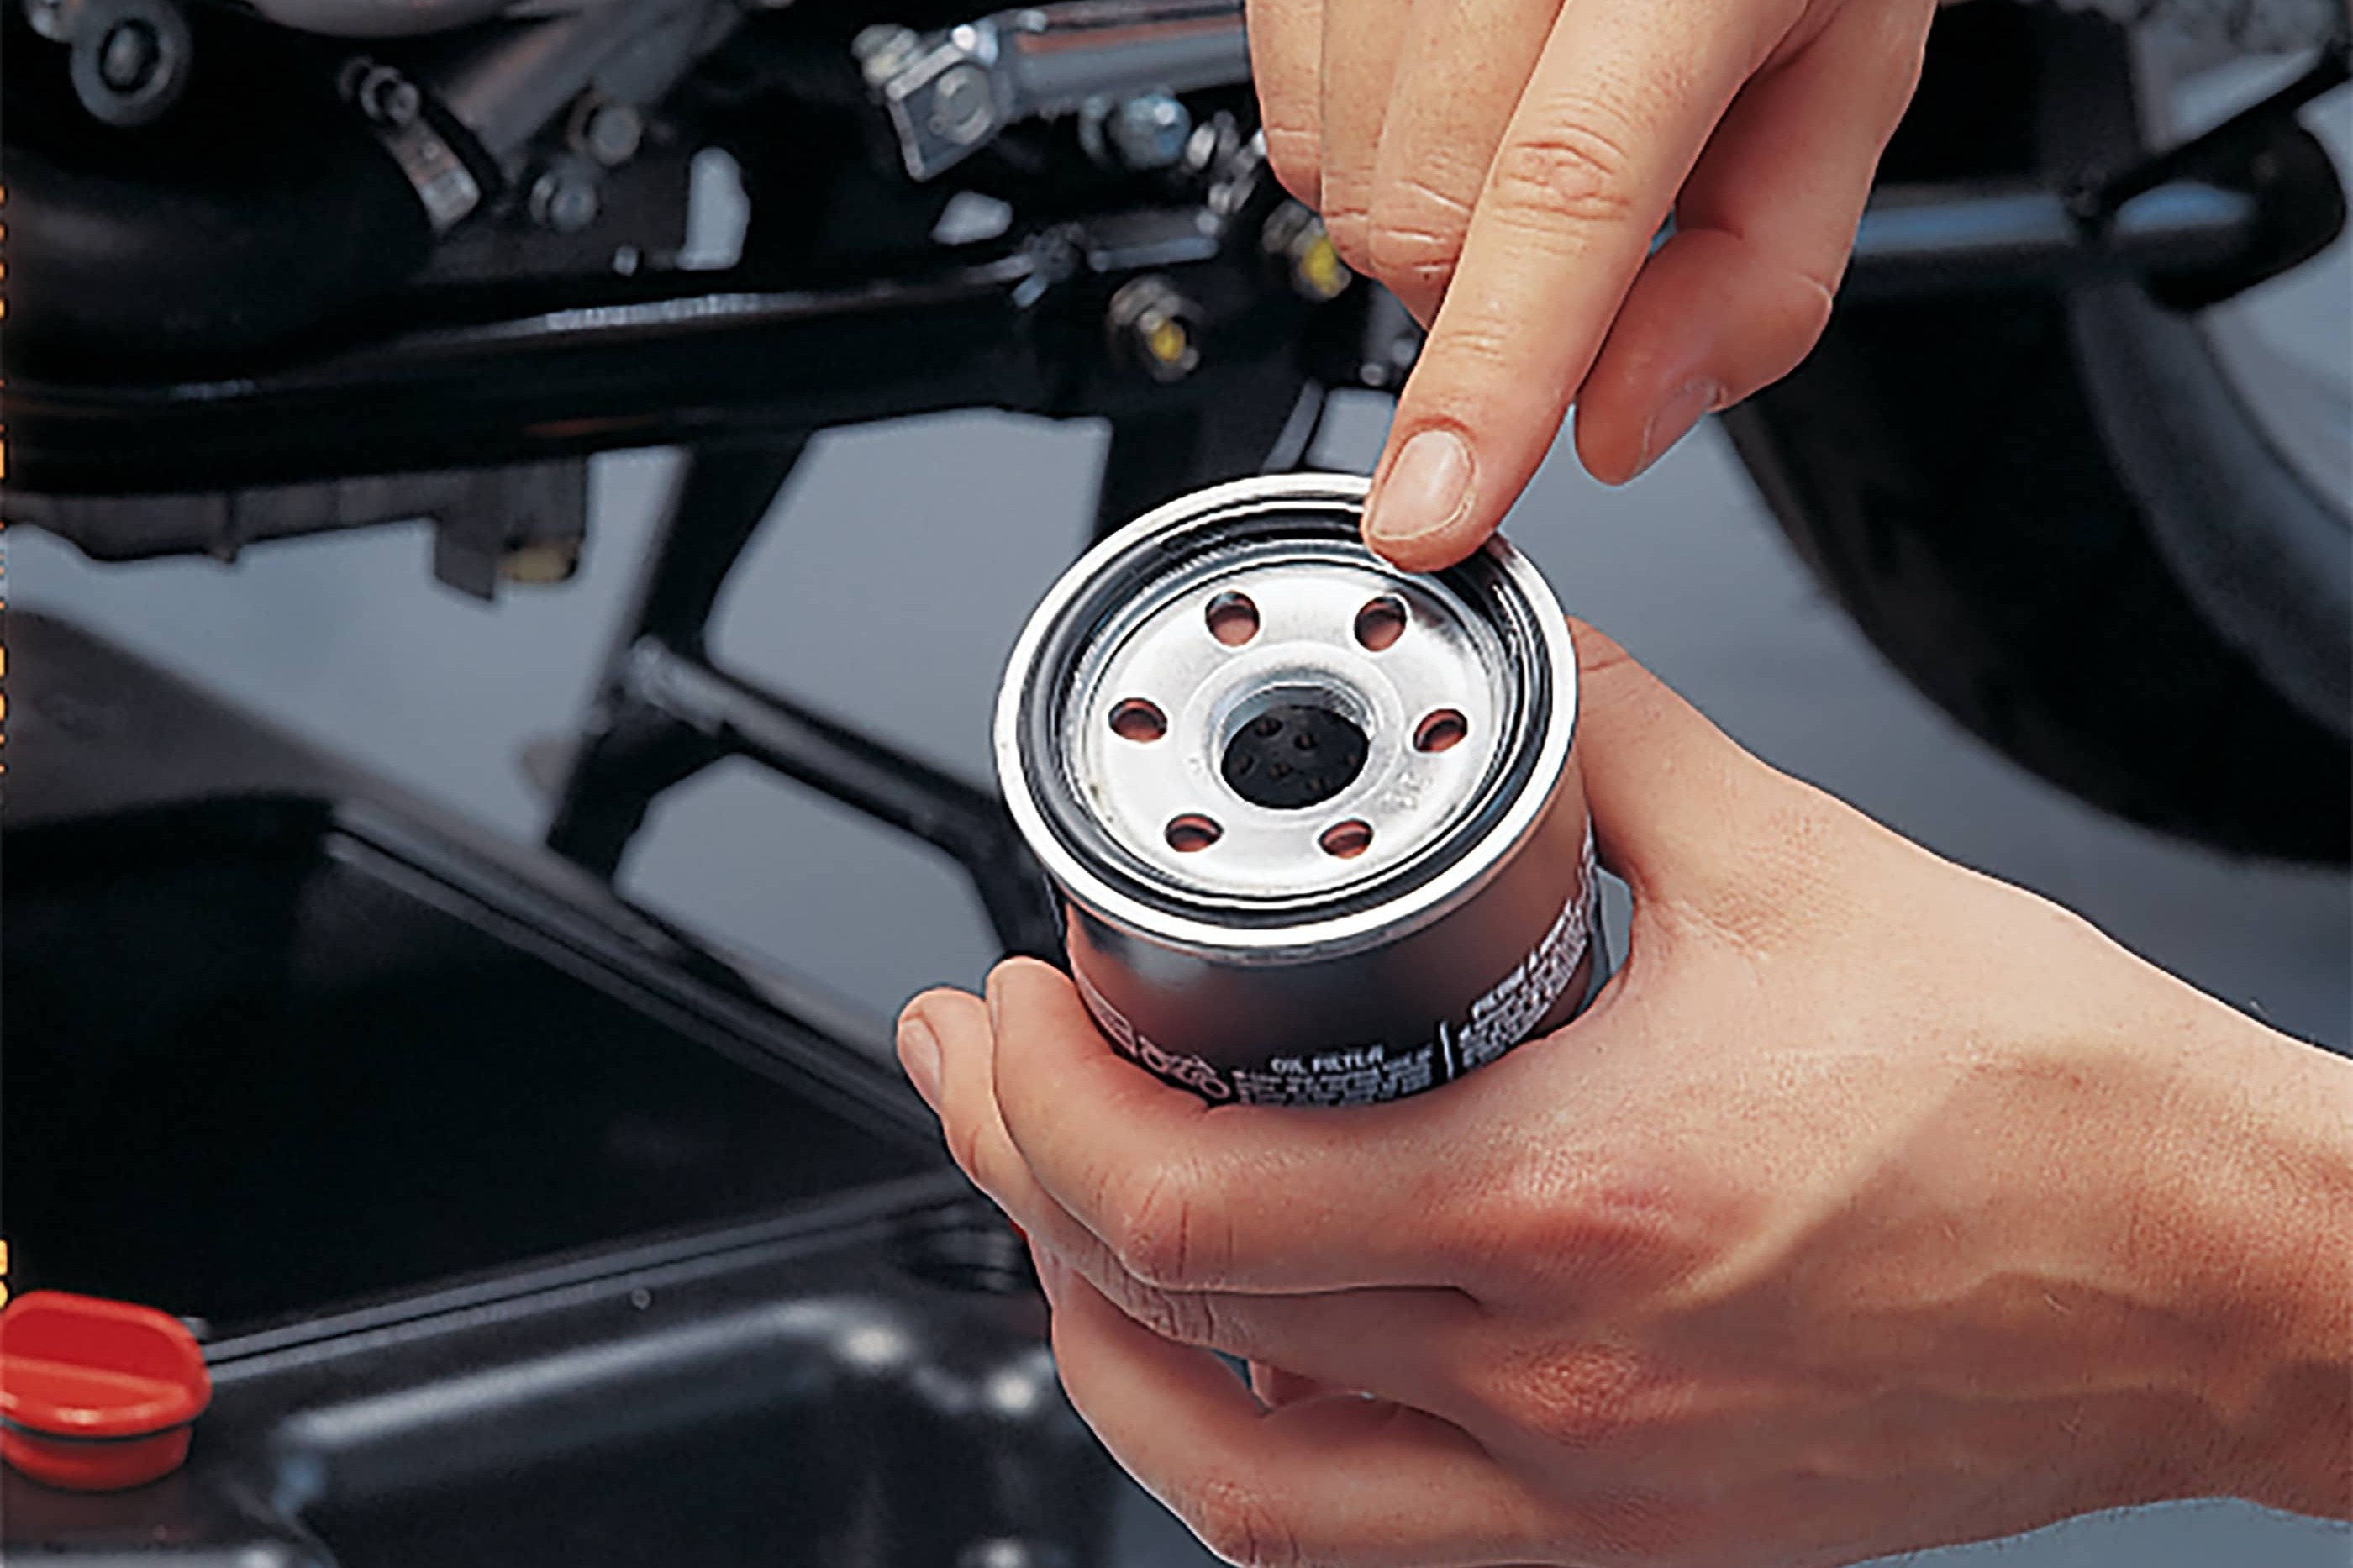
Step 3, Fig. 2: Lightly oil the seal
The new can filter is fitted with a seal, which you need to lightly oil prior to installation.
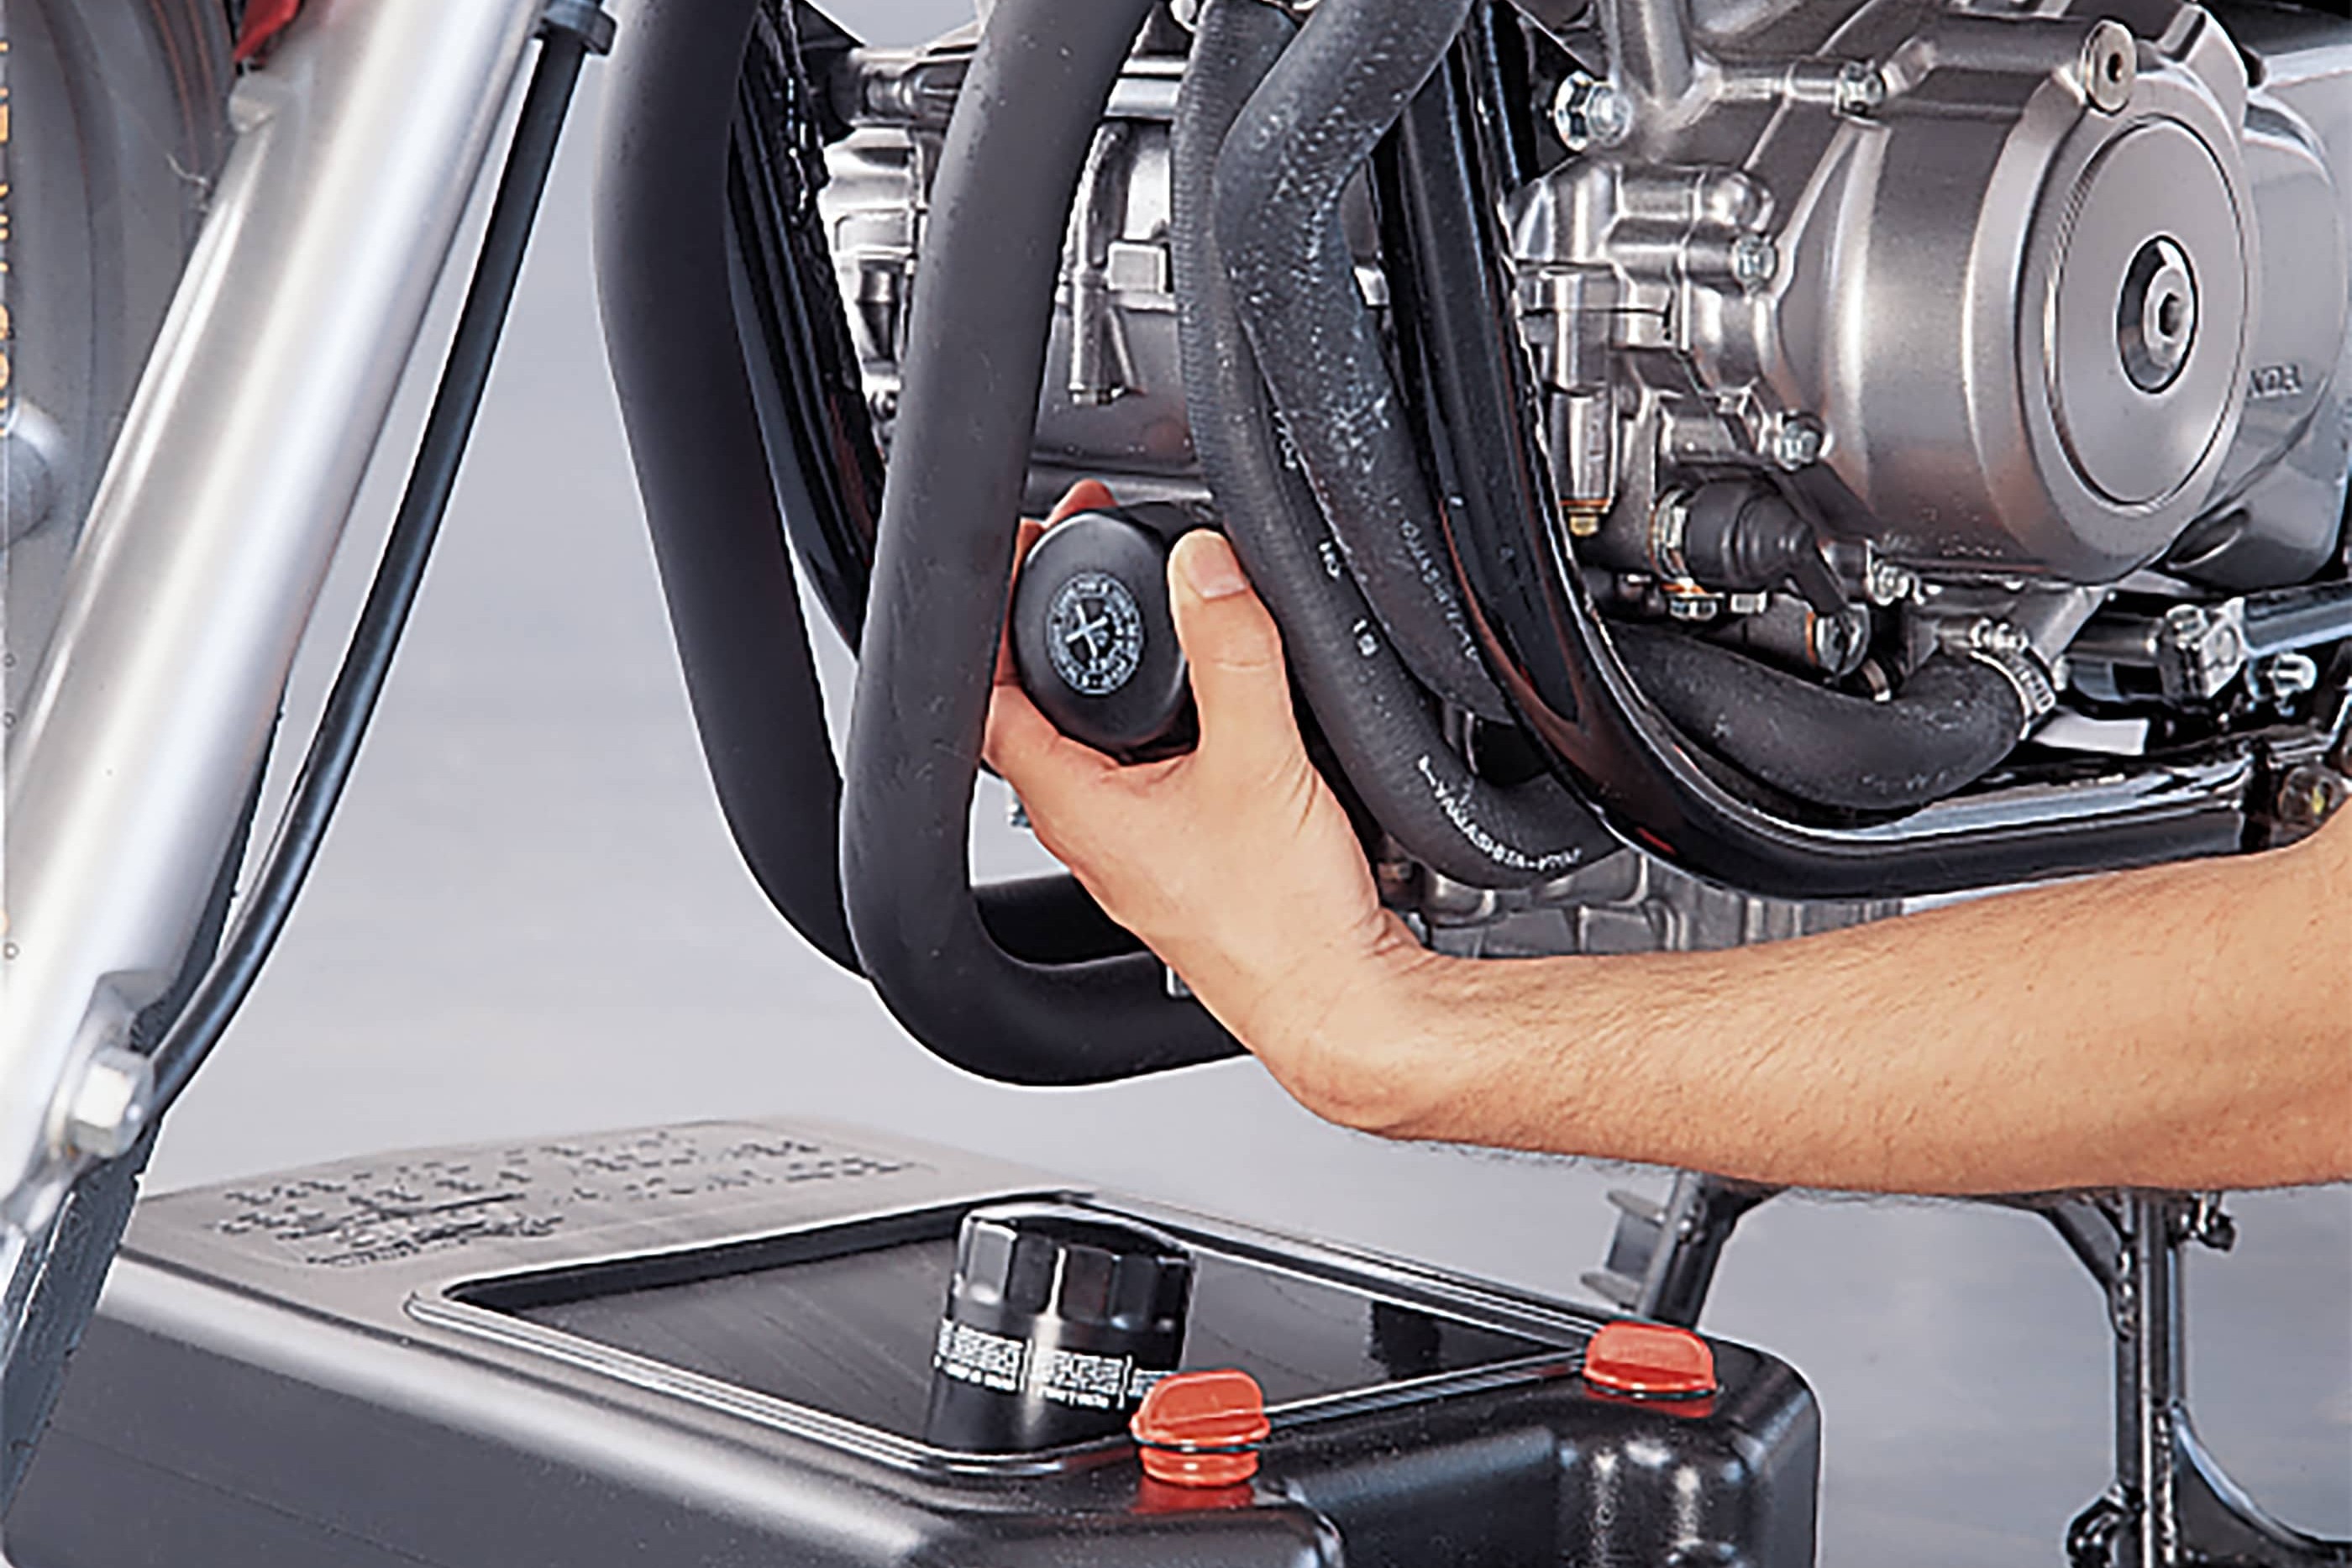
Step 3, Fig. 3: Tighten to vehicle manufacturer's specifications
Before installing the new filter, check that it is the same as the one you're replacing (height, diameter, sealing surface, thread, etc.). Tighten the new cartridge oil filter as instructed in your motorcycle handbook: Always follow the vehicle manufacturer's specifications!
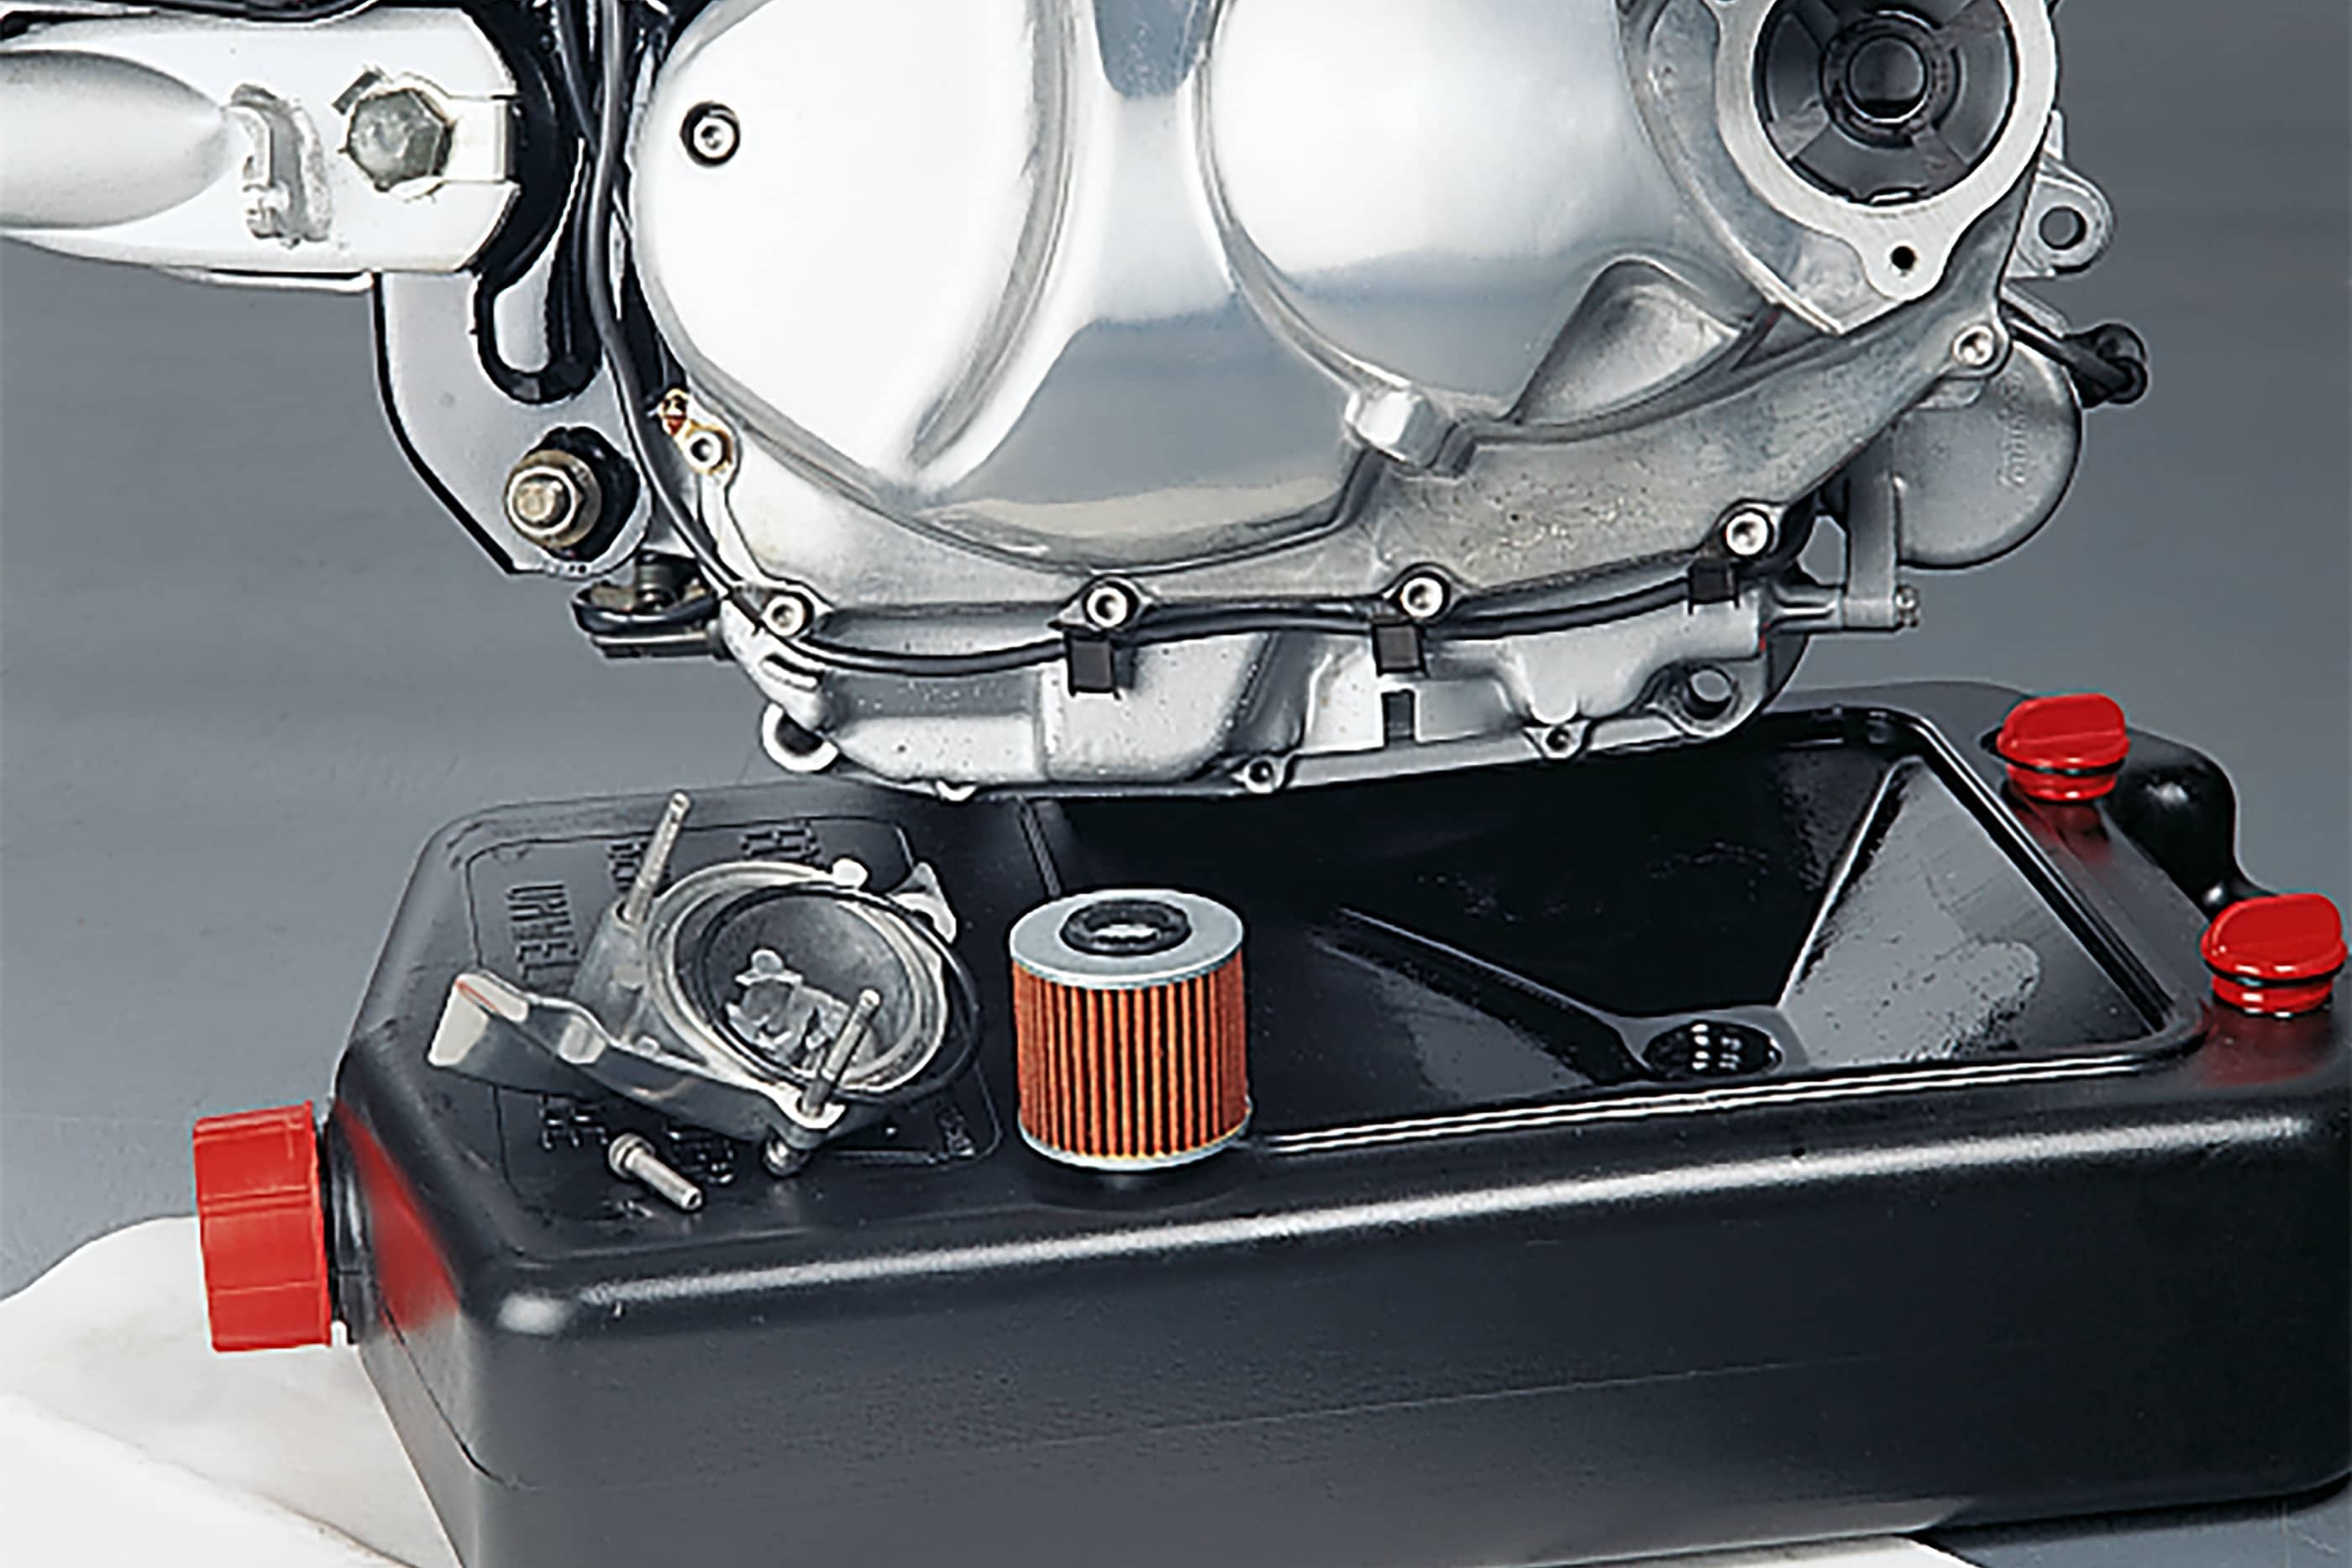
Step 4: Oil filter without casing
04 – Oil filter without casing
The filters that look like a mini accordion are housed in a casing held either by a central screw or several screws around the edge.
In almost all cases, you will find this type of filter at the front of the engine. Unscrew the cap (watch out for residual oil escaping!), remove the old filter (take note of which way round it was fitted), clean the casing and insert the new filter, making sure it is correctly aligned.
Depending on the manufacturer, there may be seals or gaskets on the casing, cap or central screw, all of which you need to replace with new ones. For more on this topic, see Seals and gaskets in our DIY tips.
Once you have closed the casing and tightened the screws with a torque wrench, wipe off any traces of oil on the engine using a cleaning agent. Don't skimp on the cleaning, otherwise you will notice some rather nasty smelling gases once the engine gets hot – not to mention extremely stubborn stains.
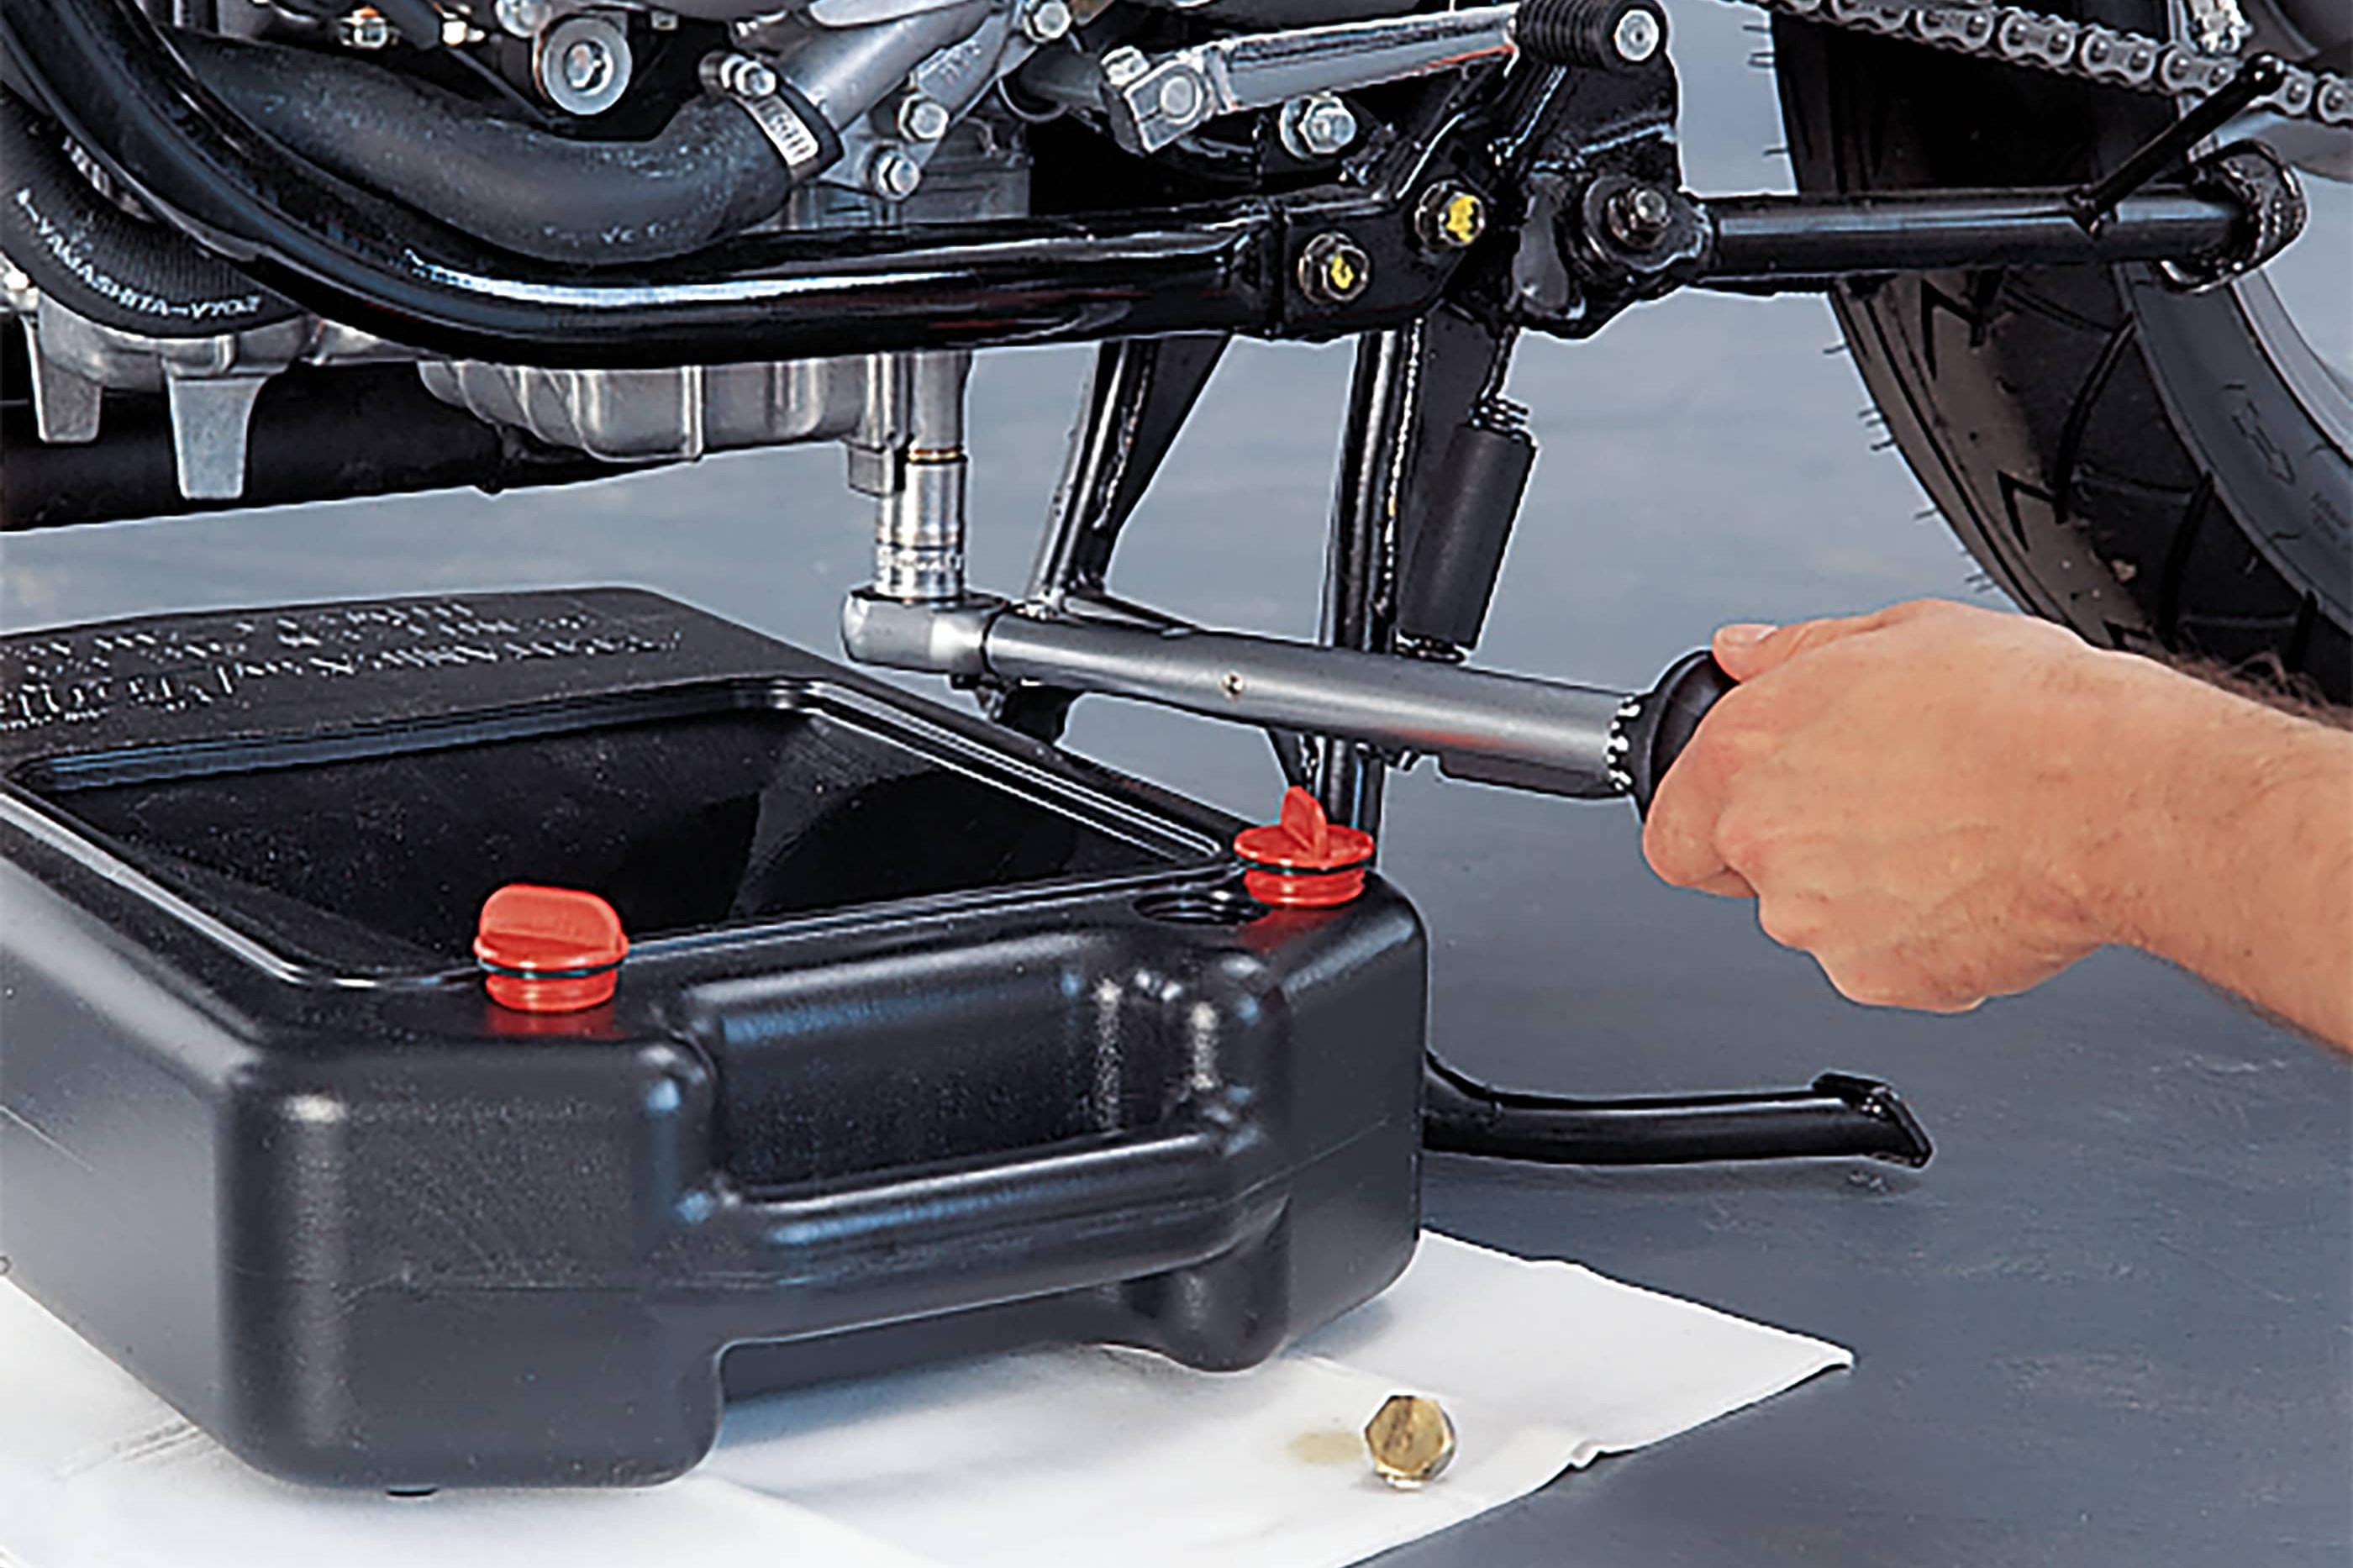
Step 5, Fig. 1: Tighten the drain plug
05 – Pour in the oil
Fit a new seal to the drain plug, tighten it according to manufacturer specifications and then pour in the fresh oil.
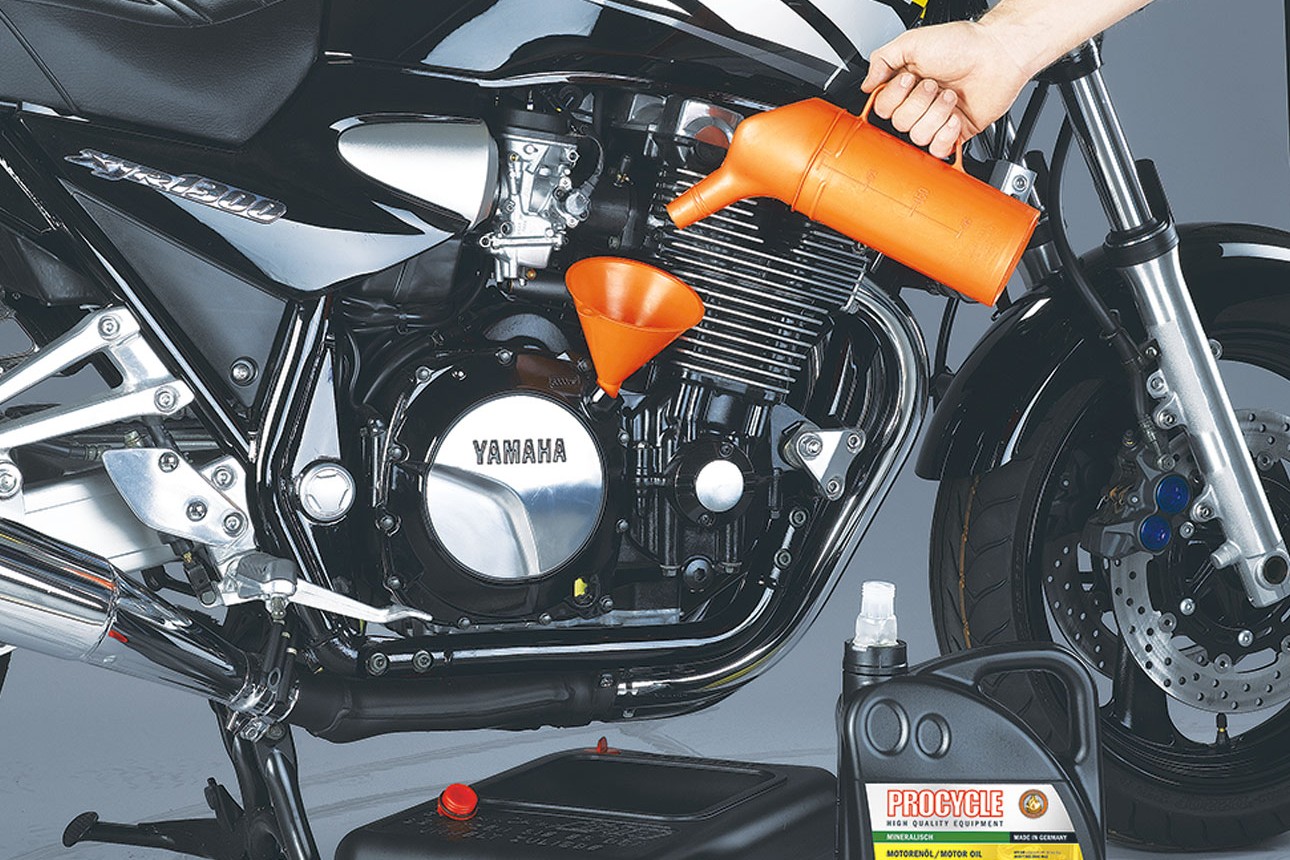
Step 5, Fig. 2: Pour in the oil
Check your vehicle owner’s manual for the correct quantity, viscosity and specifications. And while you're at it, fit a new seal on the filler plug – that will save you a whole lot of work later on.
Please note: Run the engine briefly, then check the oil level again and make sure there are no leakages anywhere.
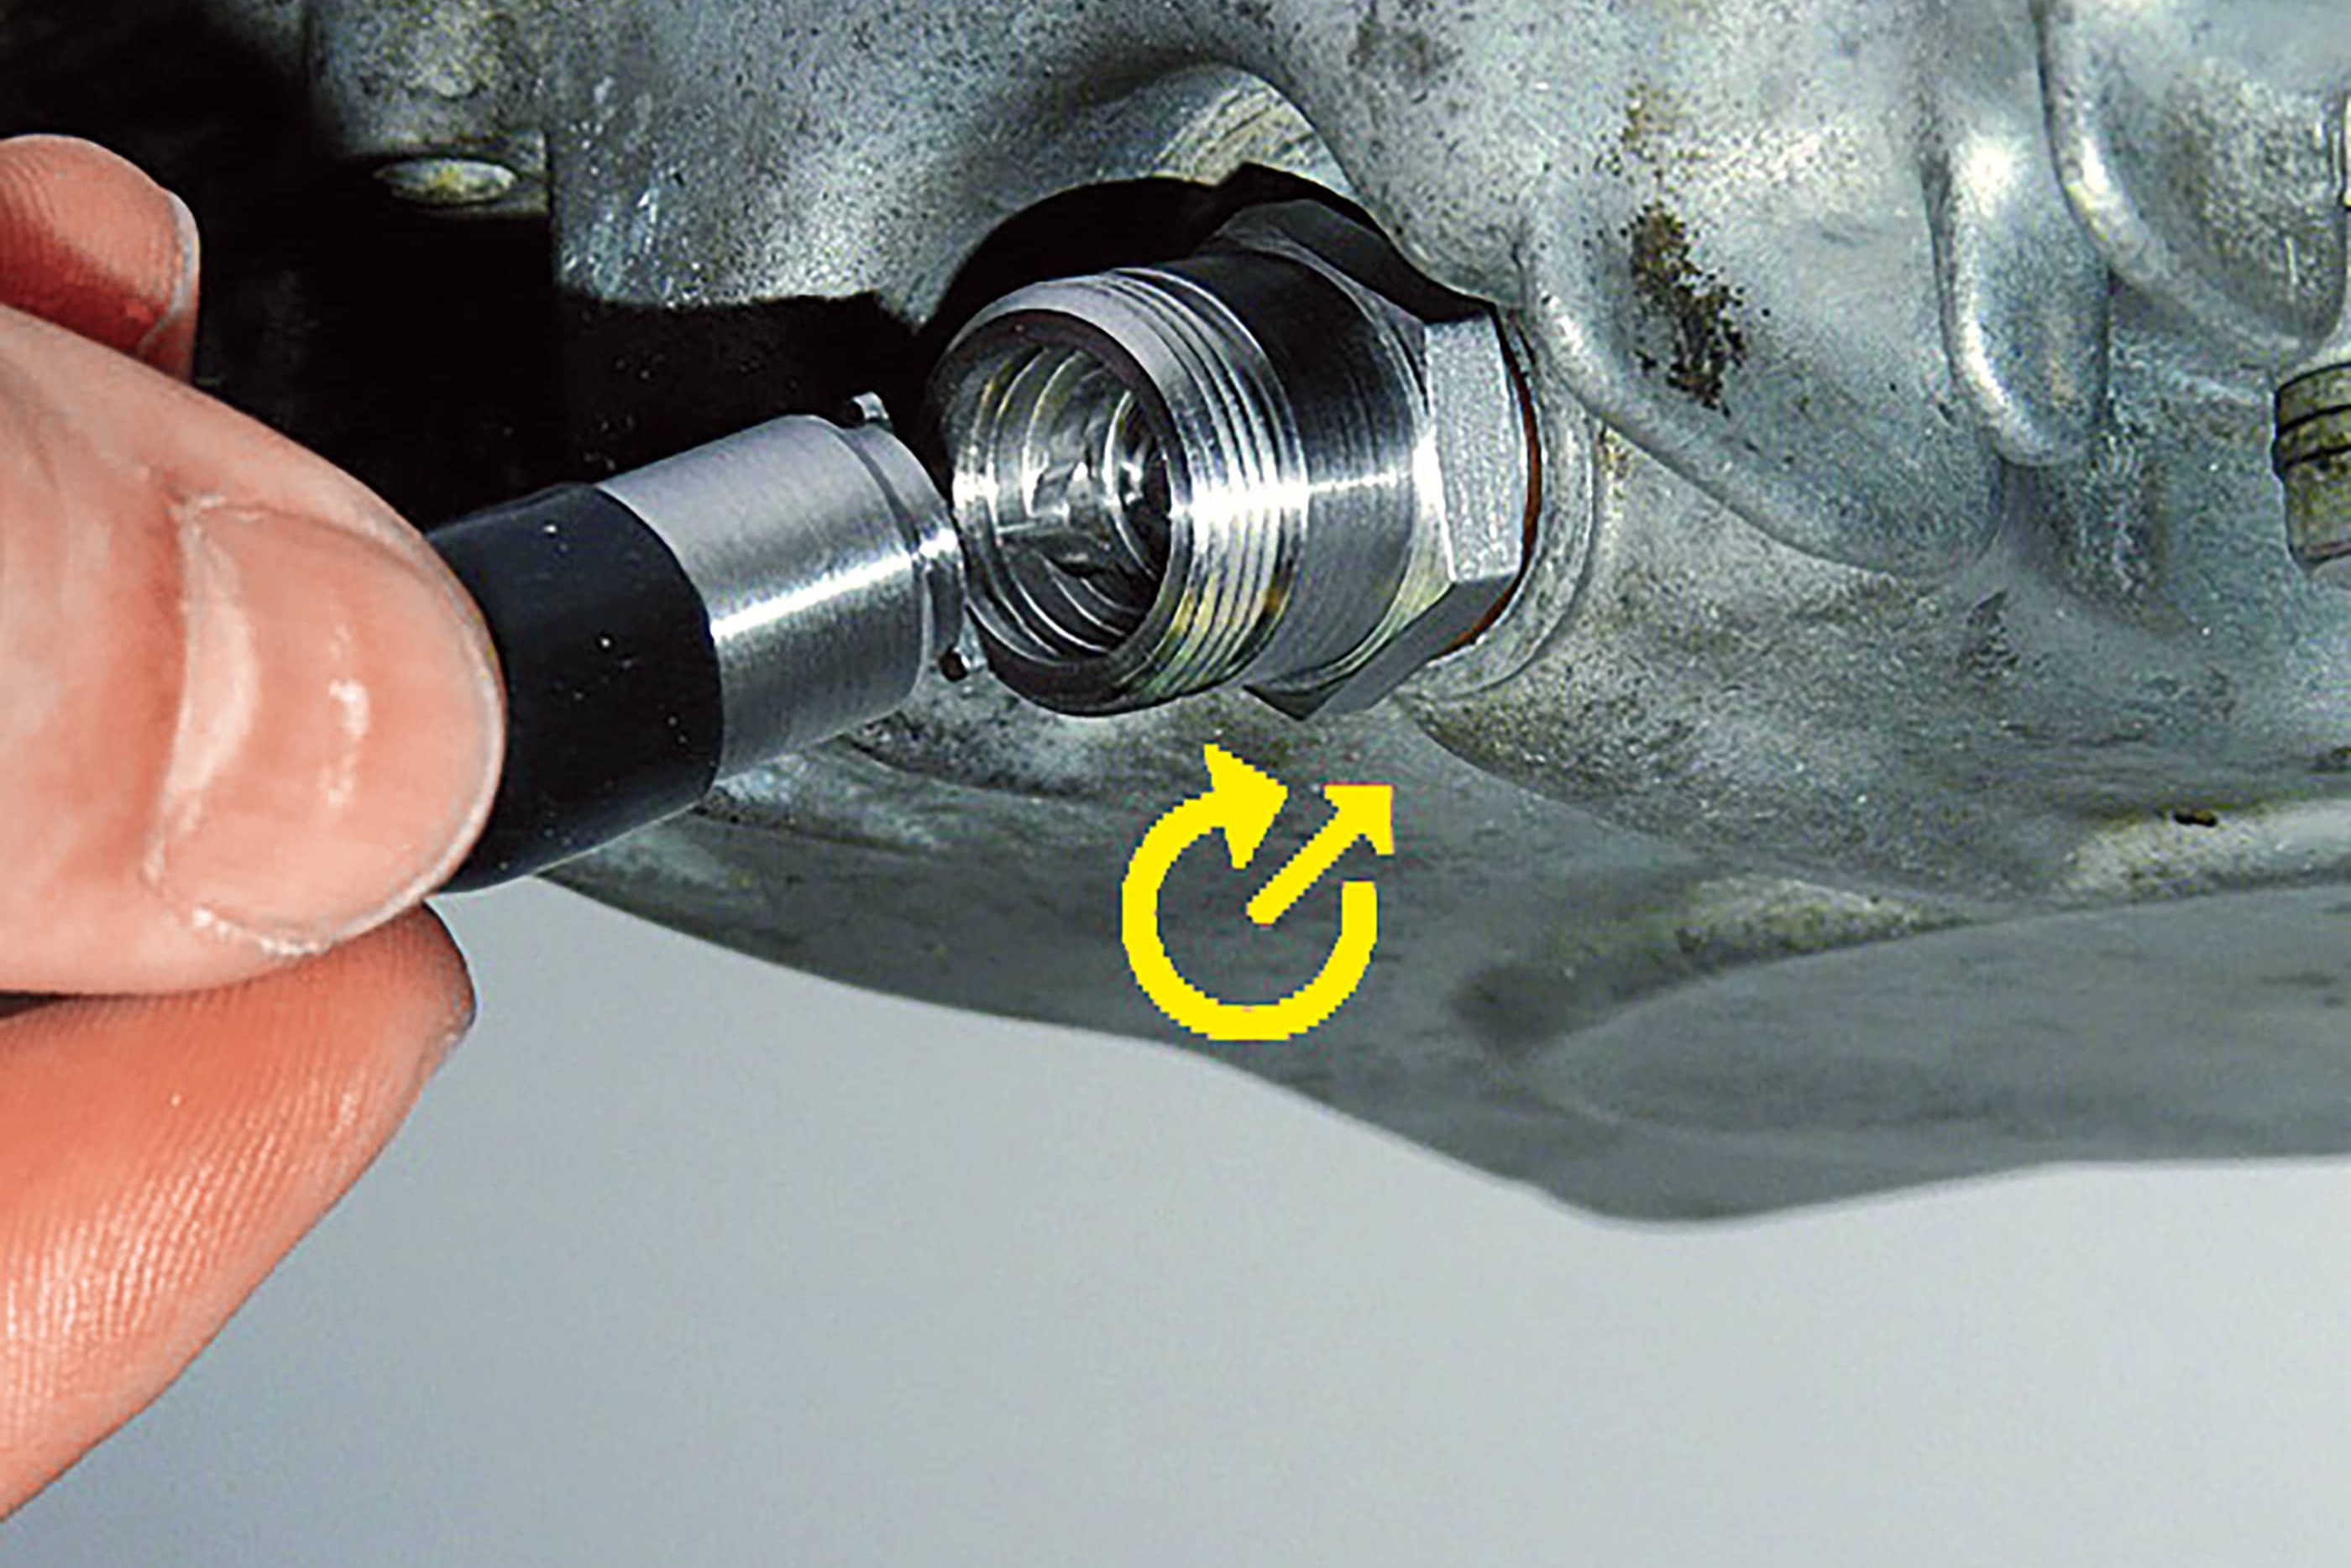
Step 6: Install a Stahlbus Oil Drain Valve
06 – Install a Stahlbus Oil Drain Valve
If you’d like to make your next oil change an easier and cleaner job, it’s a good idea to replace the original drain plug with a Stahlbus Oil Drain Valve – this is the perfect moment to make this small but very useful improvement to your motorbike!
With a Stahlbus Oil Change Valve, all you have to do to change the oil is simply unscrew the protective cap and attach the quick-release hose connector. This causes the valve to open, and you can let the oil drain into the container you have placed underneath.
When you detach the hose connector, the valve closes automatically, and you only need to screw the protective cap back on. Changing your engine oil couldn’t be any easier. There’s less wear to the thread in the engine case, and no seal to change. You can find our full range of Stahlbus drain valves at "My Bike".
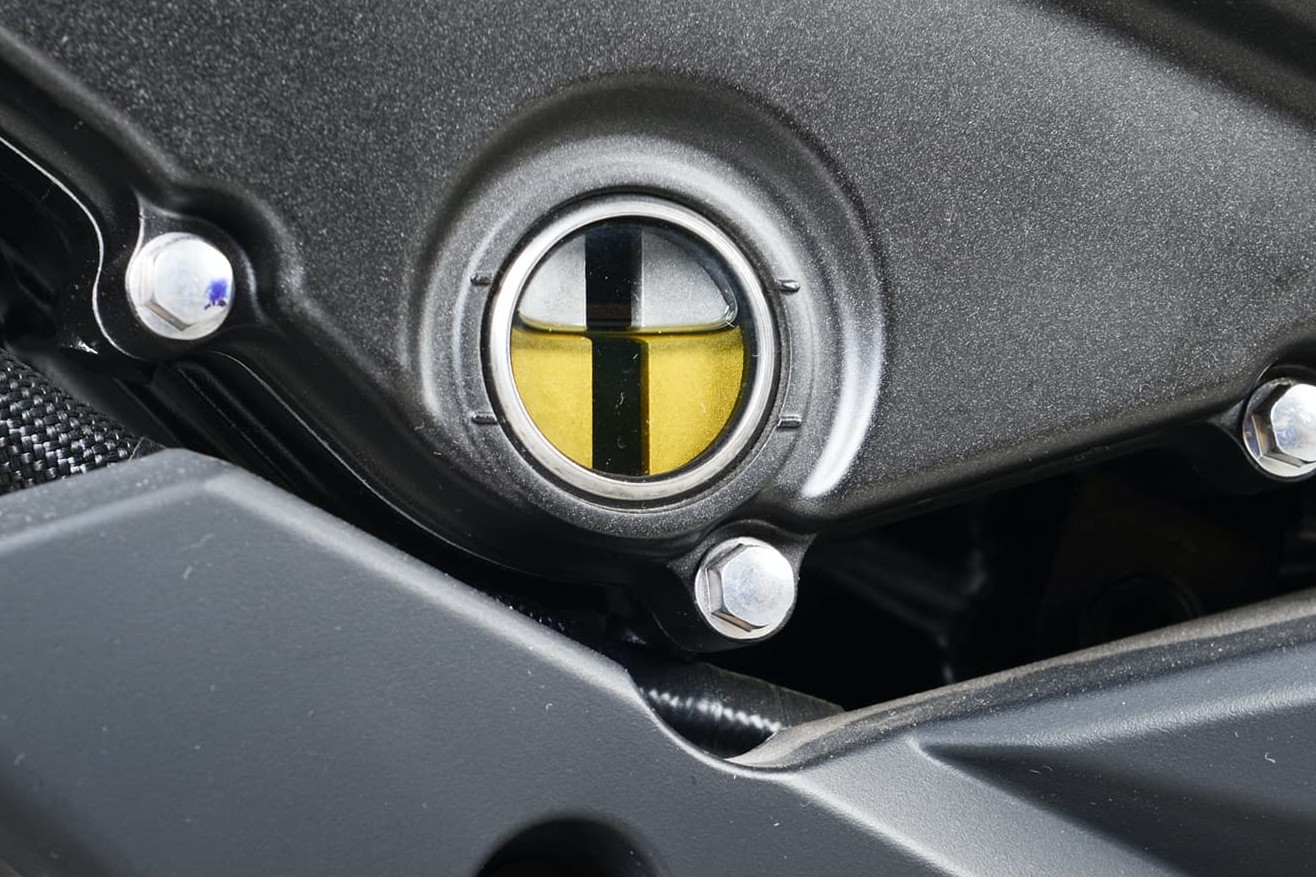
Step 7: Check the oil level
07 – Check the oil level
And once you've cleared up the garage and disposed of the oil in the prescribed manner – unsightly oil stains on the floor are best shifted with an oil stain remover such as brake cleaner – you can get straight back on the road.
But before mounting your trusty steed, double check the oil level – particularly if your oil filter is fitted in a separate casing.
All about engine oil
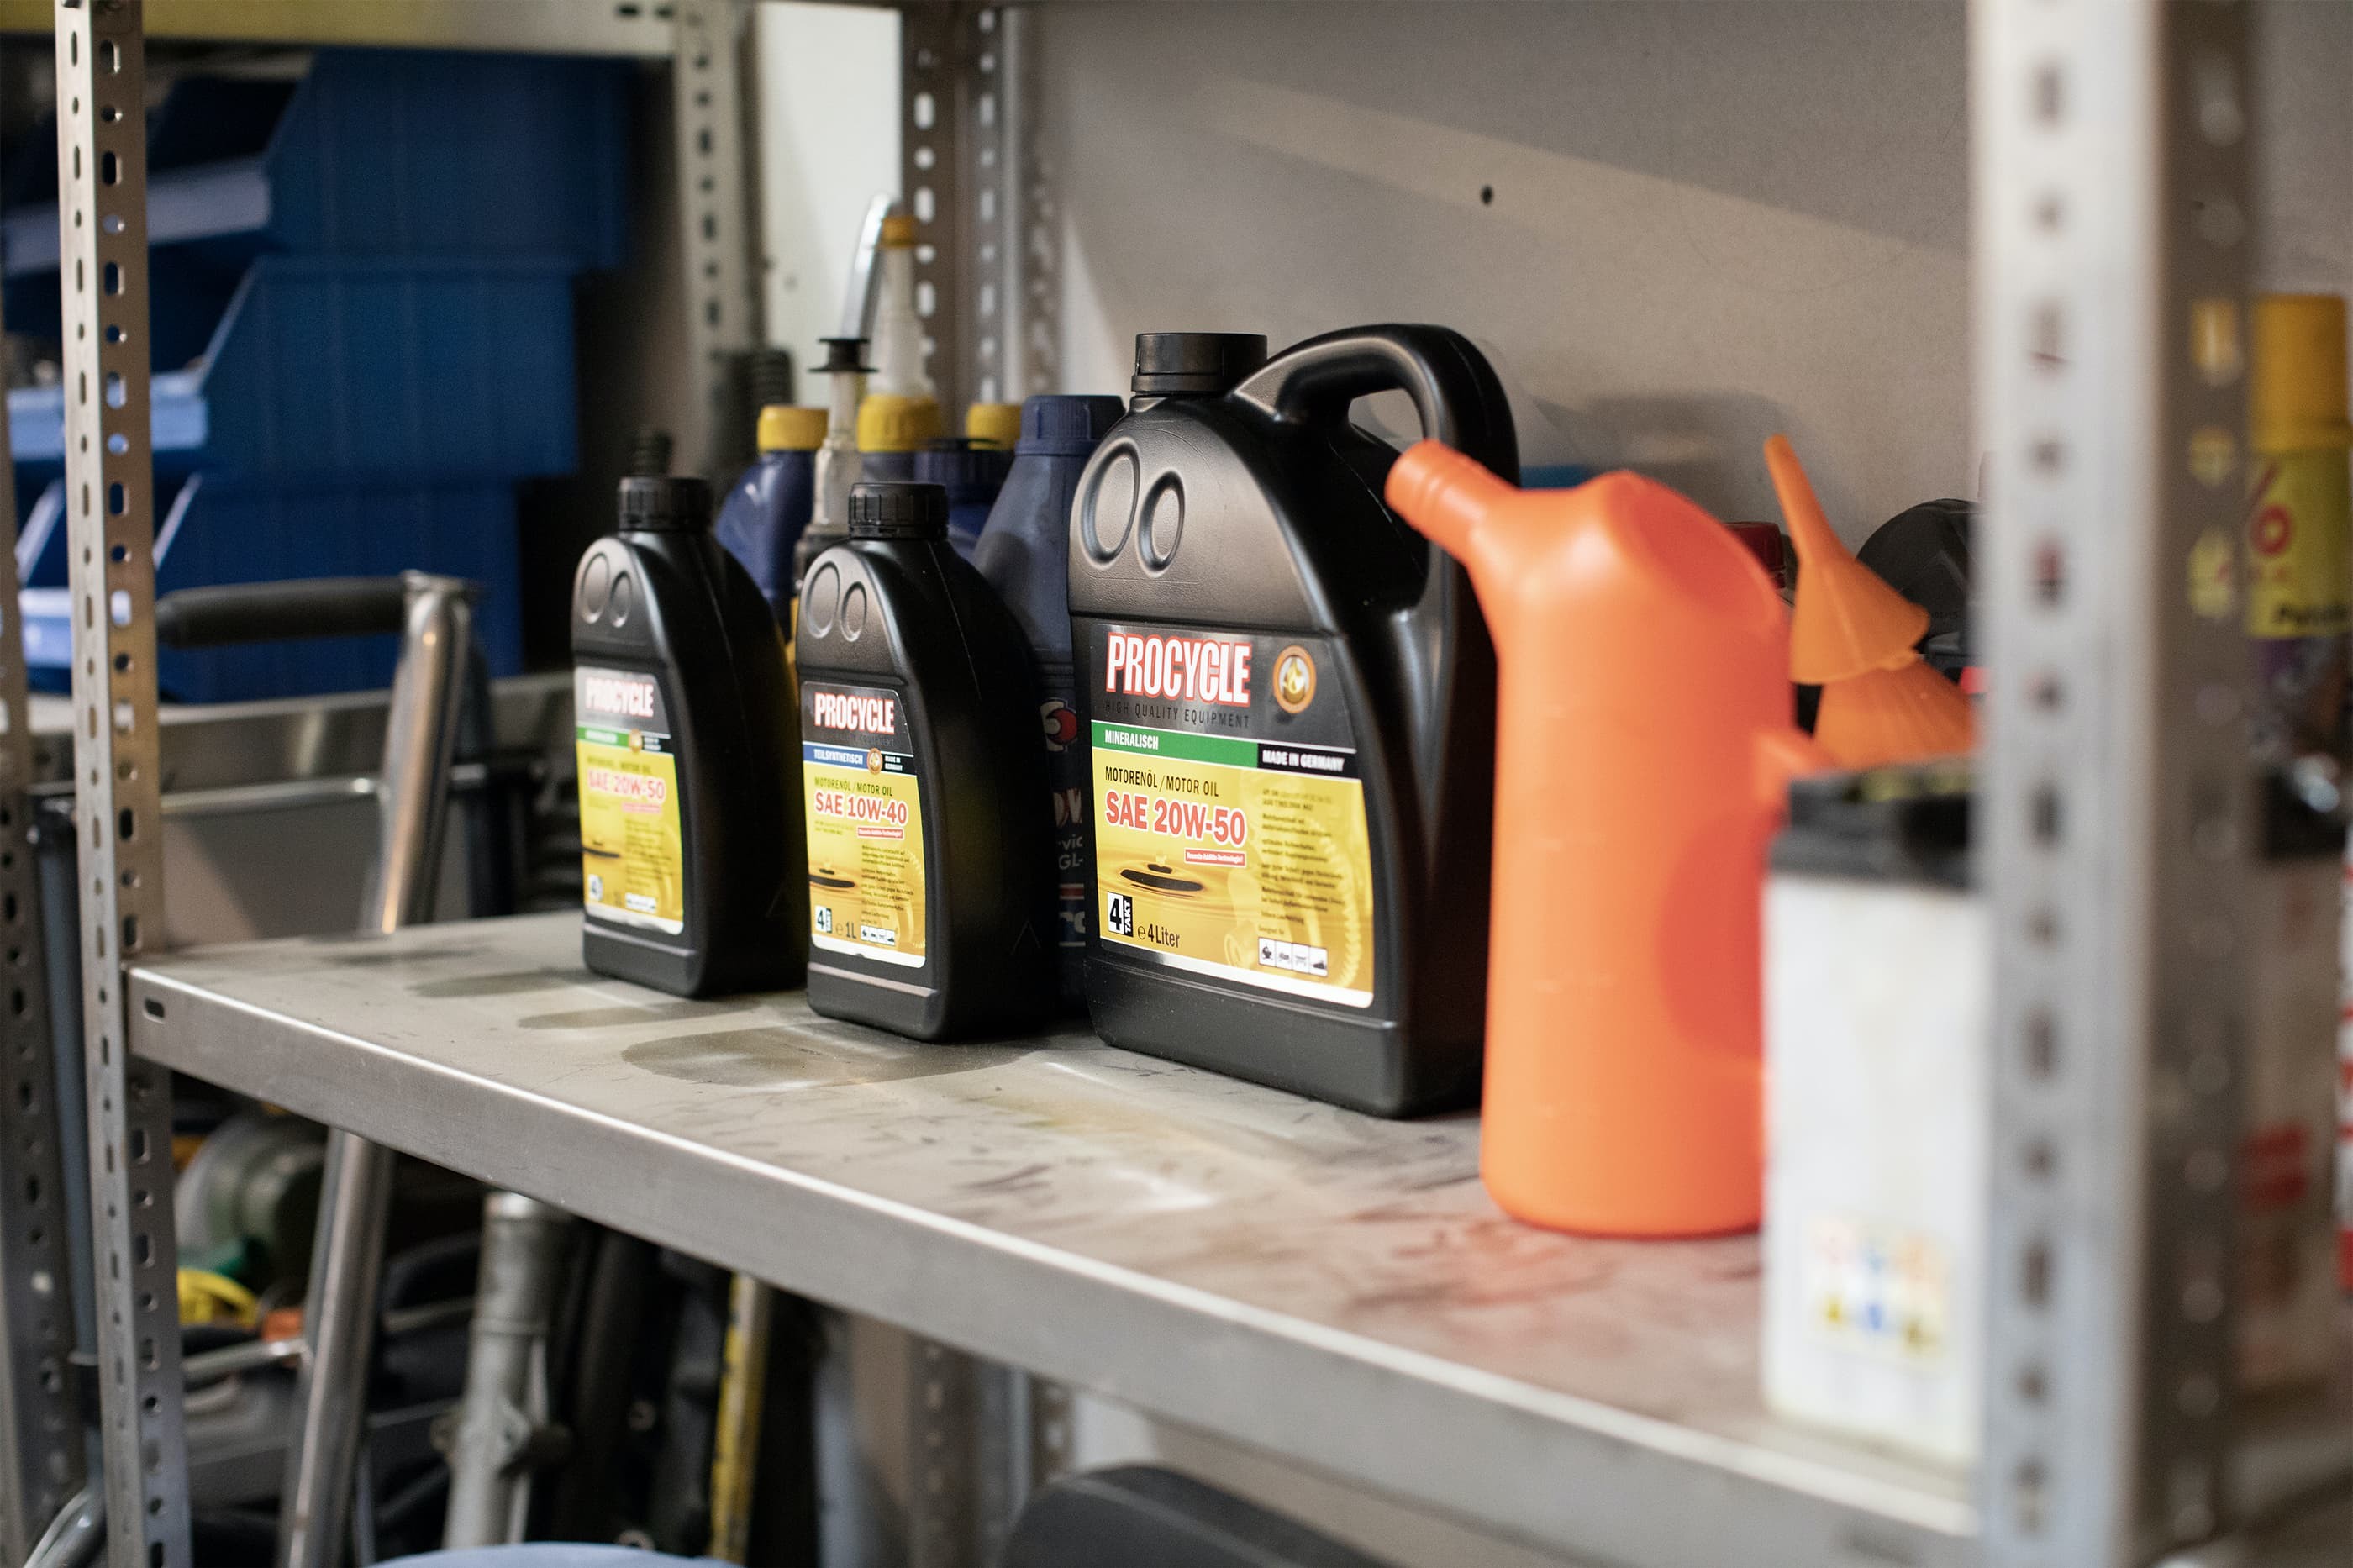
Nothing works without oil: the friction generated by the pistons, bearing surfaces and gears would ruin your engine in no time.
So it goes without saying that regularly checking the oil level is as crucial for the well-being of your bike as a regular oil change. As oil ages, it becomes contaminated with metal abrasion particles and combustion residues, and gradually loses its ability to lubricate.
Always use specially formulated motorcycle or scooter oils that comply with the viscosity specified by the vehicle manufacturer. This is important because motorcycle engines are high-revving, the transmission generally needs to be lubricated by the engine oil, and the (wet) clutch also runs in oil. Special additives ensure high shear and compressive strength and thermal stability as well as helping to minimise wear. Important: Engine oils for cars have extra additives and are designed for engines with a dry clutch. Wet clutches would slip with this oil.
Choosing the right oil is essential. Synthetic oils are superior to mineral oils in terms of thermal stability, cold start protection, reducing friction and preventing deposits. This makes them ideal for racing bikes and tuned engines. However, not all engines, and particularly the clutch, can cope with such high-performance oils. So always check with your authorised dealer first. If the engine has done a high mileage, changing to a different oil should only be considered once the engine has been cleaned and inspected.
An alternative may be to use a semi-synthetic oil, which most clutches can handle without any problem. Many modern engine oils are based on HC synthesis technology. What this means is that base oils are chemically manufactured in the refinery by a process called hydrocracking. These base oils have considerably enhanced quality characteristics and are superior to mineral oils as regards low temperature flow (i.e. cold weather performance) and their chemical and thermal stability. Further advantages are faster lubrication of the engine when you fire her up, considerably enhanced engine cleanliness and greater protection of engine components.
Synthetic oil is not recommended for motorcycles built before 1970. For classic bikes, there are special single- and multi-grade oils. And last but not least, don’t forget: whichever oil you choose, you should always ride gently until the engine has warmed up. It will thank you with many more miles of biking enjoyment.
Engine oil classifications
- API – American engine oil classification (American Petrol Institute
In use since approx. 1941. The “S” classes refer to petrol engines, and “C” classes to diesel engines. The second letter states the performance standard in each case. From 1980, standard S"F" applied, from '88 S"G", from '93 S"H", from '96 S"J", from '01 S"L" etc. API CF is the standard for car diesel oils. The API classes for two-stroke oils (letter "T") are no longer used. Gear and driveshaft oils are described in classes G4–G5.
- JASO – Japanese engine oil classification (Japanese Automotive Standards Organisation)
JASO T903 is currently the world’s most important classification for motorcycle engine oils. Based on the API requirements, JASO defines additional properties designed to ensure the oil functions perfectly in wet sump lubricated clutches and gears. Depending on the friction behaviour in the clutch, the oil is classified according to JASO MA or JASO MB. JASO MA, and currently JASO MA-2, specify a higher coefficient of friction. Oils with this classification are particularly clutch-friendly.
- ACEA European Automobile Manufacturers’ Association engine oil classification (Association des Constructeurs Européens d’Automobiles)
Valid since 1996. Classes A1-A3 specify oils for petrol engines, and B1-B4 specify oils for diesel cars.
- Viscosity (SAE - Society of Automotive Engineers)
Specifies the viscosity of the oil and the temperature range in which it can be used. The rule for modern multigrade oils is: the lower the number before the W (“Winter”), the more fluid the oil is at low temperatures; the higher the number after the W, the stronger the lubricating film will be at high operating temperatures.
Germany's waste oil regulations (AltölV)
Under Germany's waste oil regulations, it is not permitted to store used oil, dispose of it onto the ground or into watercourses or in household waste, or down the drain, nor to burn it.
Under Germany's waste oil regulations, it is not permitted to store used oil, dispose of it onto the ground or into watercourses or in household waste, or down the drain, nor to burn it.
Our recommendation
The Louis Technical Centre
If you have a technical question about your motorbike, please contact our Technical Centre, where they have endless experience, reference books and contacts.
Please note!
These tips for DIY mechanics contain general recommendations that may not apply to all vehicles or all individual components. As local conditions may vary considerably, we are unable to guarantee the correctness of information in these tips for DIY mechanics.
Thank you for your understanding.


