Startup Tips for Your Motorcycle – Part 1
Starting problems can have many causes. If your motorcycle refuses to start, the best thing to do is to systematically pinpoint the source of the problem using the following "first aid" check list.
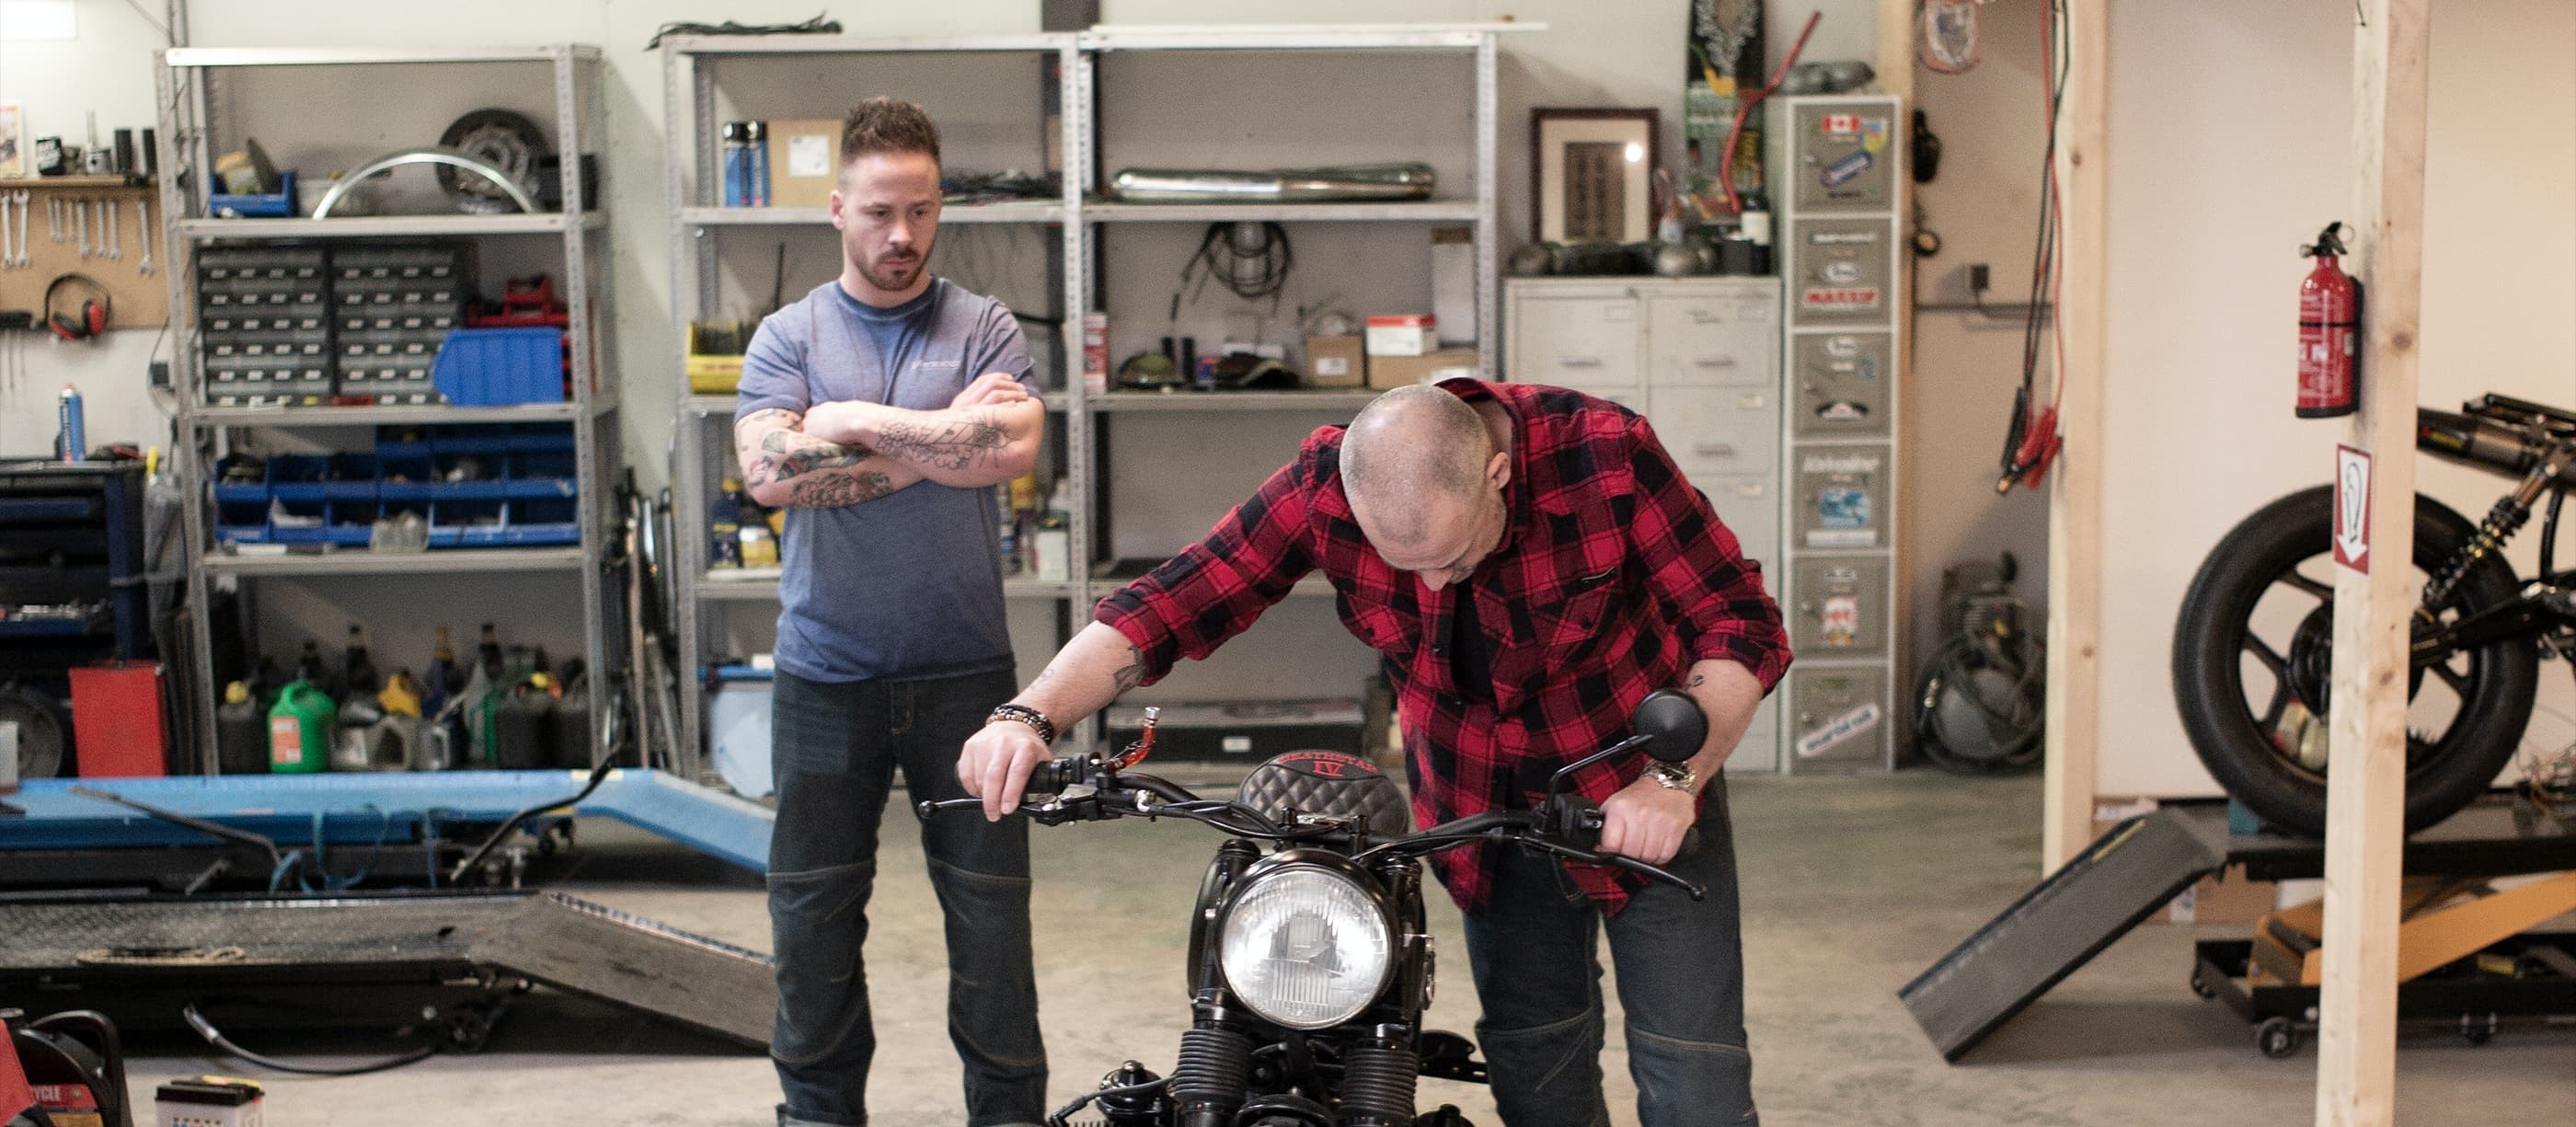
- Startup Tips Part 1: "First aid" for starting problems
- Startup tips part 1 – now let's get started
- 01 – Kill switch set to "RUN"?
- 02 – Spark plug connectors secure?
- 03 – Switch on the side stand dirty?
- 04 – Neutral engaged?
- 05 – All energy guzzlers off?
- 06 – Ignition switch contact problems?
- 07 – Enough petrol in the tank?
- 08 – Choke fully functional?
- 09 – Air bubble in the fuel filter?
- 10 – Carburettor frozen?
- 11 – Diesel fueled?
- Our recommendation
Startup Tips Part 1: "First aid" for starting problems
Starting problems always happen at the most inconvenient times. Problems, whether they be minor or more serious, can happen at any time. The following "first aid" check list is for troubleshooting less serious problems, but could still get your engine started.
Sometimes reason why the motorcycle refuses to start is very simple. You only need to know how to find it …
Please note: When compiling our startup tips, we made the assumption that your battery is not flat as a pancake. In that case you would have no choice but to charge it – there's no way round that.
Startup tips part 1 – now let's get started
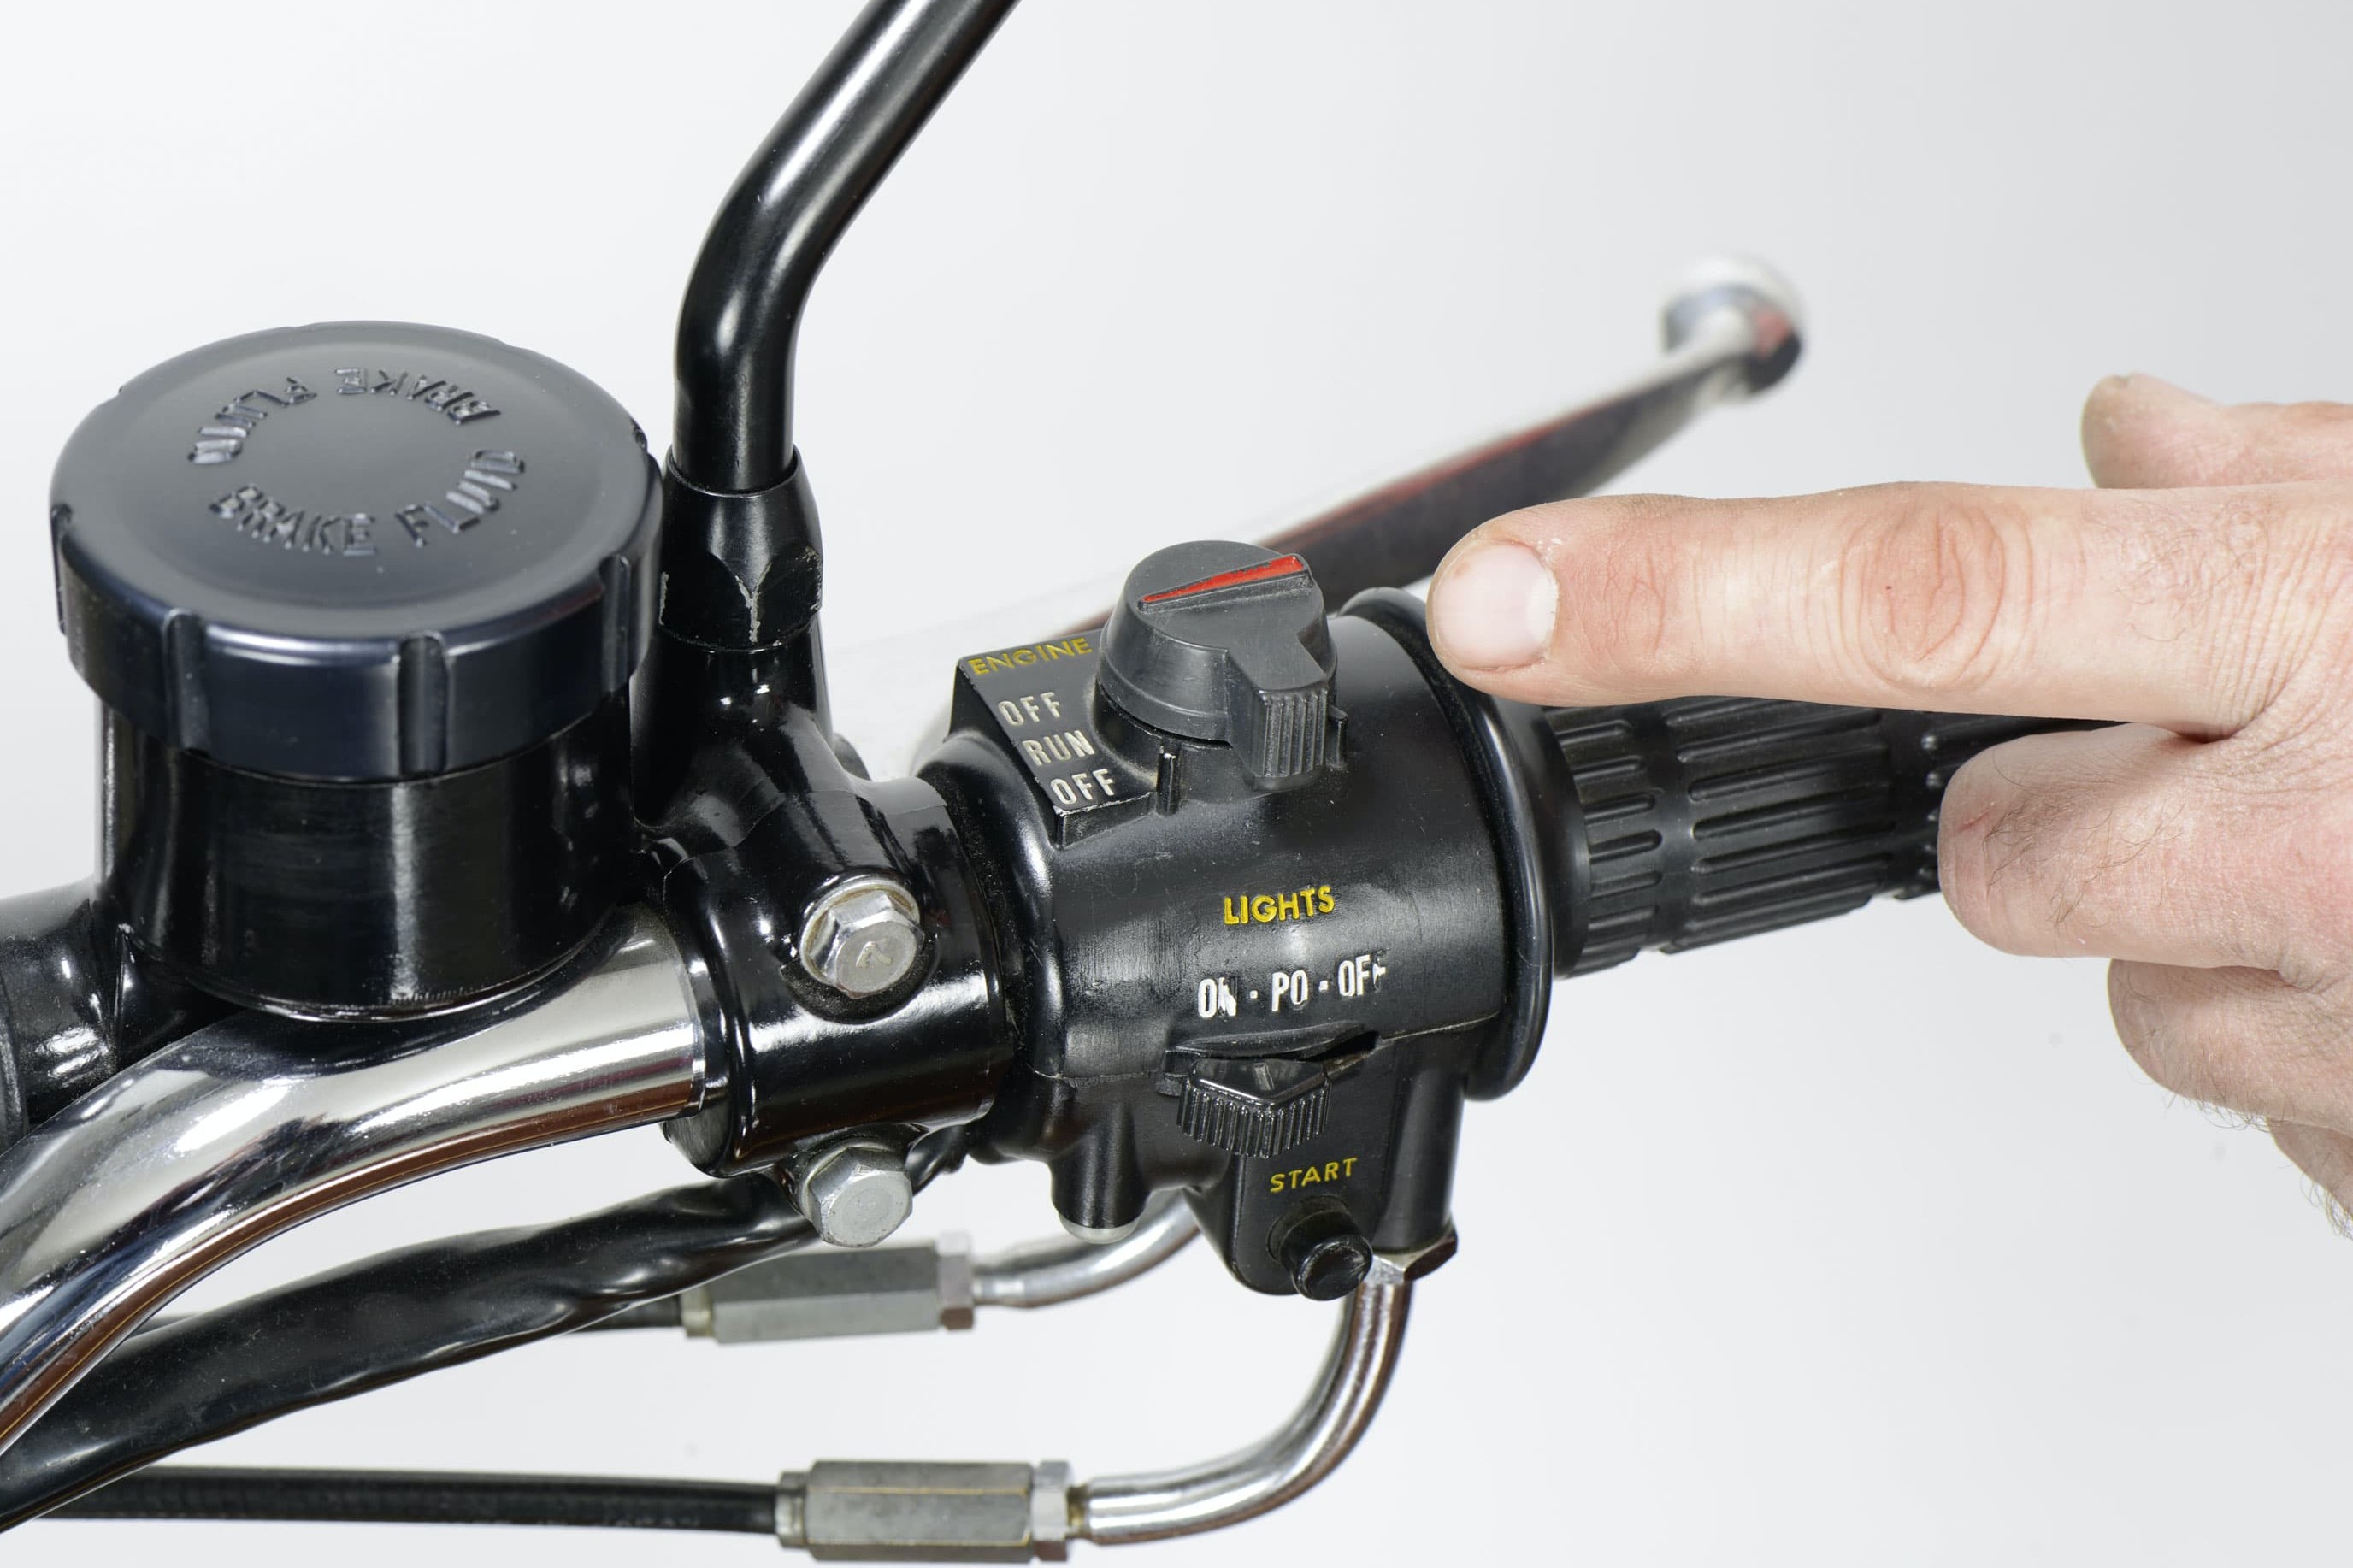
Step 1: Kill switch set to "RUN"?
01 – Kill switch set to "RUN"?
You'll find the kill switch on the right handlebar, generally marked "RUN" / "OFF". However, the majority of bikers virtually never use this alternative "emergency ignition on/off switch", so that they don't even think about it.
And there are always a few jokers around who think it a great prank to switch it to "OFF" in passing. But the mean thing about that is that while the starter motor still operates, the ignition current has been cut off. And more than a few bikes have been pushed to a workshop as a result!
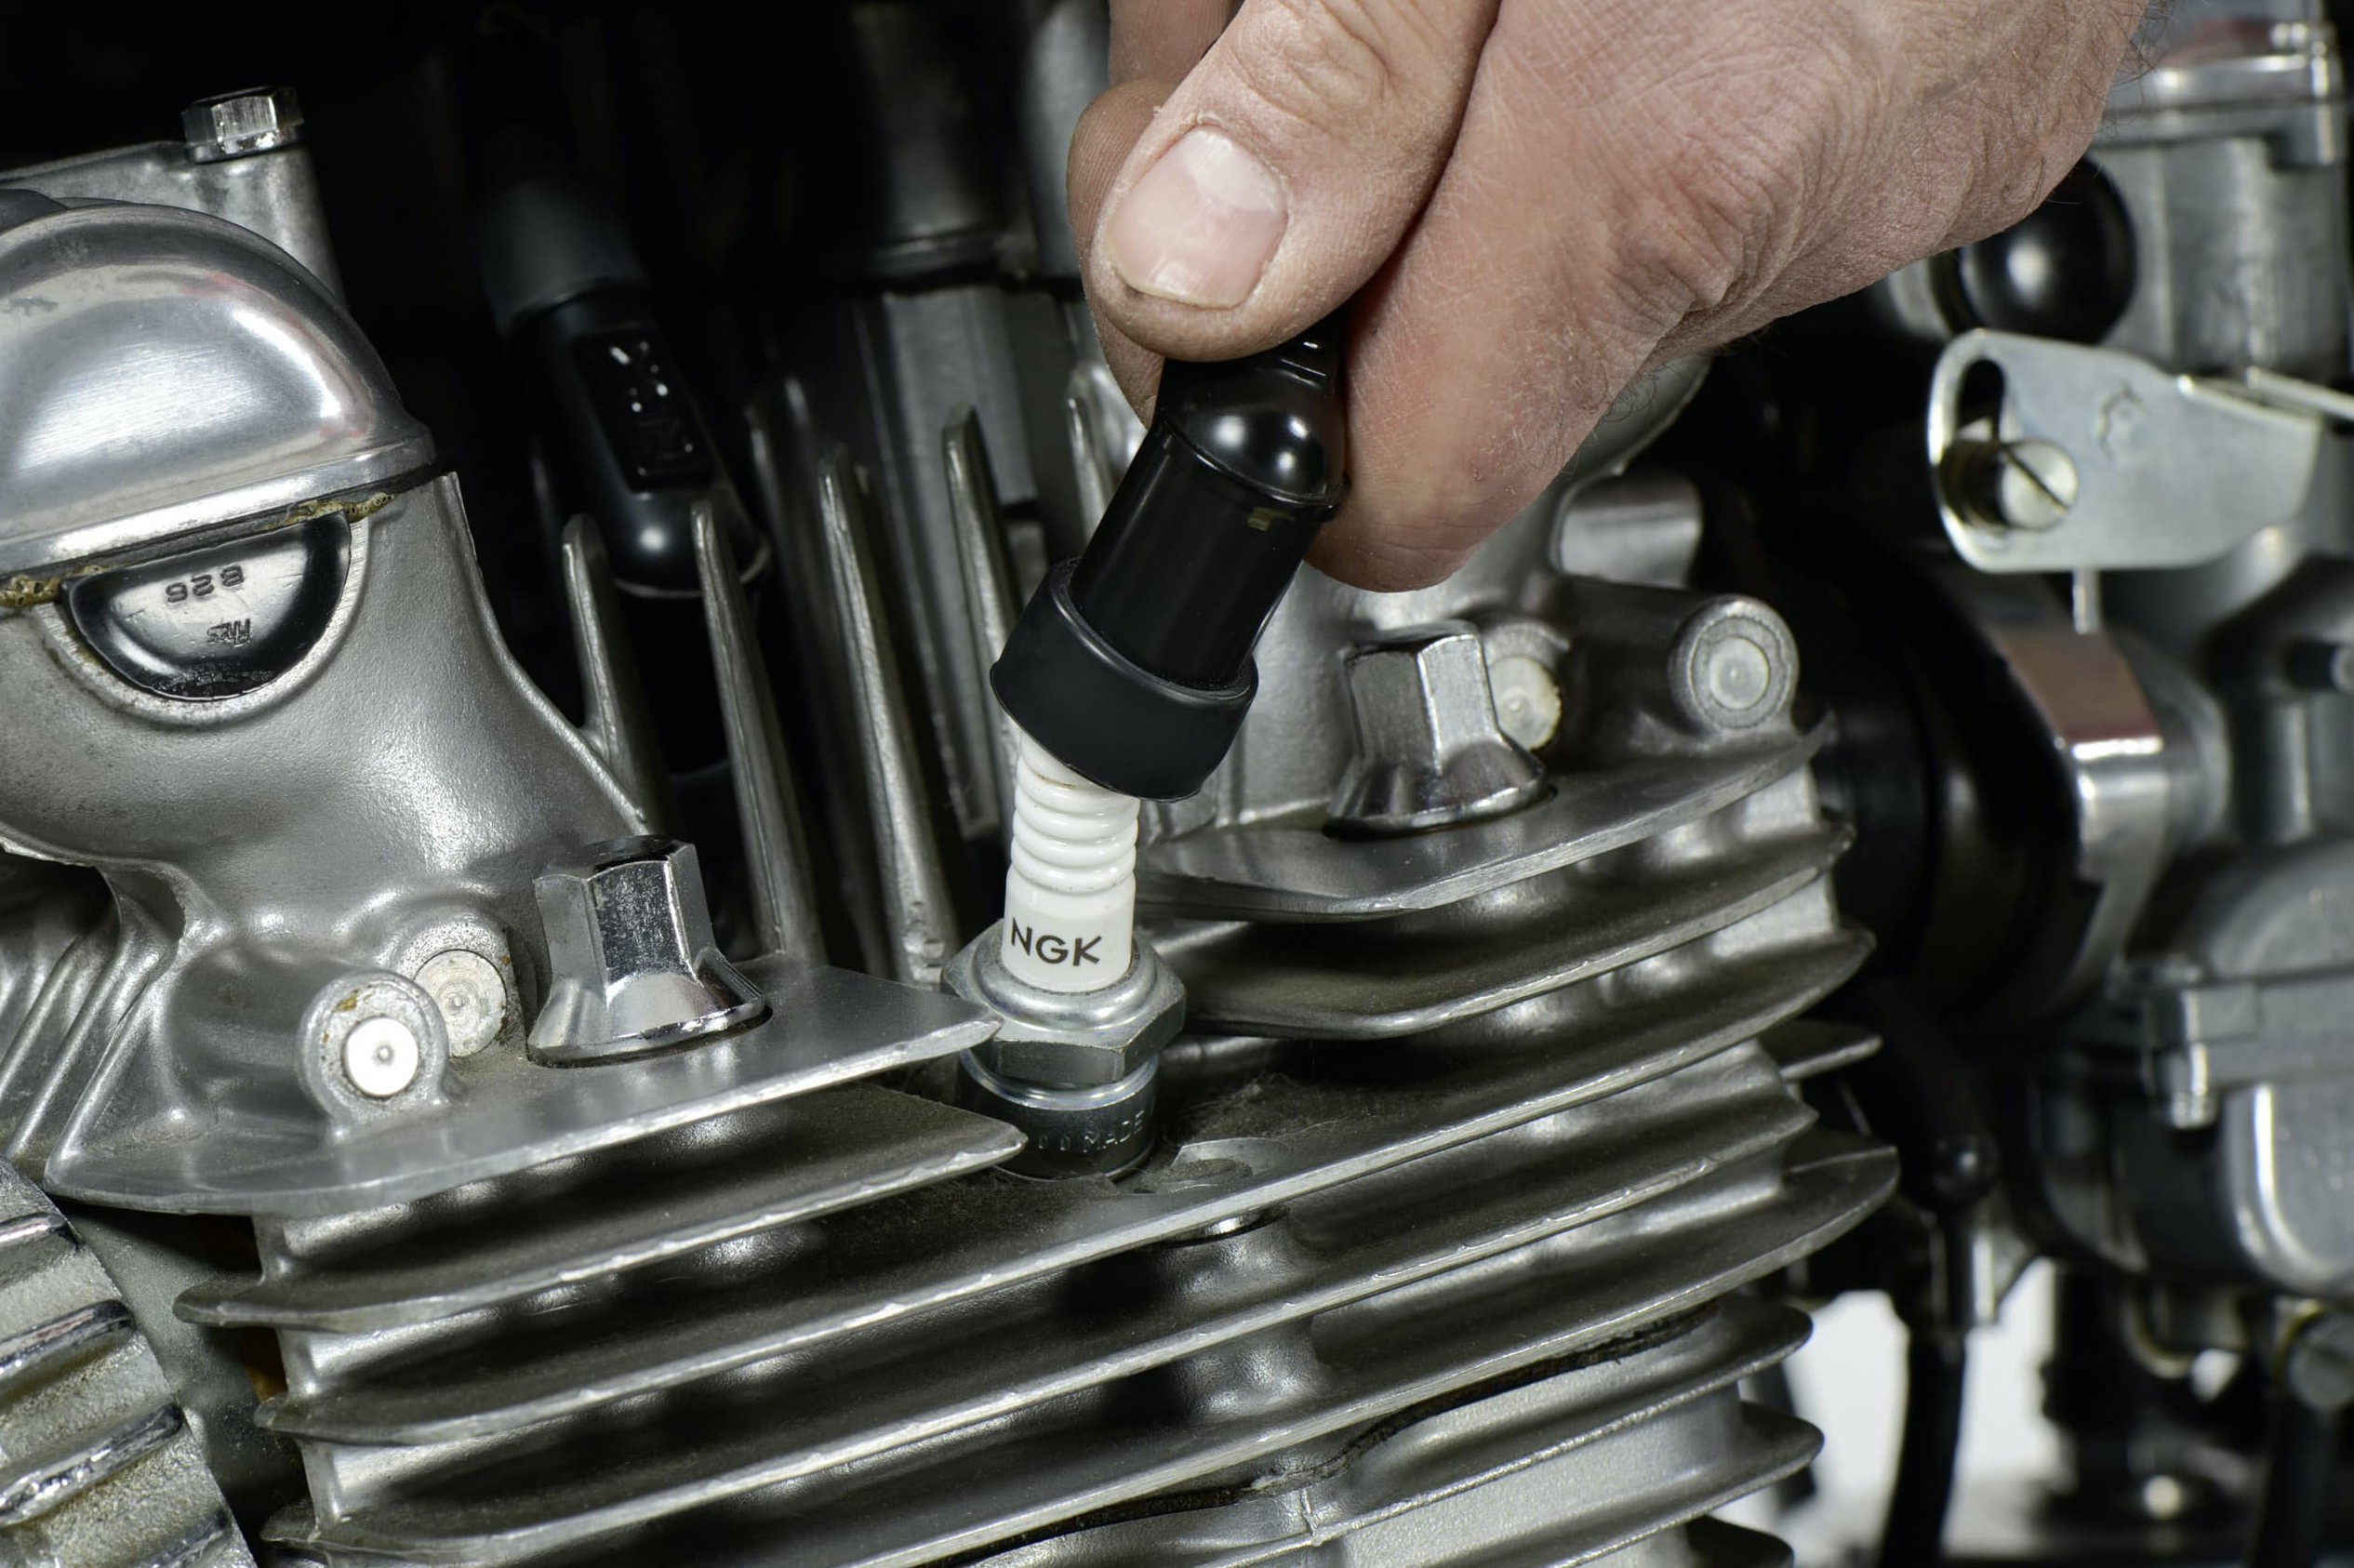
Step 2: Spark plug connectors secure?
02 – Spark plug connectors secure?
Some jokers may think it funny to pull a spark plug connector from the spark plug. You should therefore check right away that all spark plug connectors on the engine are secure. Are the cables securely attached to the connectors and are the connectors securely seated on the spark plugs?
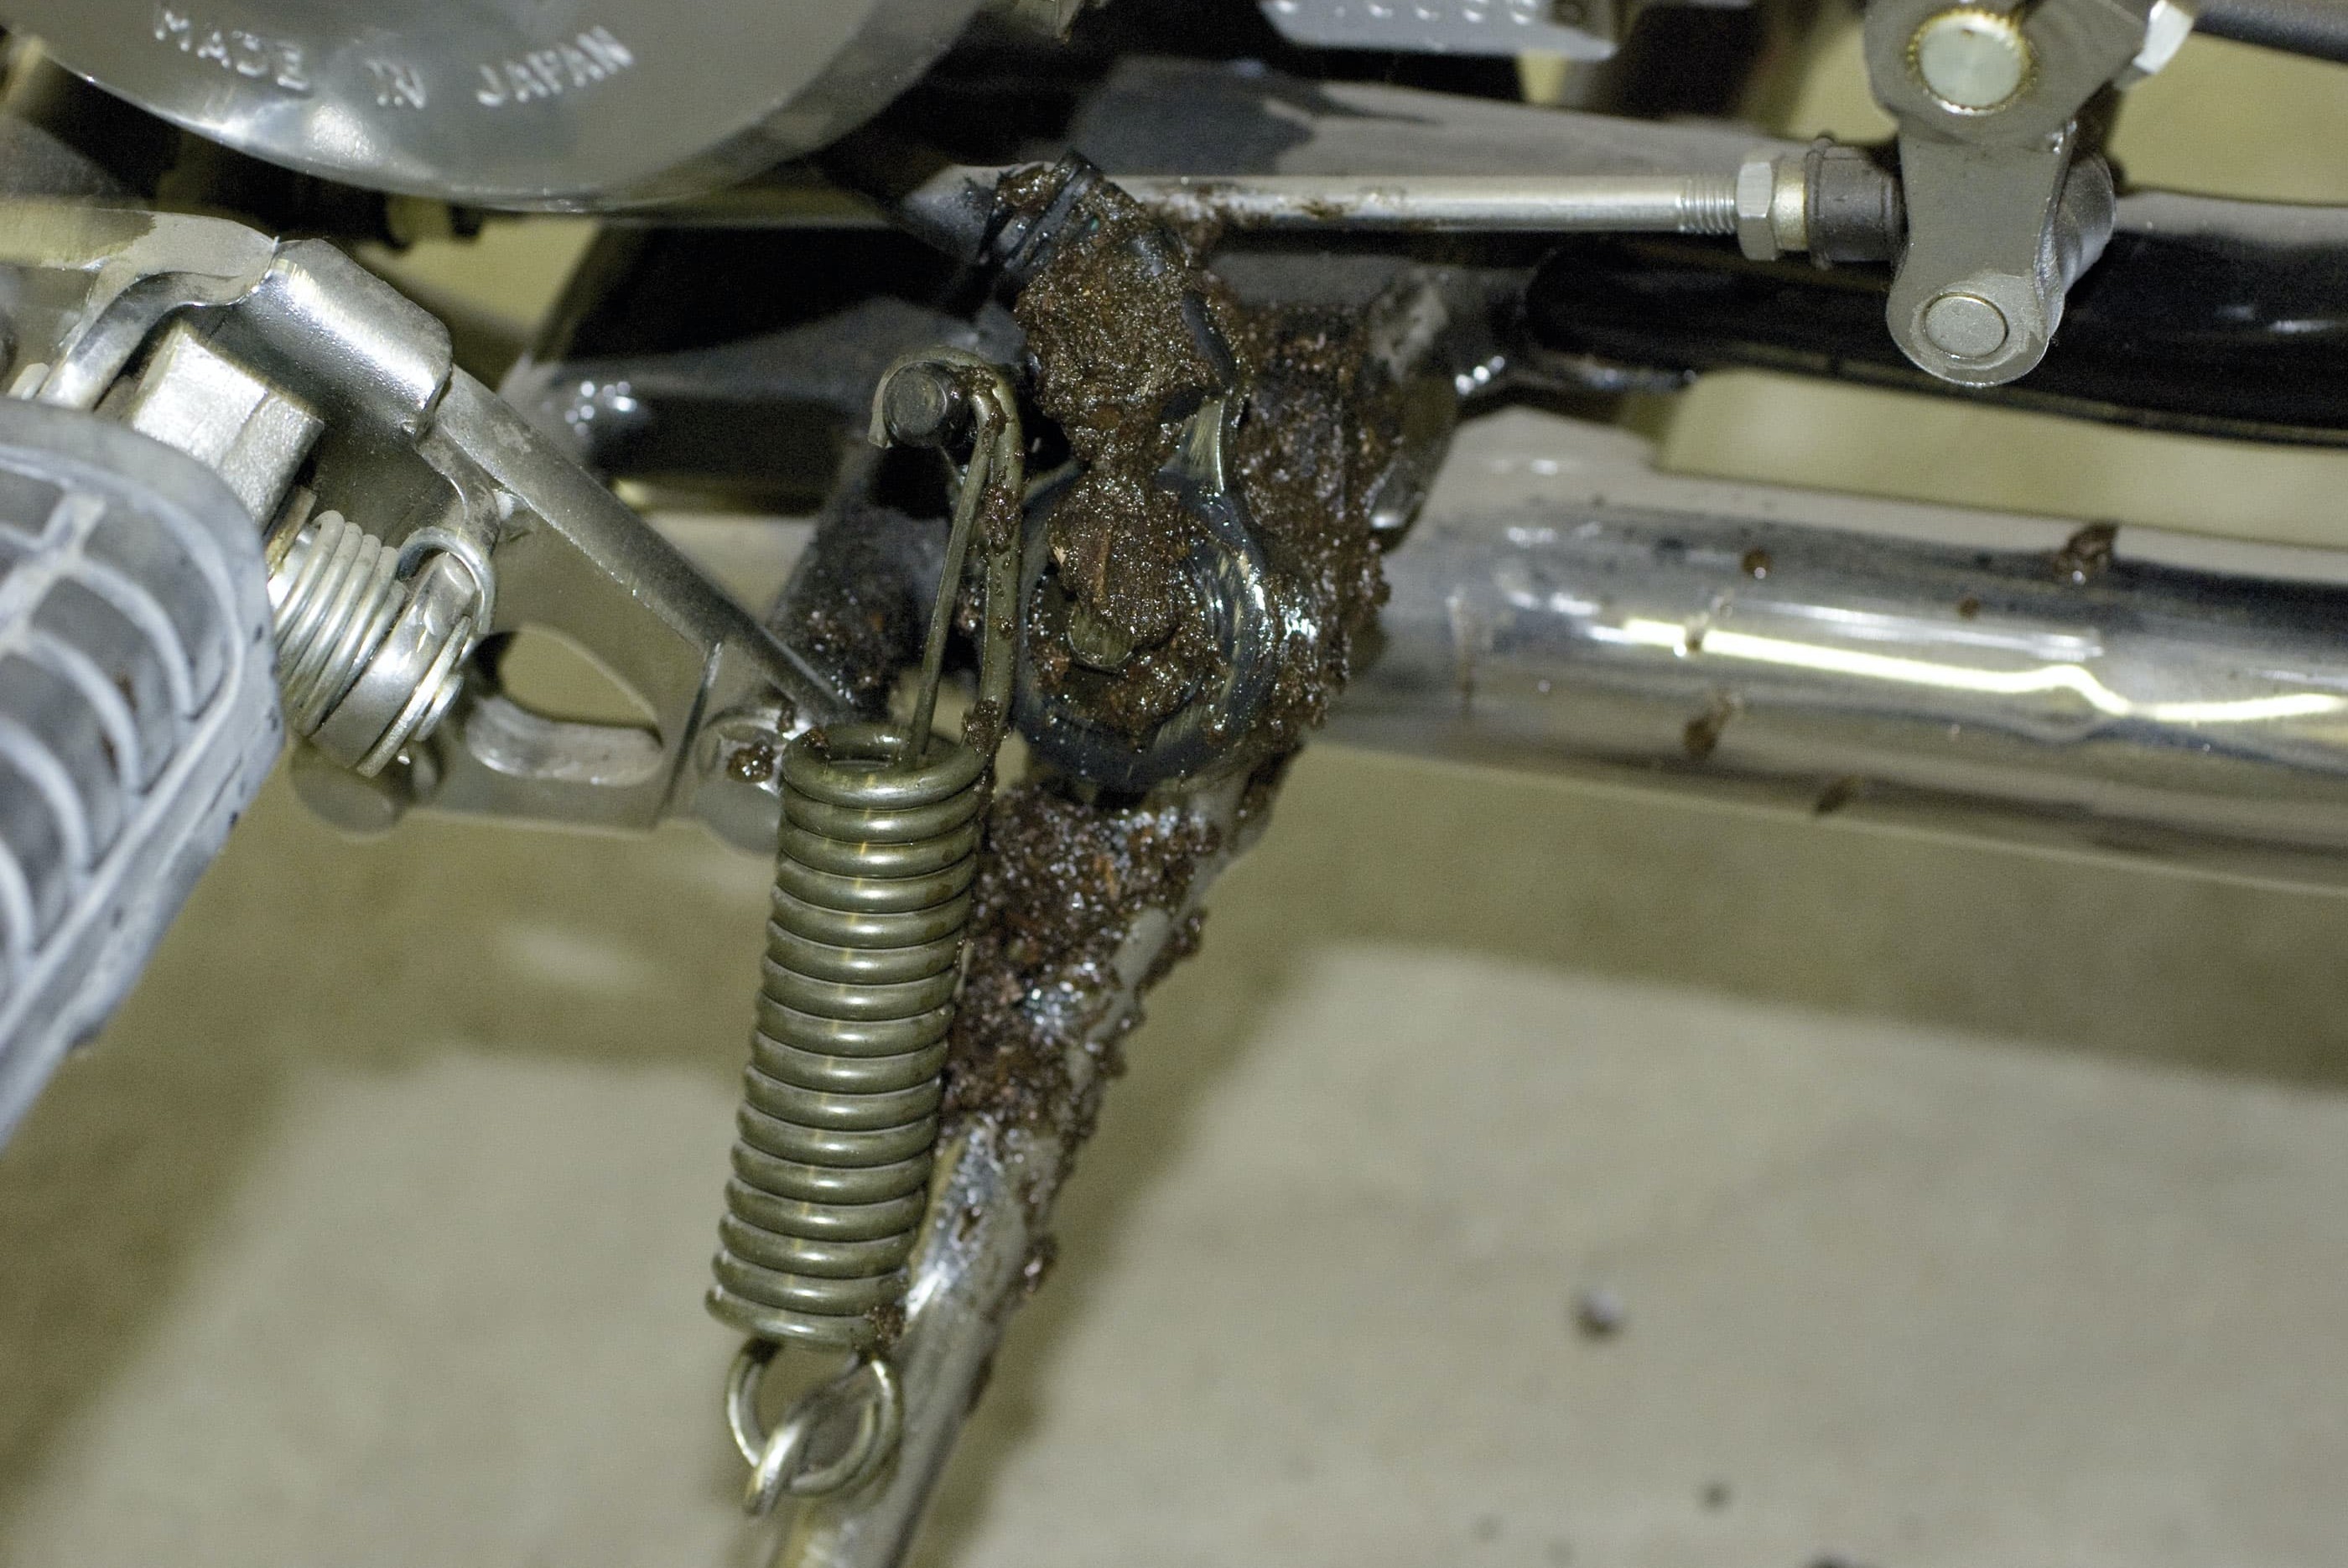
Step 3: Switch on the side stand dirty?
03 – Switch on the side stand dirty?
The safety switch on the side stand is designed to prevent you riding off with the side stand down. It is fitted on the side stand bracket, and is therefore very exposed to moisture and dirt from the street. However, a malfunction here is actually easier to spot than on the kill switch because nothing happens at all when the starter button is pressed. The first step would be to carry out a visual check.
Even if the side stand appears to be properly folded in, if the switch is as little as one millimetre short of its correct position due to dirt encrustation, it may actually not be. Clean it with whatever comes to hand – a rag/cloth or some penetrating oil or contact spray.
In motorcycles with clutch switch, the clutch must be operated for the ignition current to flow. This switch can become defective. To check this quickly, the switch can be bypassed by connecting the two cable terminals at the switch.
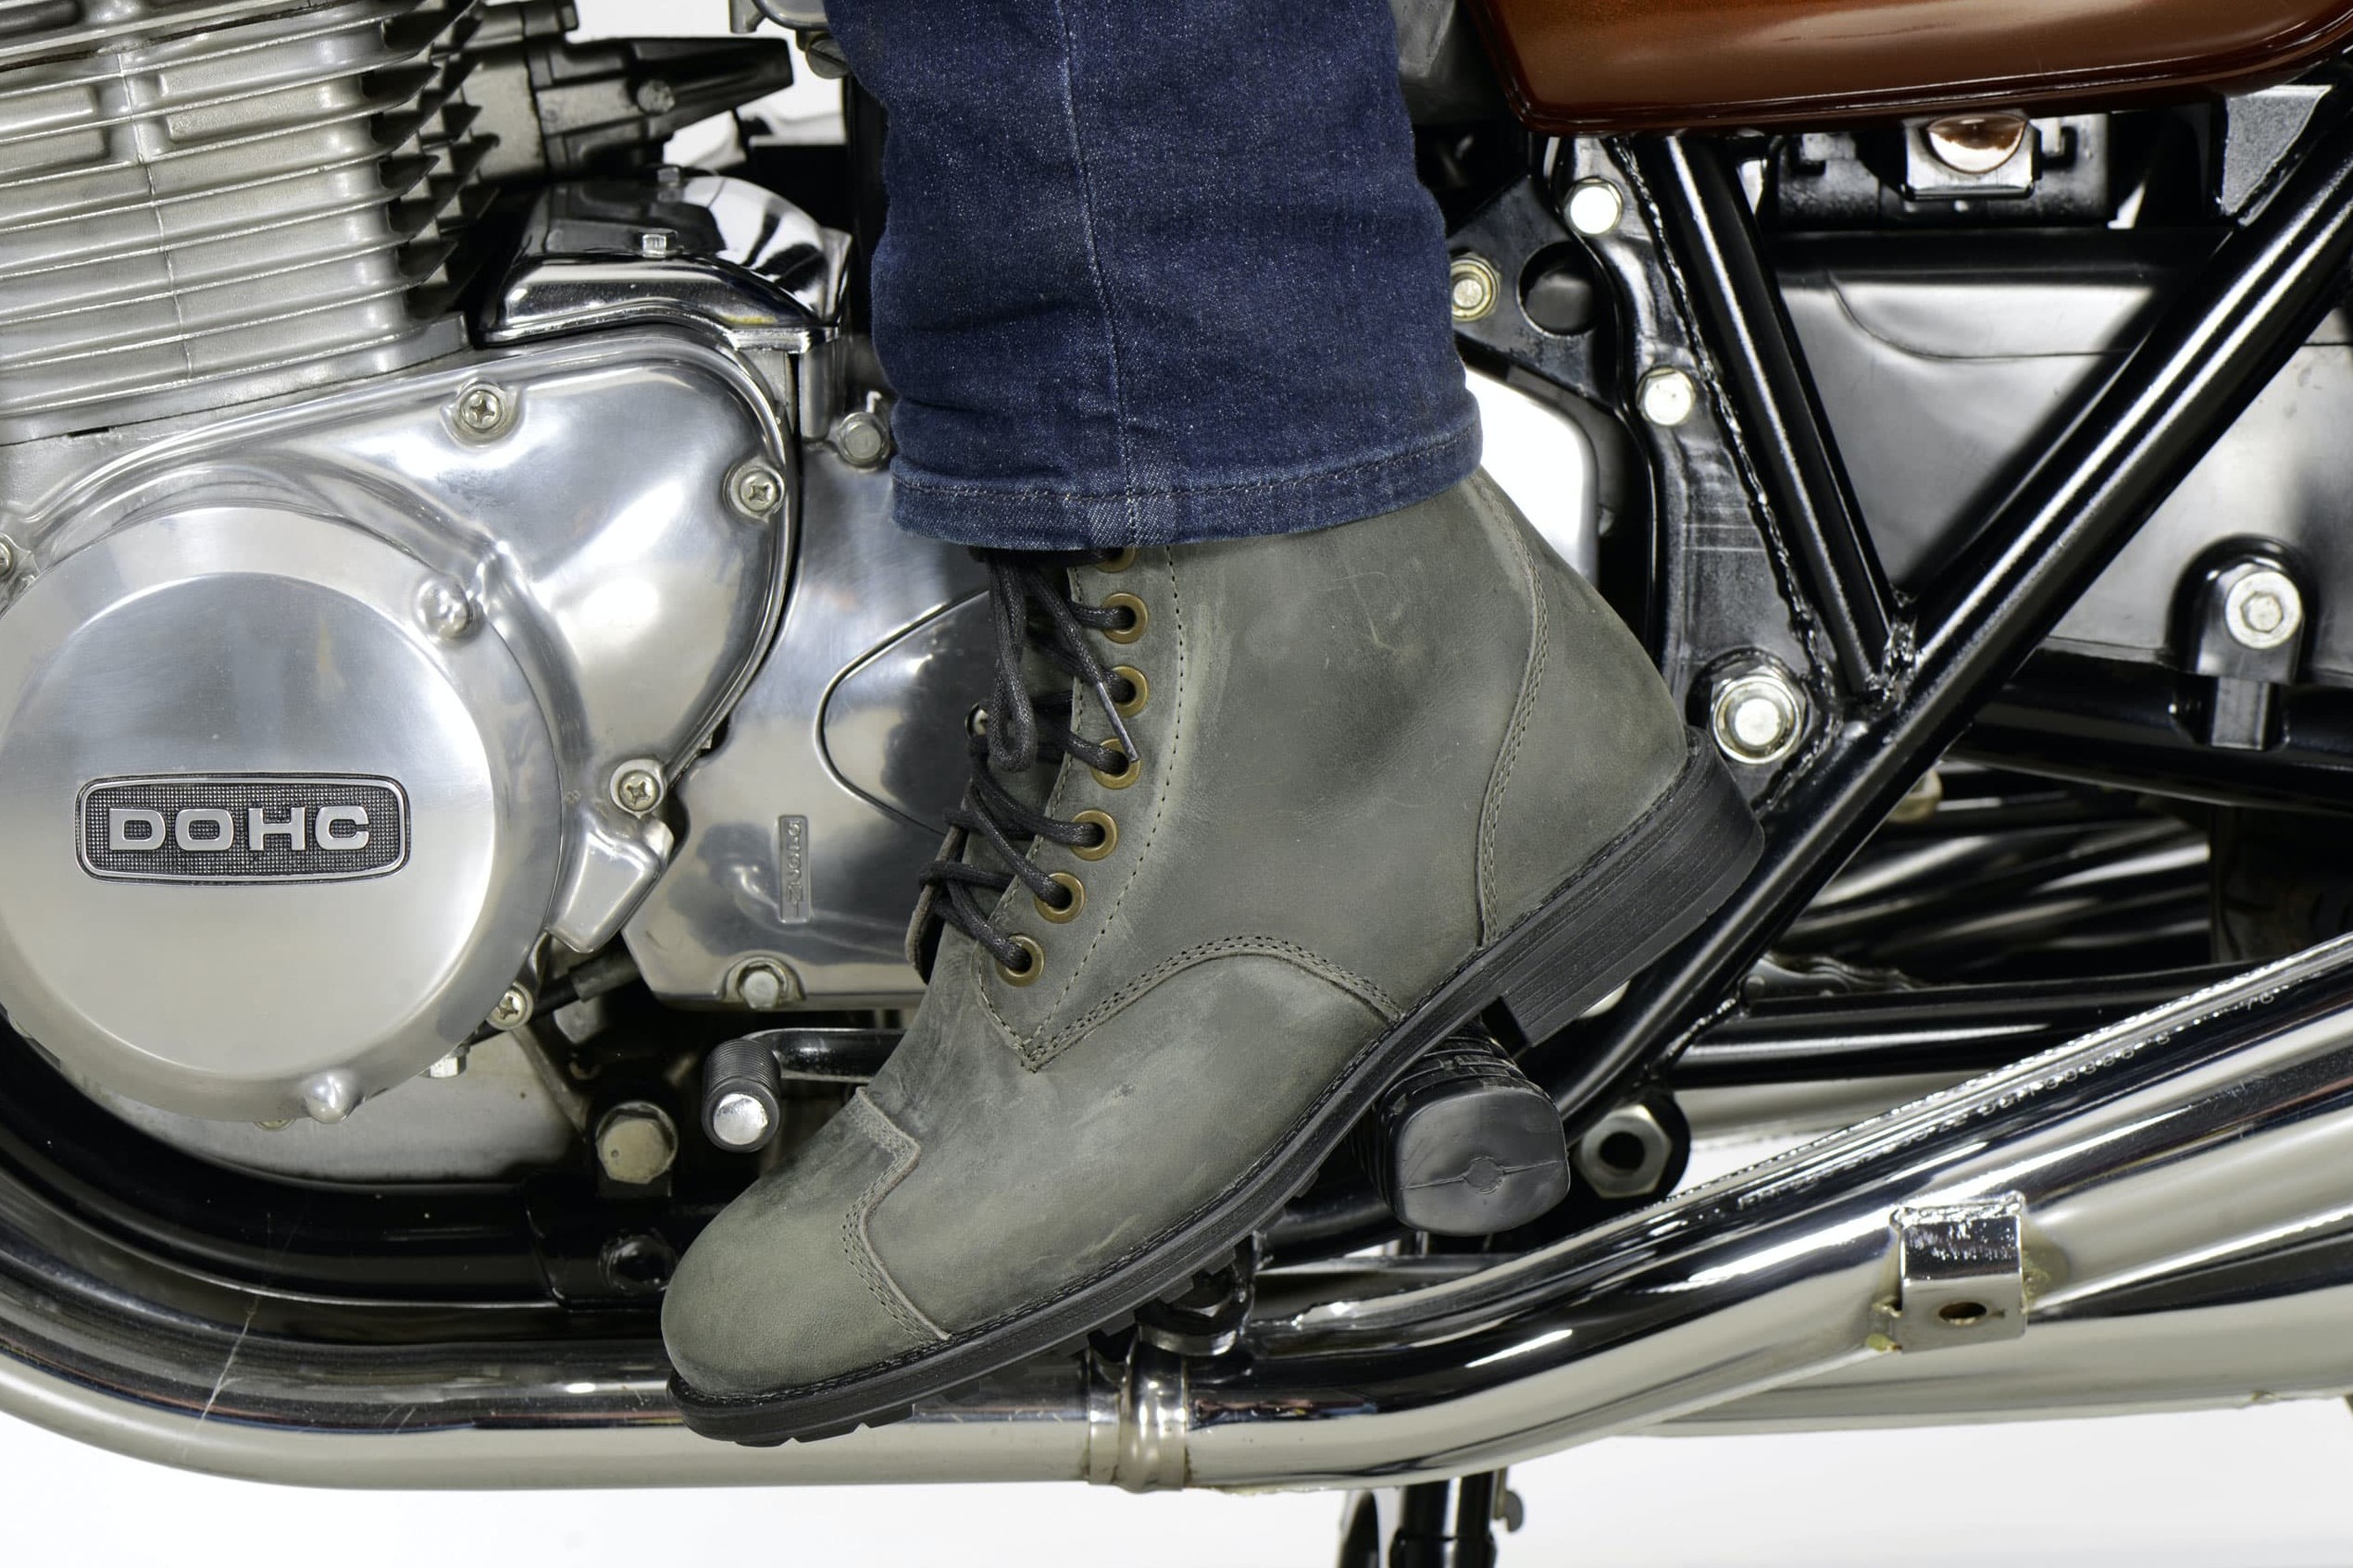
Step 4: Neutral engaged? Don't rely on your Neutral indicator!
04 – Neutral engaged?
Even when the indicator lights up, sometimes neutral is not actually engaged properly. On some bikes, this disconnects the ignition or starter control circuit, but on others the bike may jump forward if it is in gear and the starter is pressed. To be on the safe side, you should therefore check briefly whether neutral really is engaged.
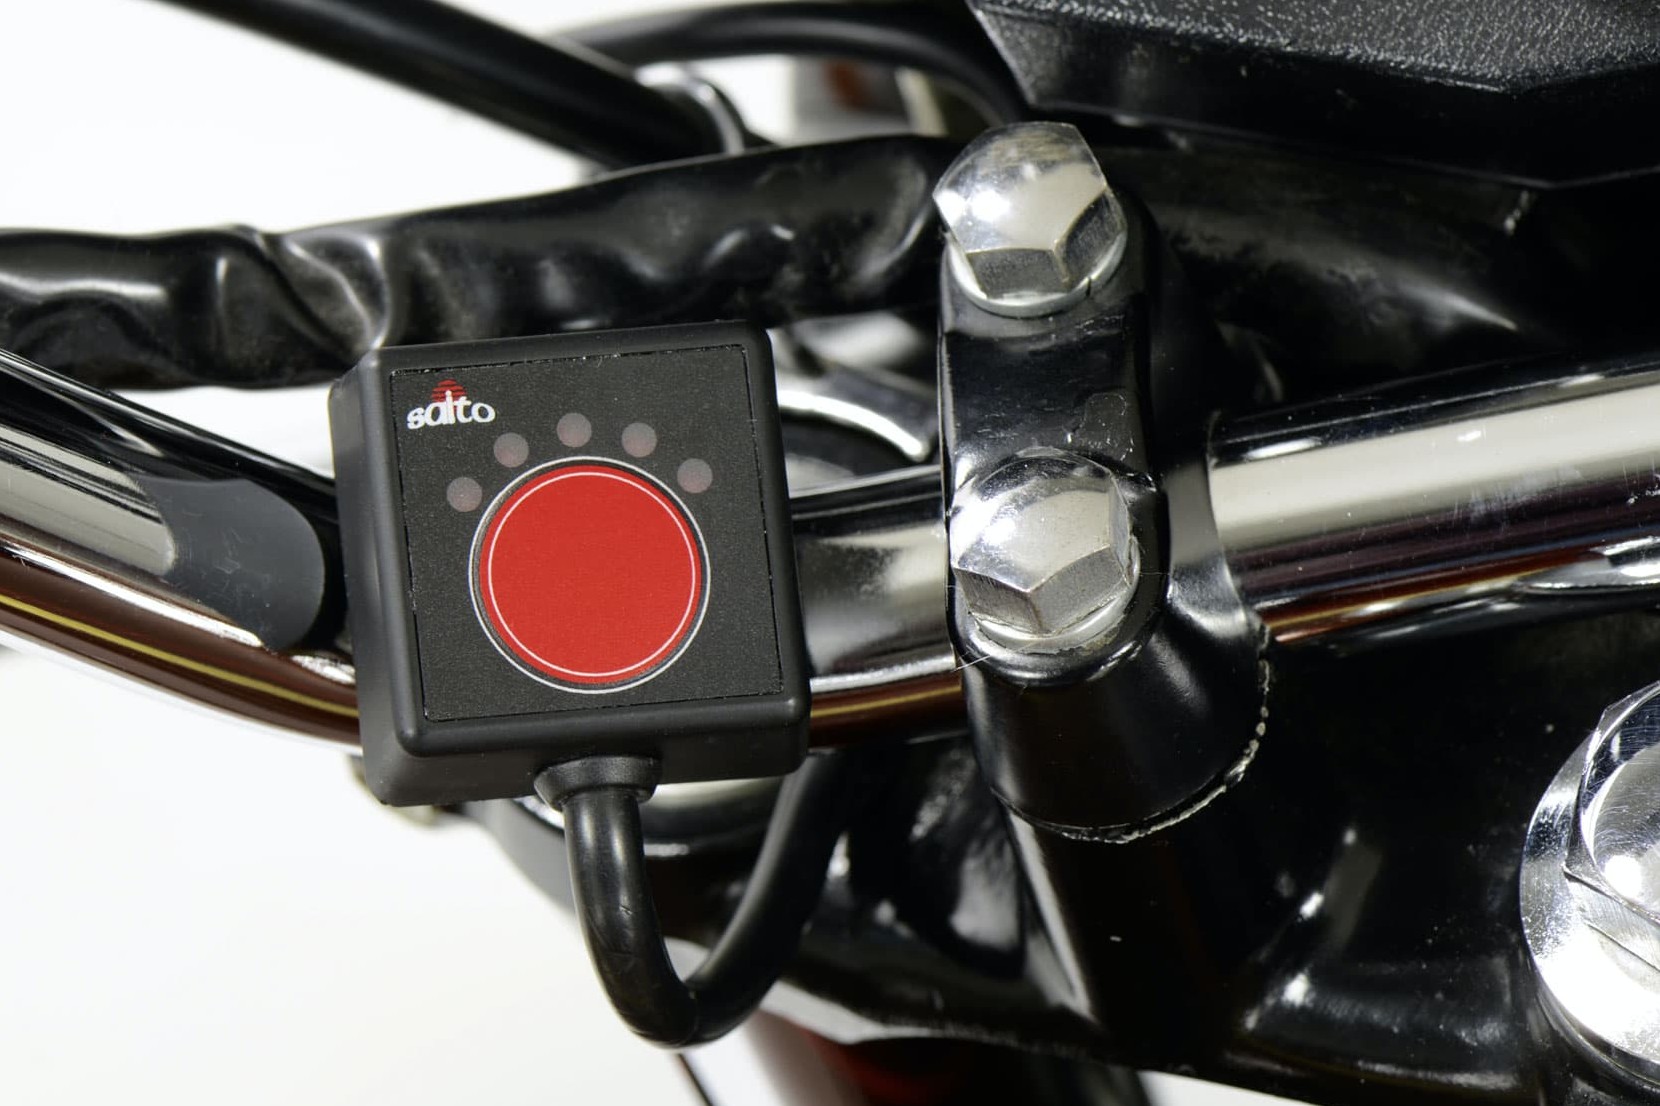
Step 5: All energy guzzlers off?
05 – All energy guzzlers off?
Some ignition systems are more than a little demanding when it comes to battery power. If the battery is not in peak condition, or if it is trying to supply other devices at the same time (lights, heated grips, etc.), it may mean that the ignition spark produced is not strong enough to start up a cold engine. So it's important to switch off all other devices during startup.
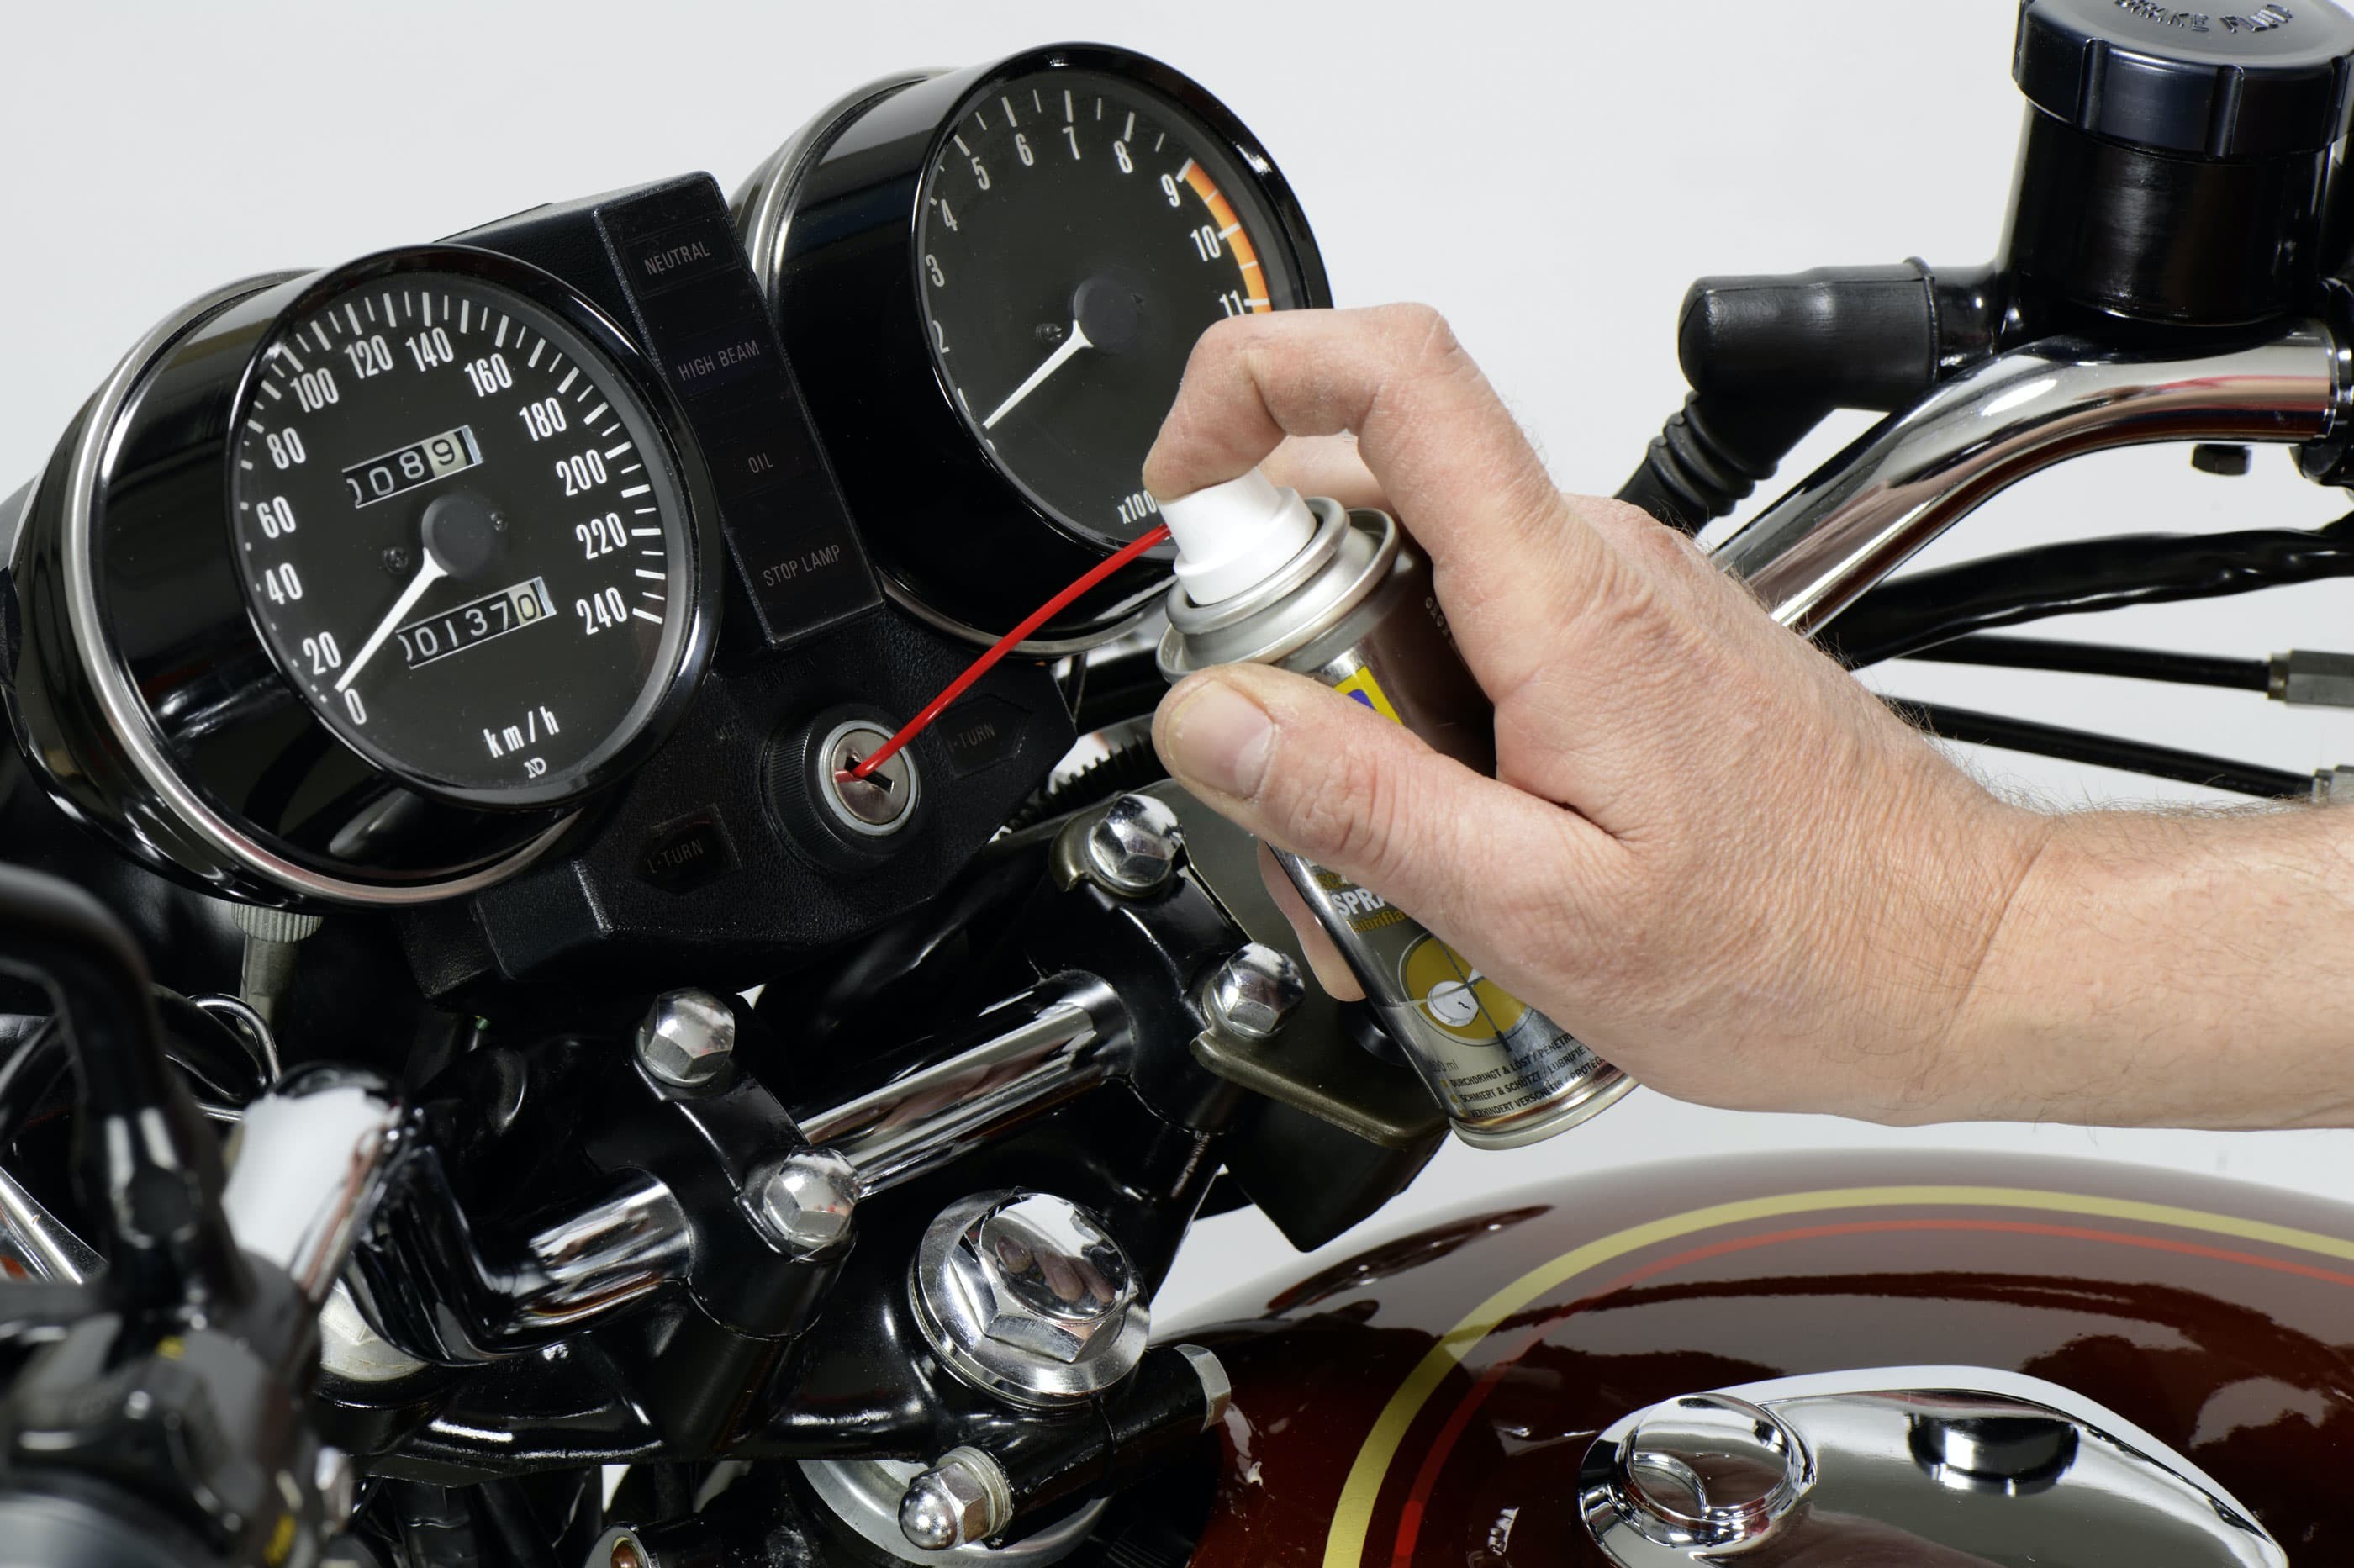
Step 6: Ignition switch contact problems?
06 – Ignition switch contact problems?
Briefly switch on your headlights and check whether the light is weak or flickers when you jiggle the ignition key. If so, spray a little cylinder lock spray into the lock. Generally, that will fix the problem – if not, you may need a new ignition switch.
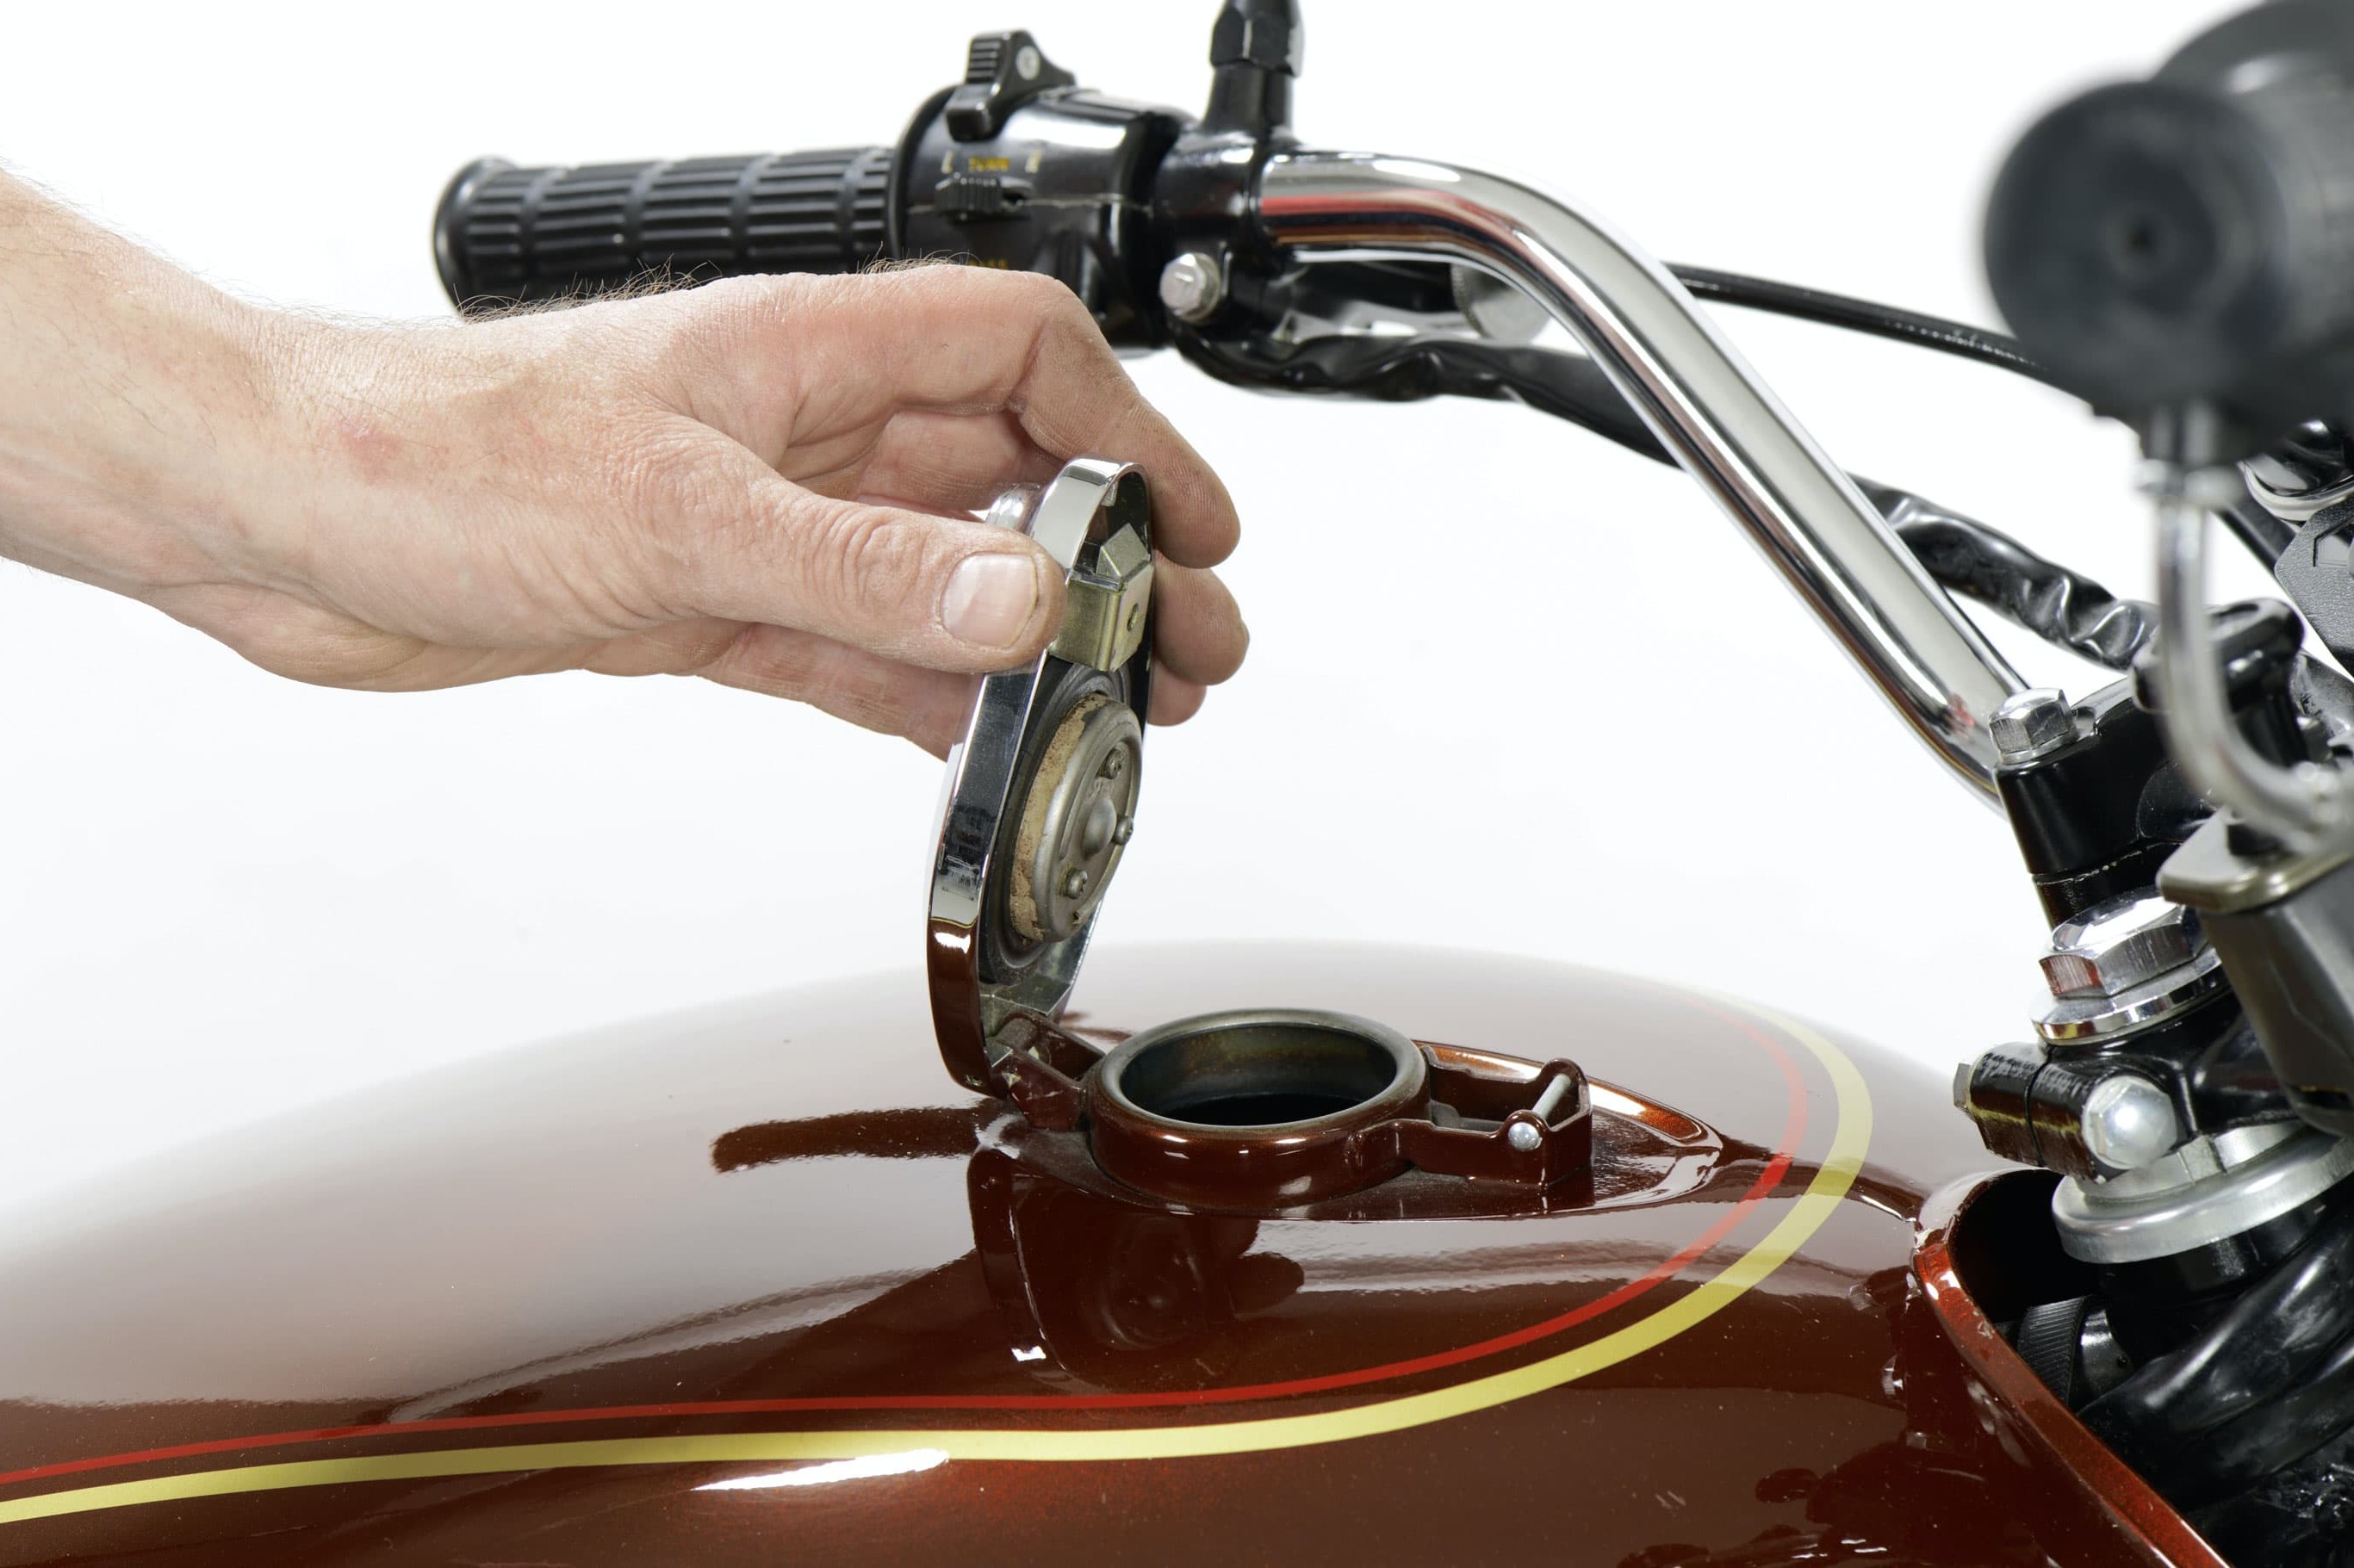
Step 7, Fig. 1: Enough petrol in the tank?
07 – Enough petrol in the tank?
"I can hear splashing in the tank, so I'm bound to have enough fuel." Not necessarily! Most tanks have a tunnel-shaped recess in the middle designed to create space for frame tubes, air filter housing or other components. The fuel tap is on one side, and it is on this side of the tunnel that the fuel level may already be too low. You may hear petrol splashing around in the tank on the other side, but the tunnel prevents it getting across to the fuel tap side.
Sometimes, by tipping the bike on its side (in the direction of the fuel tap – and don't forget that your bike's heavy!), you can shift the last drop of petrol over and use it to get you to the filling station.
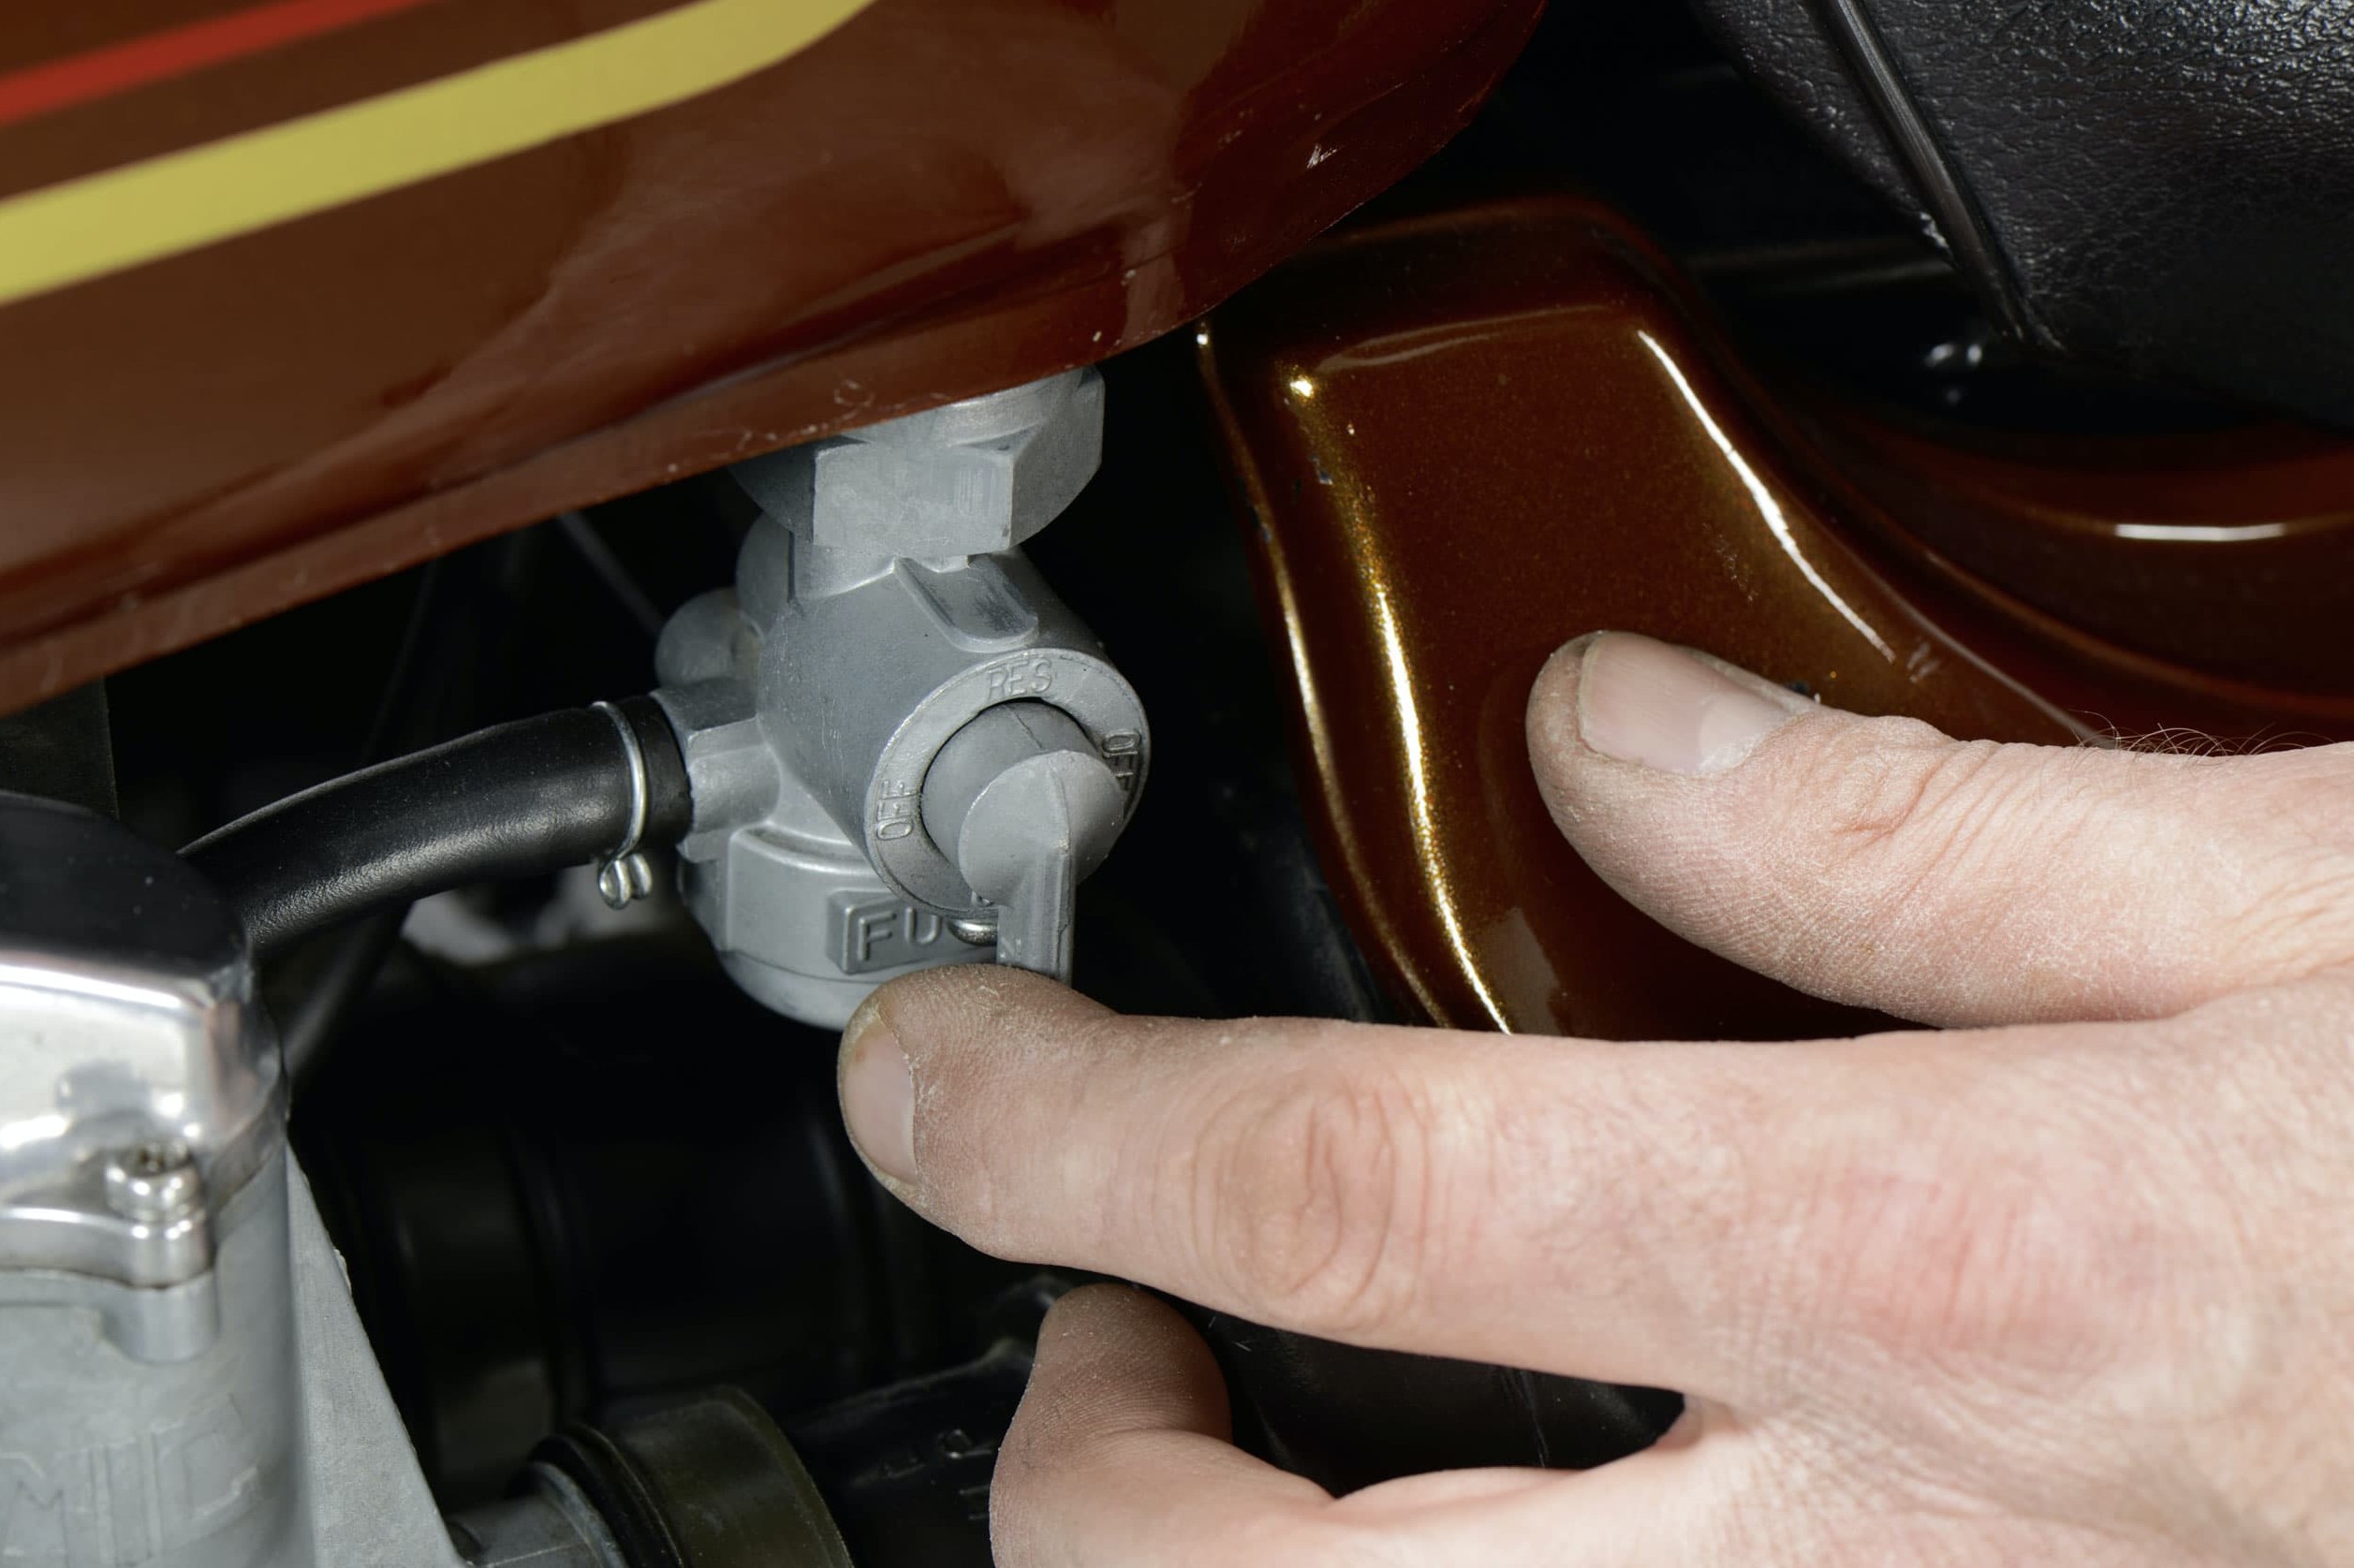
Step 7, Fig. 2: Got there on your last gasp?
Sometimes it happens that you get to your destination literally with your last drop of fuel. And before the engine dies, you switch off the ignition. Made it! But when you try to start up next day, she's as dead as a dodo. Maybe a cough and a splutter, then silence. Simply switch to "Reserve".
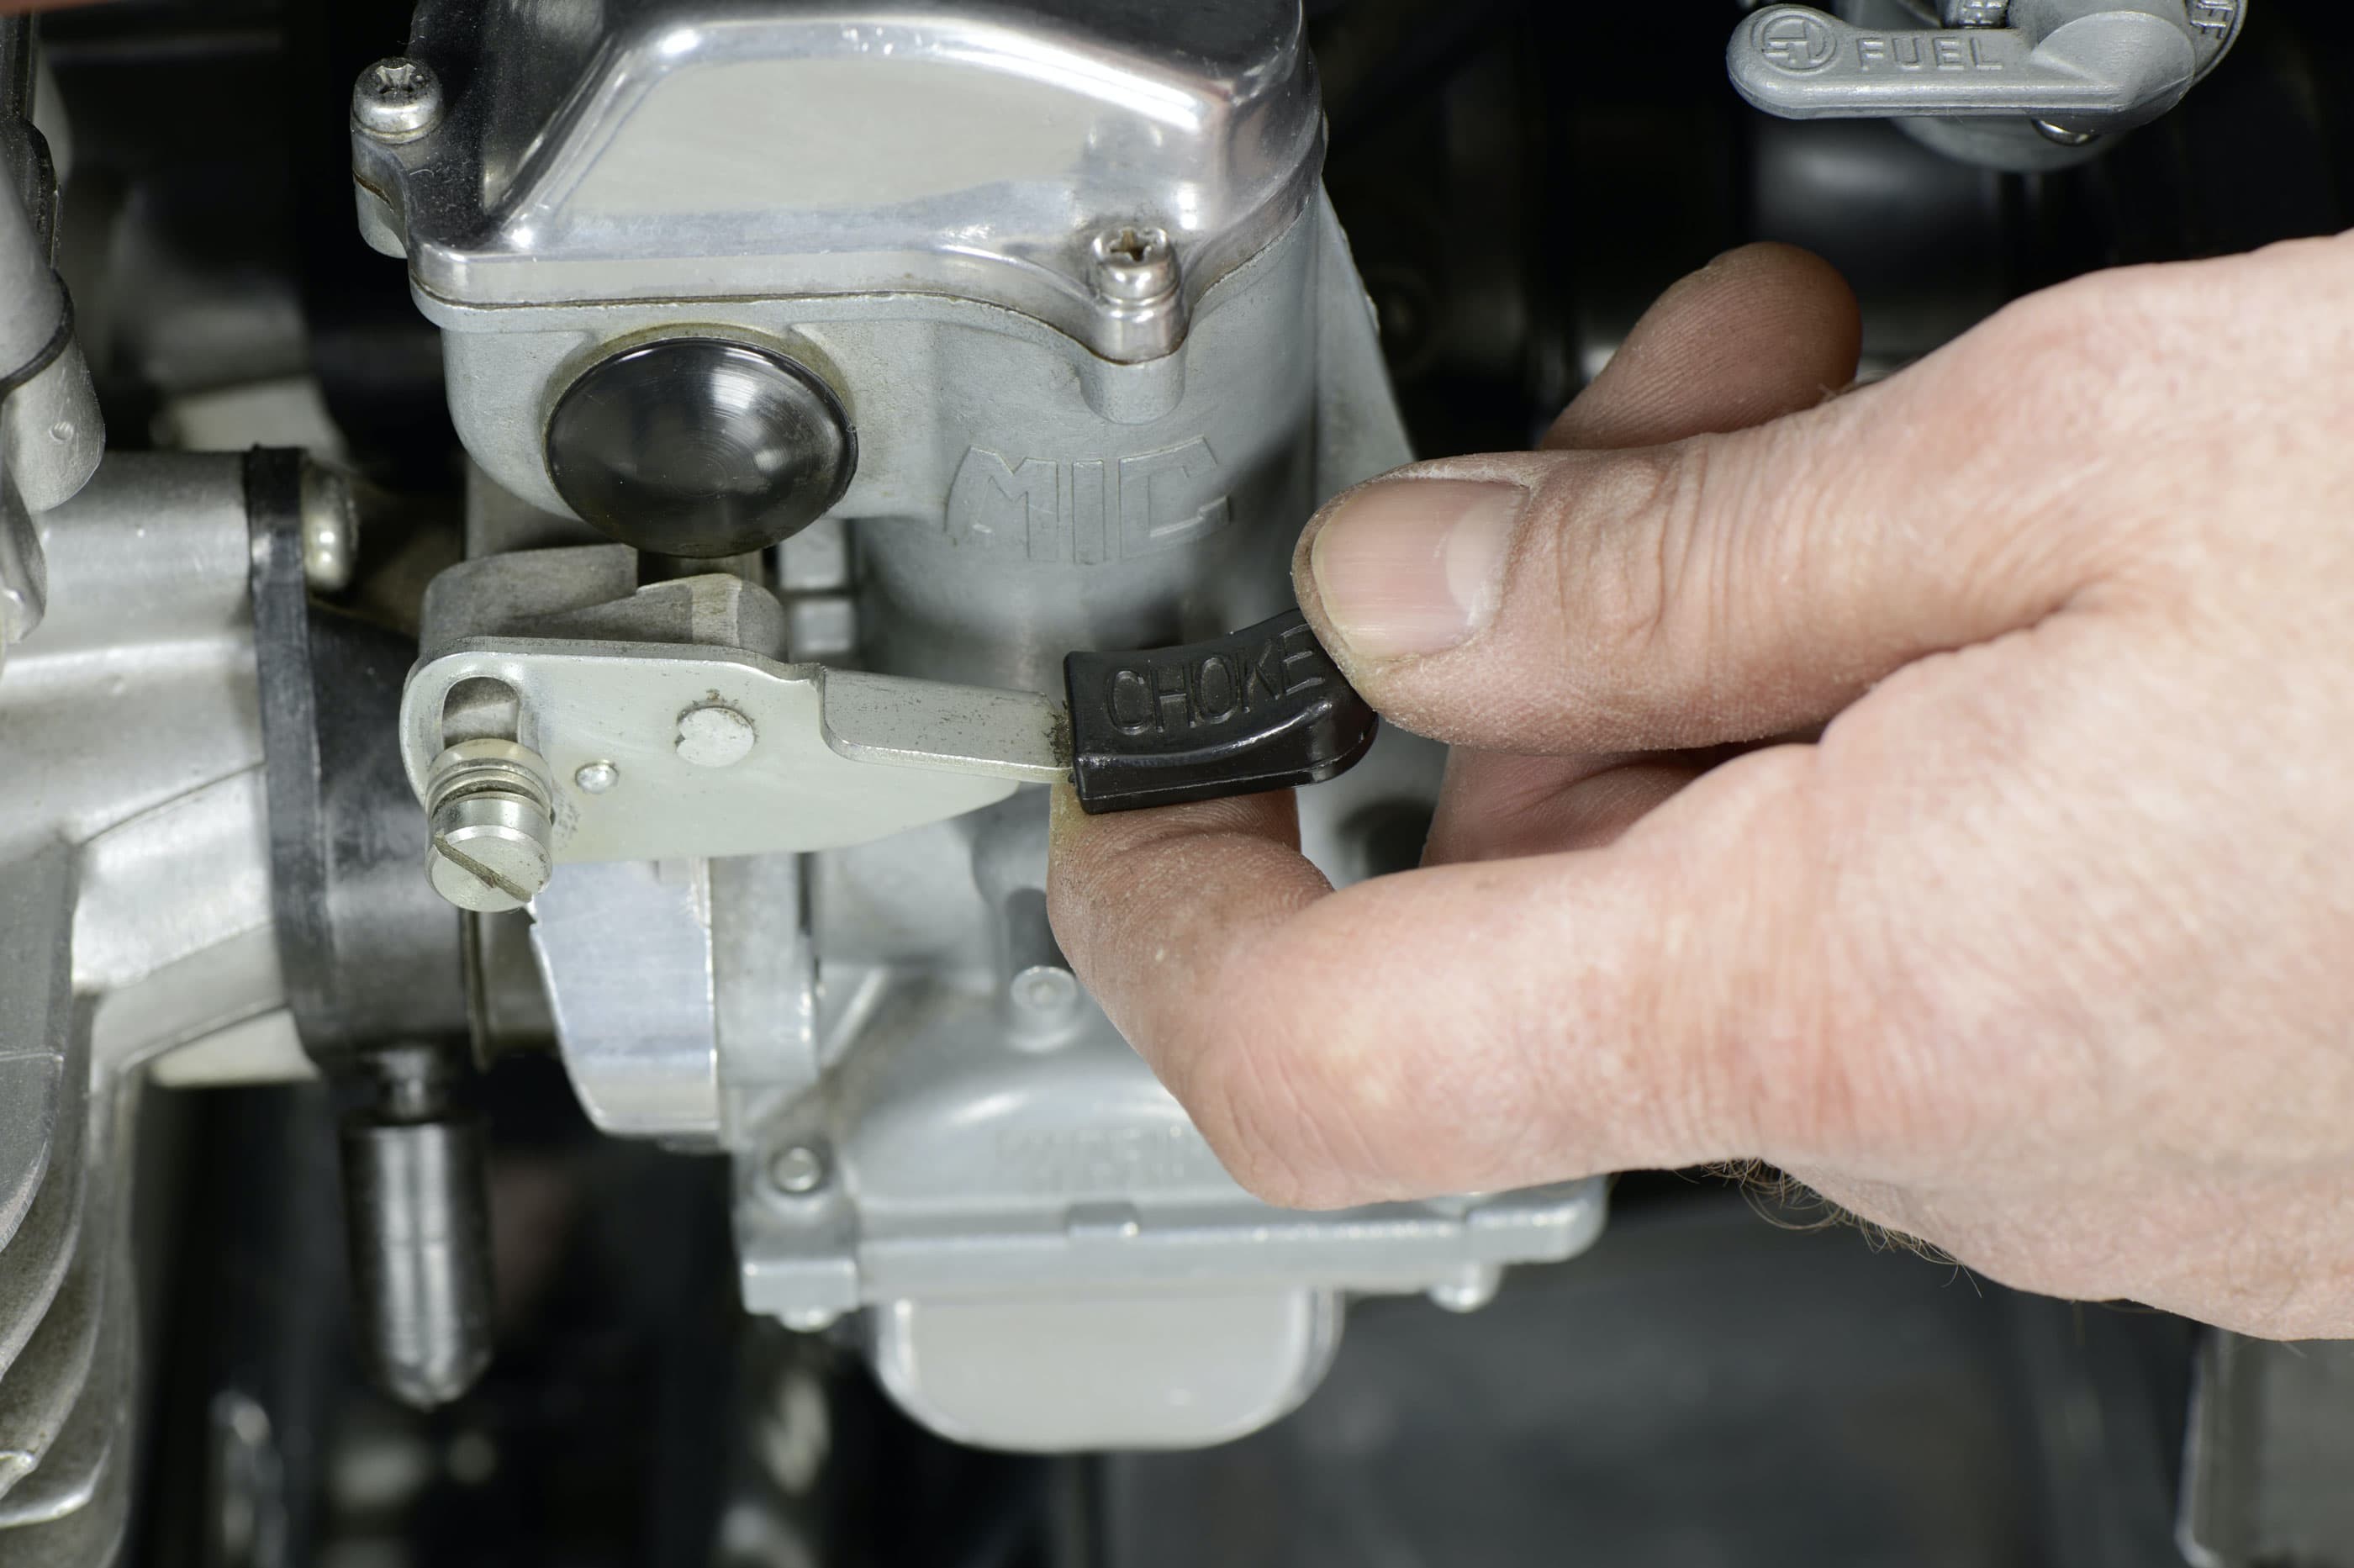
Step 8: Choke fully functional?
08 – Choke fully functional?
A cold engine can't start without the help of a cold-start device. Especially if the choke is cable-actuated via the handlebar, it can jam or become stretched over time, so it no longer works.
If there is reason to think this is the case, follow the cable from the handlebar back to the carburettor and check whether it's still working. If it is jammed, you will need to thoroughly lubricate the cable. Penetrating oil is often a quick solution to the problem. If the cable has stretched or is fraying, you will need to replace it.
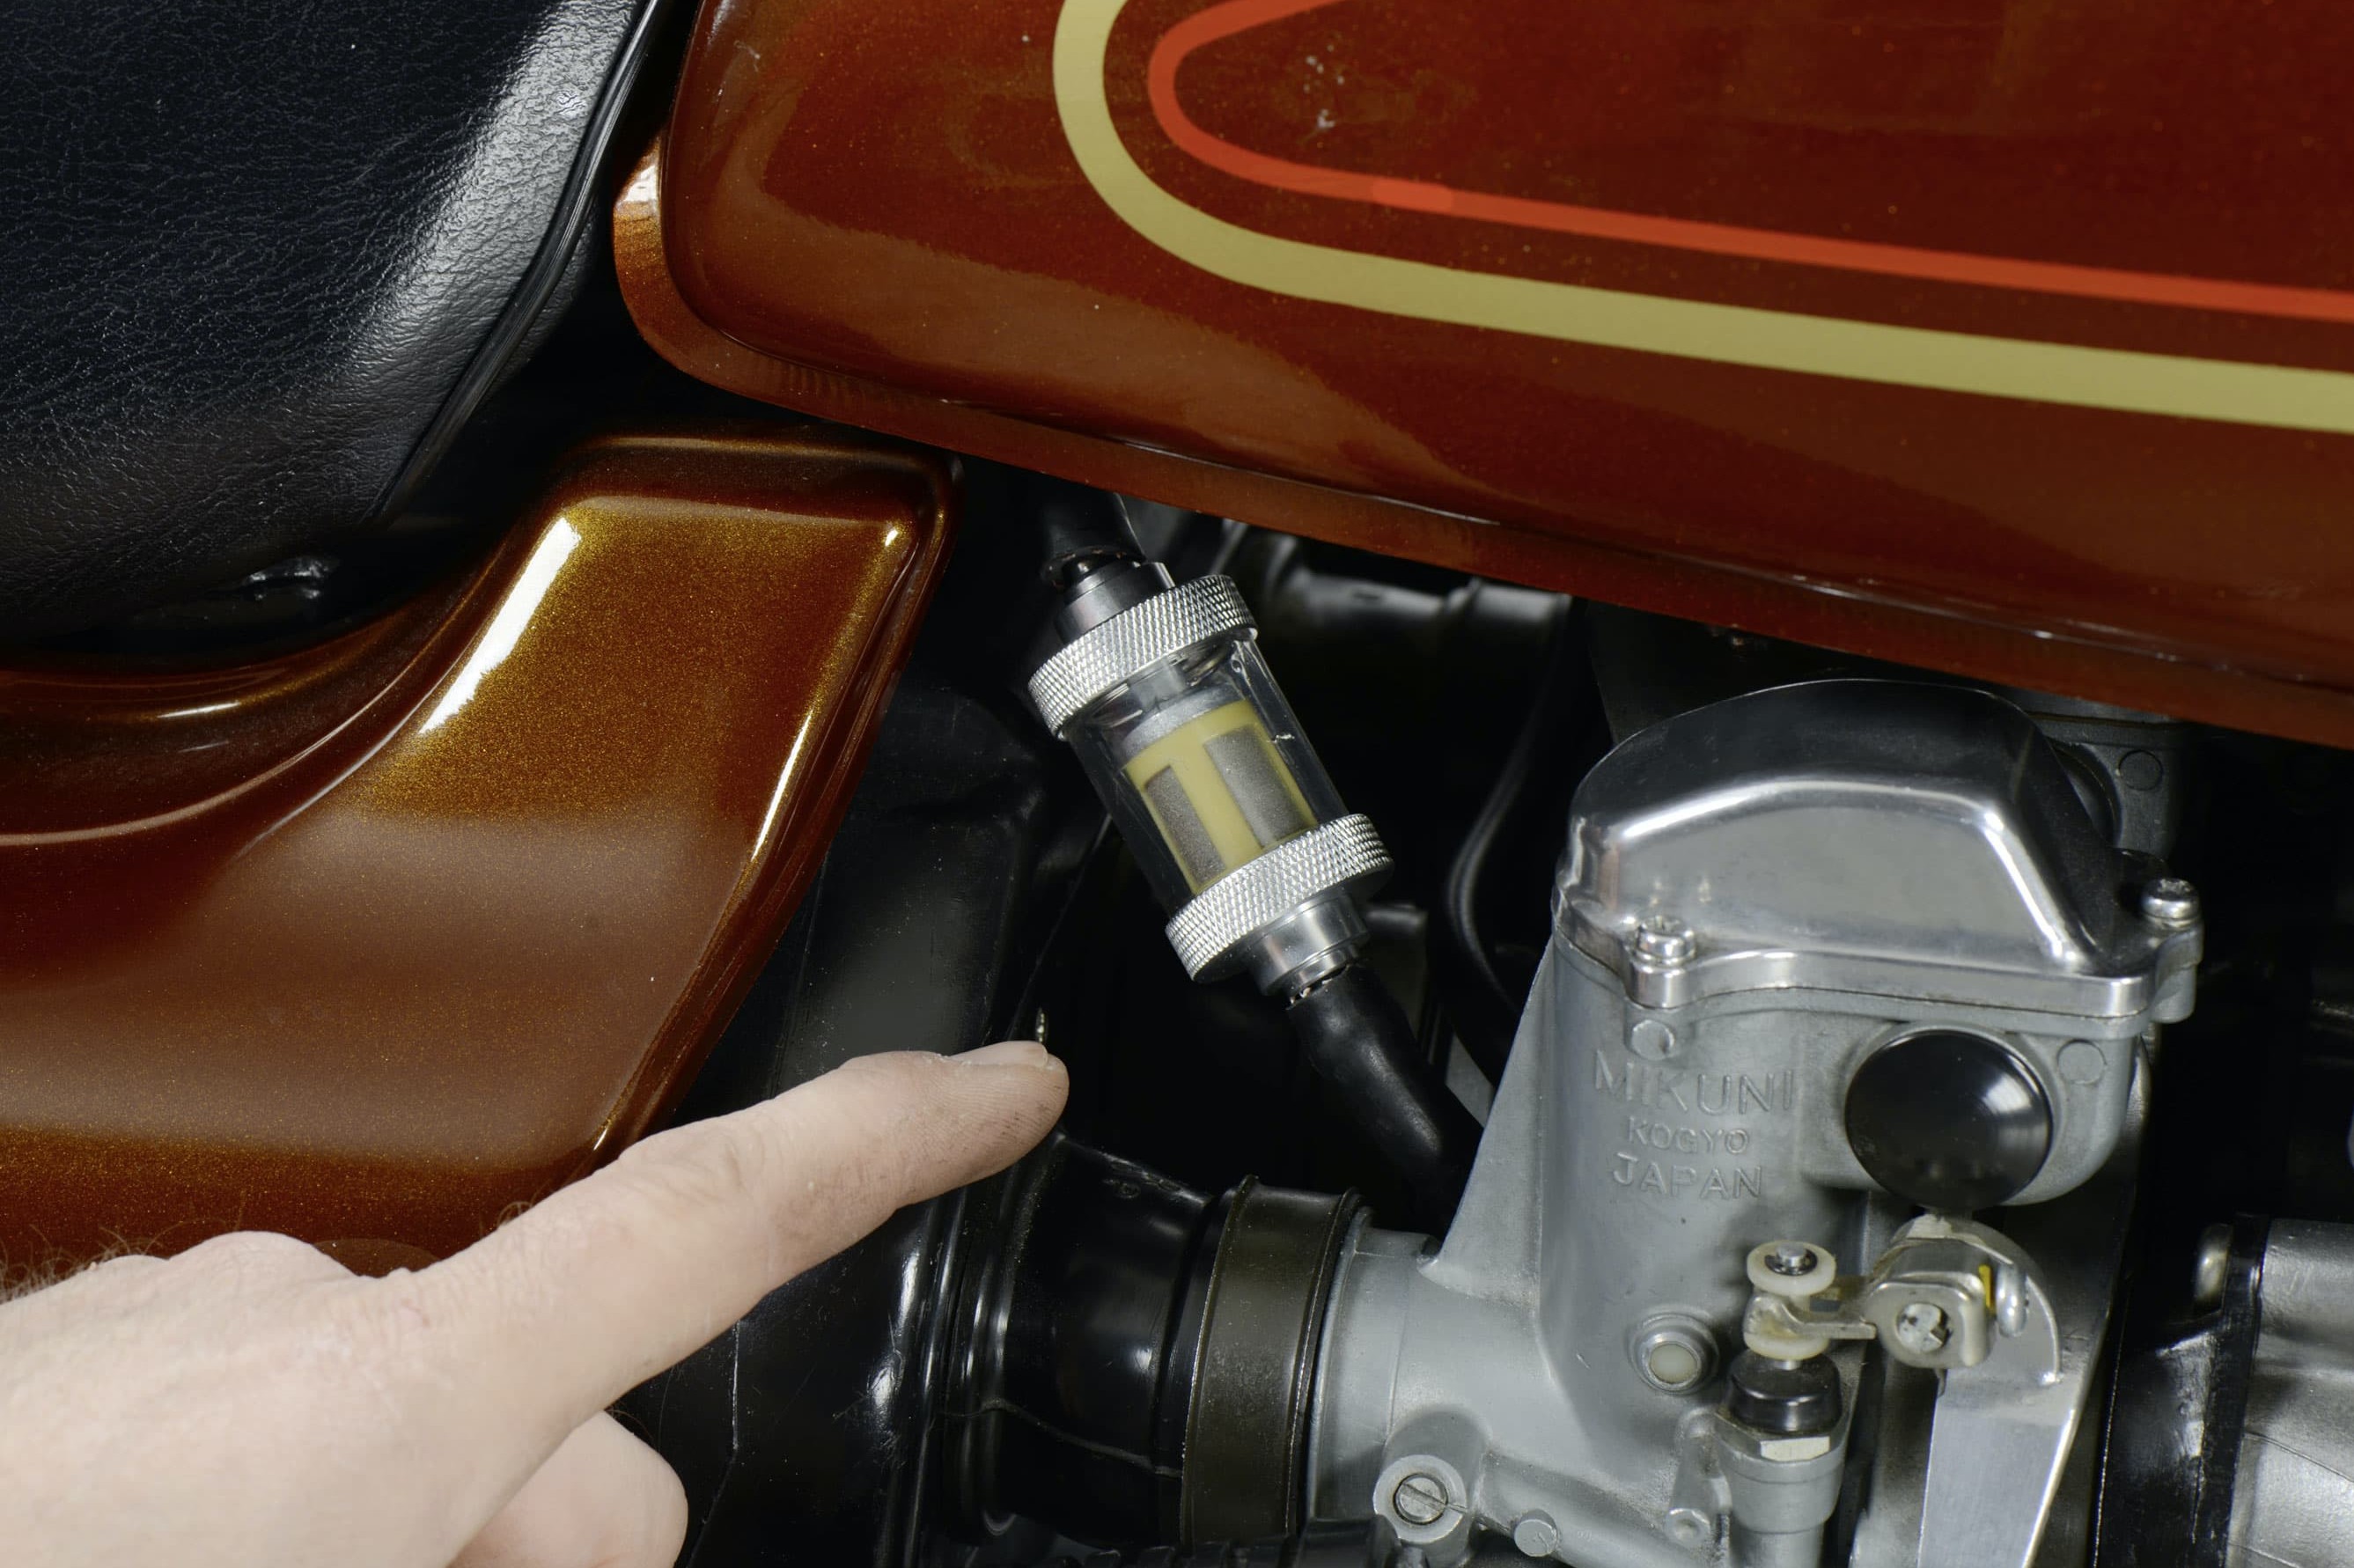
Step 9: Air bubble in the fuel filter?
09 – Air bubble in the fuel filter?
A large air bubble in an external fuel filter can easily interrupt the flow of fuel to the carburettor. At the carburettor end, slightly loosen the hose at the filter while the fuel tap is open (if it is vacuum operated, set it to "PRI"). This will force the air through.Then quickly push the hose firmly back onto the filter so that you don't lose too much fuel. Always take care to avoid skin contact with fuel.
A kink in the fuel hose may also stop the flow to your engine, so it is important to ensure the fuel hose isn't bent in too tight a radius. If that is not possible, it may help to feed the hose through a spiral spring.
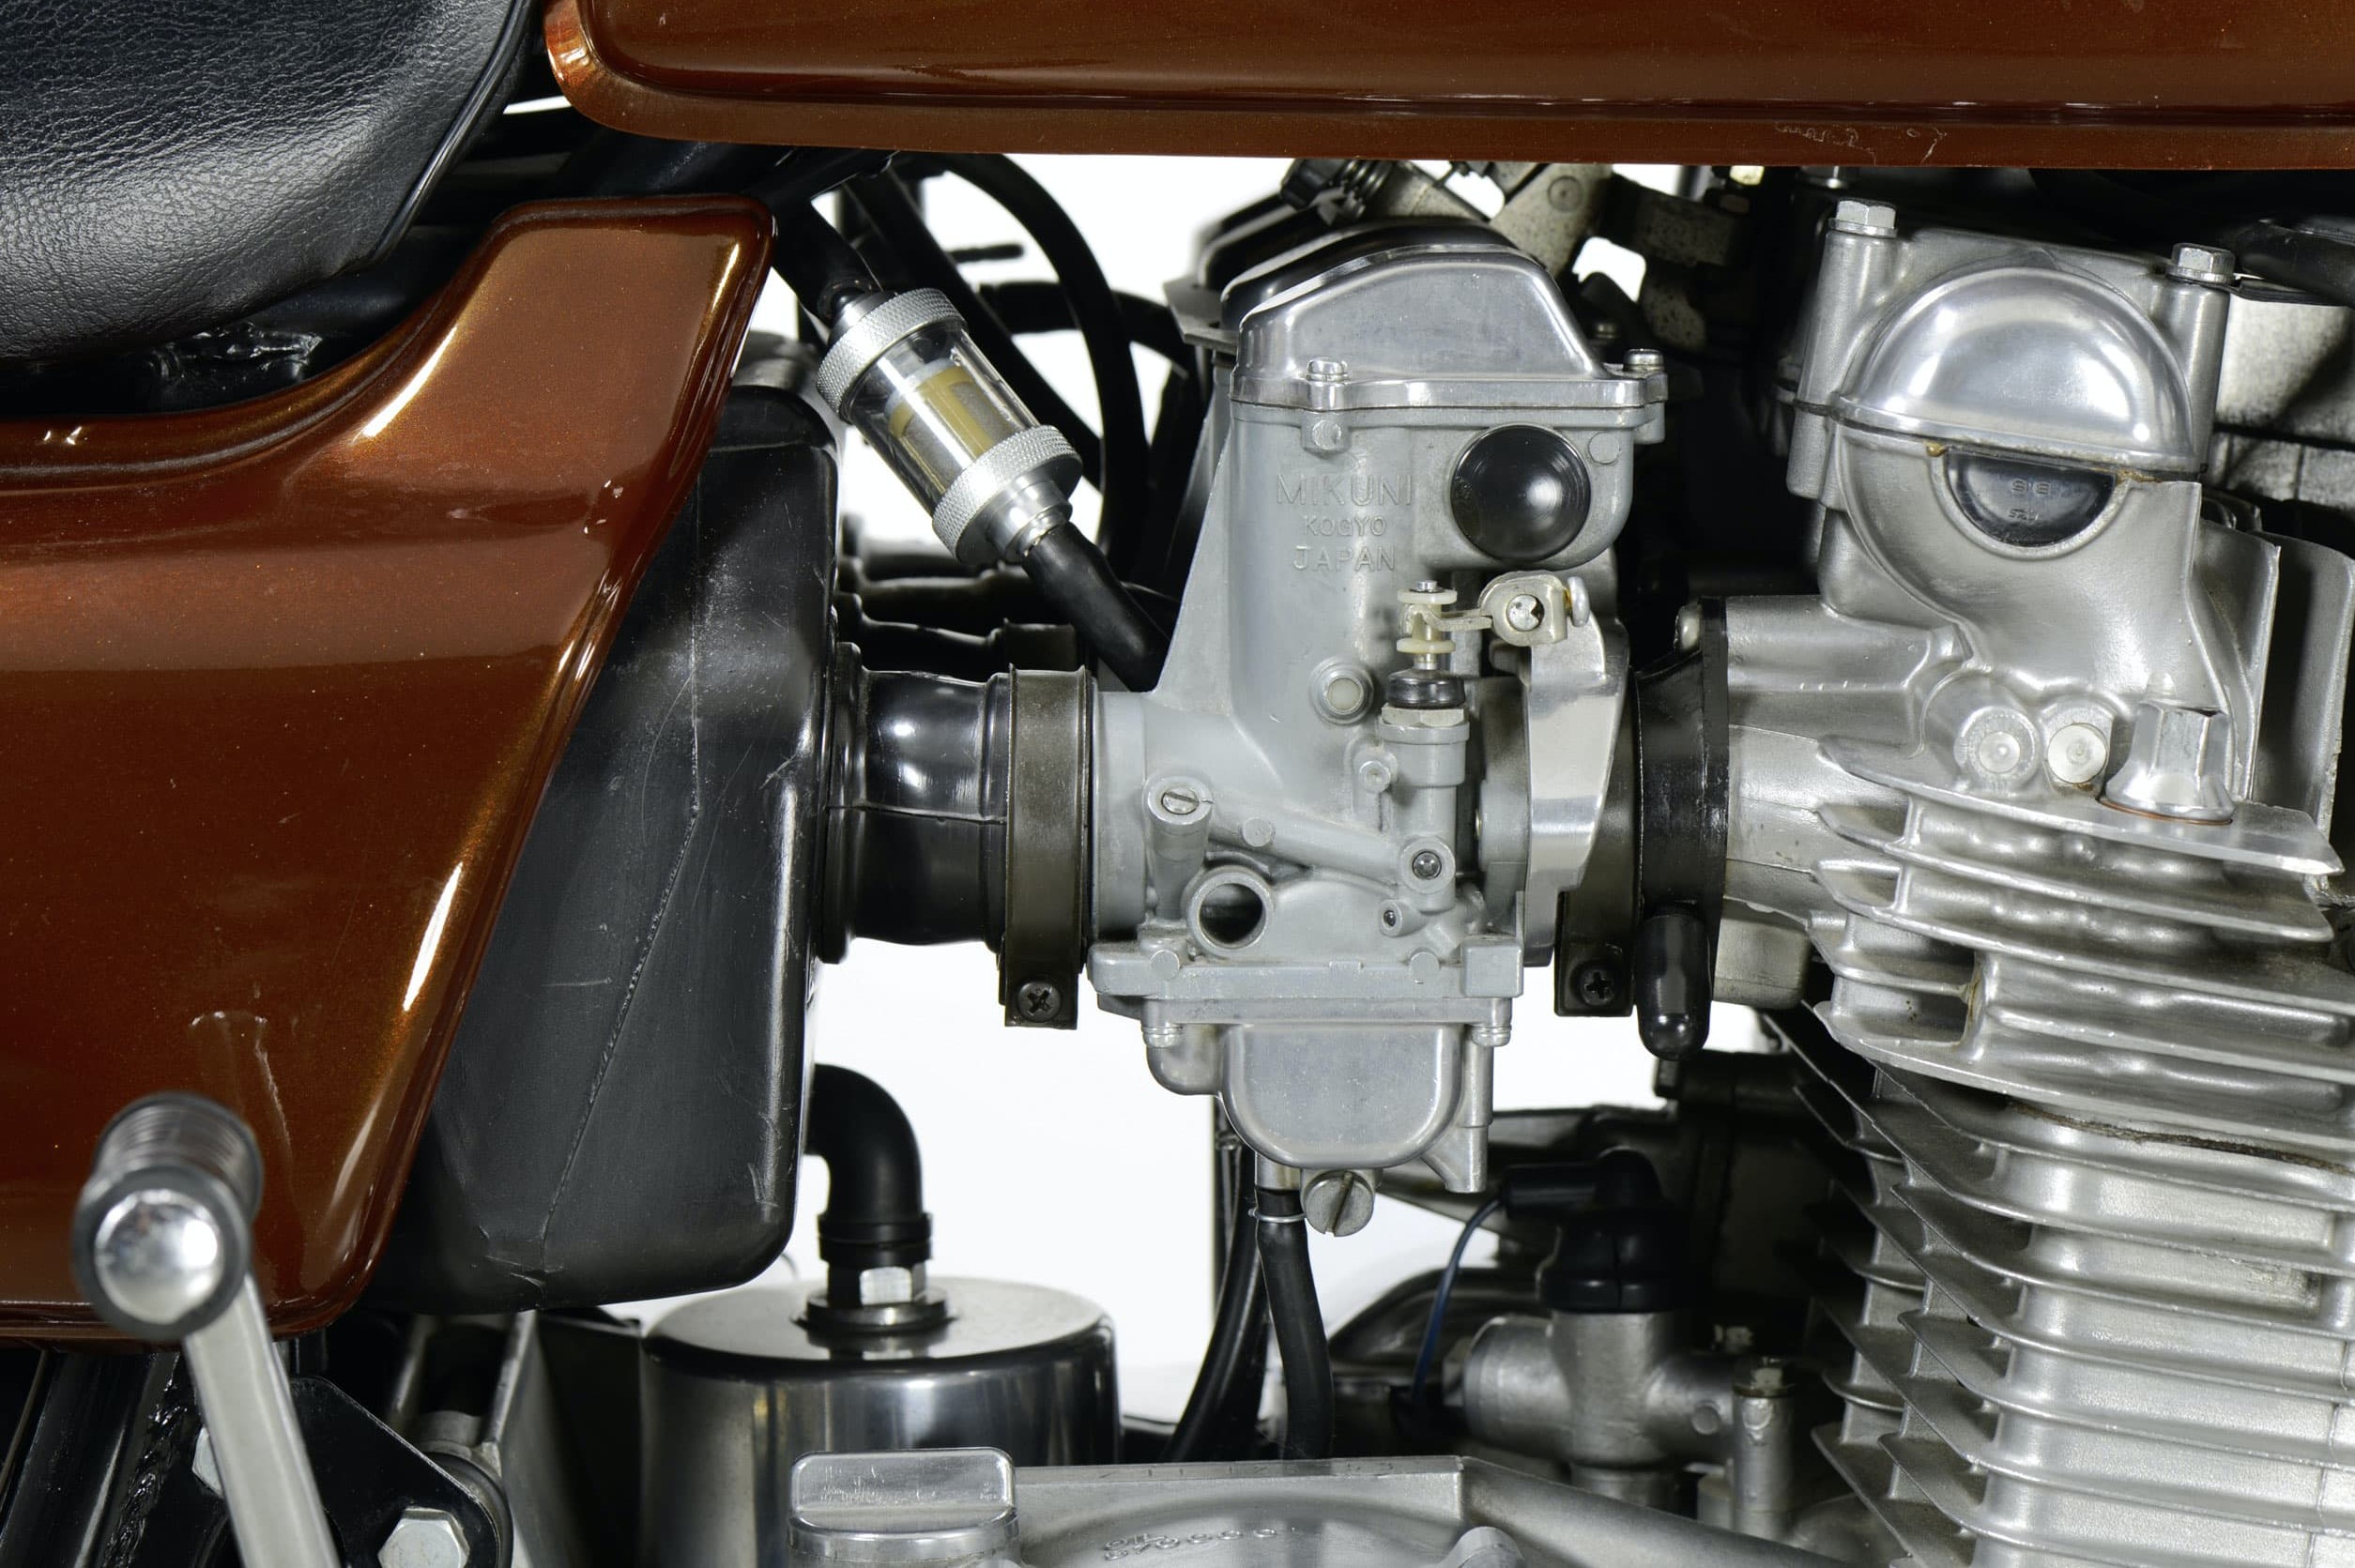
Step 10: Carburettor frozen
10 – Carburettor frozen?
The evaporation of fuel in the carburettor leads to evaporative chilling and heat is drawn from the surroundings. Particularly when the weather is very humid and temperatures are only slightly above freezing, carburettors may occasionally freeze up – which will either prevent the engine from starting, or it will start but quickly die. This can be remedied by applying heat, and a fuel additive like PROCYCLE Fuel System Cleaner can be used as a preventive measure.
11 – Diesel fueled?
Just take a quick sniff of the contents of your fuel tank. And if it is diesel in your tank, you'll need to find another way of getting to your next appointment, because draining your tank and the carburettor float chambers is going to take a while.
If you have had no success with our check list up till now, you should carry out an in-depth check of the ignition and carburettor, and also put plenty of time aside for this – for more information read Part 2 of our guide …
Our recommendation
The Louis Technical Centre
If you have a technical question about your motorbike, please contact our Technical Centre, where they have endless experience, reference books and contacts.
Please note!
These tips for DIY mechanics contain general recommendations that may not apply to all vehicles or all individual components. As local conditions may vary considerably, we are unable to guarantee the correctness of information in these tips for DIY mechanics.
Thank you for your understanding.


