Installing a motorcycle power socket
A power socket on your motorbike is a very handy thing to have, and it's not at all difficult to install – once you know how it's done.
Note: The videos are in German.
- Installing a power socket – now let's get started
- 01 – Select mounting position
- 02 – Route the cable
- 03 – Connecting power socket
- Direct connection to the battery
- Connecting to the ignition positive terminal
- 04 – Function check
- 05 – Refit fairing and seat
- 06 – Check the electrical system again
- Bonus tips for real DIY mechanics
Installing a motorcycle power socket
In this DIY tip, we show you in a few easy steps how to install a power socket on your motorbike, for supplying your GPS sat nav, smartphone and other devices.
First of all, you will need a power socket of your preferred type (USB socket, standard vehicle socket, cigarette lighter socket). You'll find them all at www.louis.eu. Then you need to find the best place for the power socket on your motorbike, depending on which device you intend to connect to it. You can install it on the handlebar or frame, under a mounting plate, or in the vehicle cockpit. In addition to powering your electrical devices, the power socket can also be used for charging your motorcycle battery, provided it's maintenance-free and you use a suitable adapter plug for the charger.
Important: Some technical knowledge of vehicle electrics is an advantage for installing the socket. You should only do the installation yourself if you feel confident about this job.
Installing a power socket – now let's get started
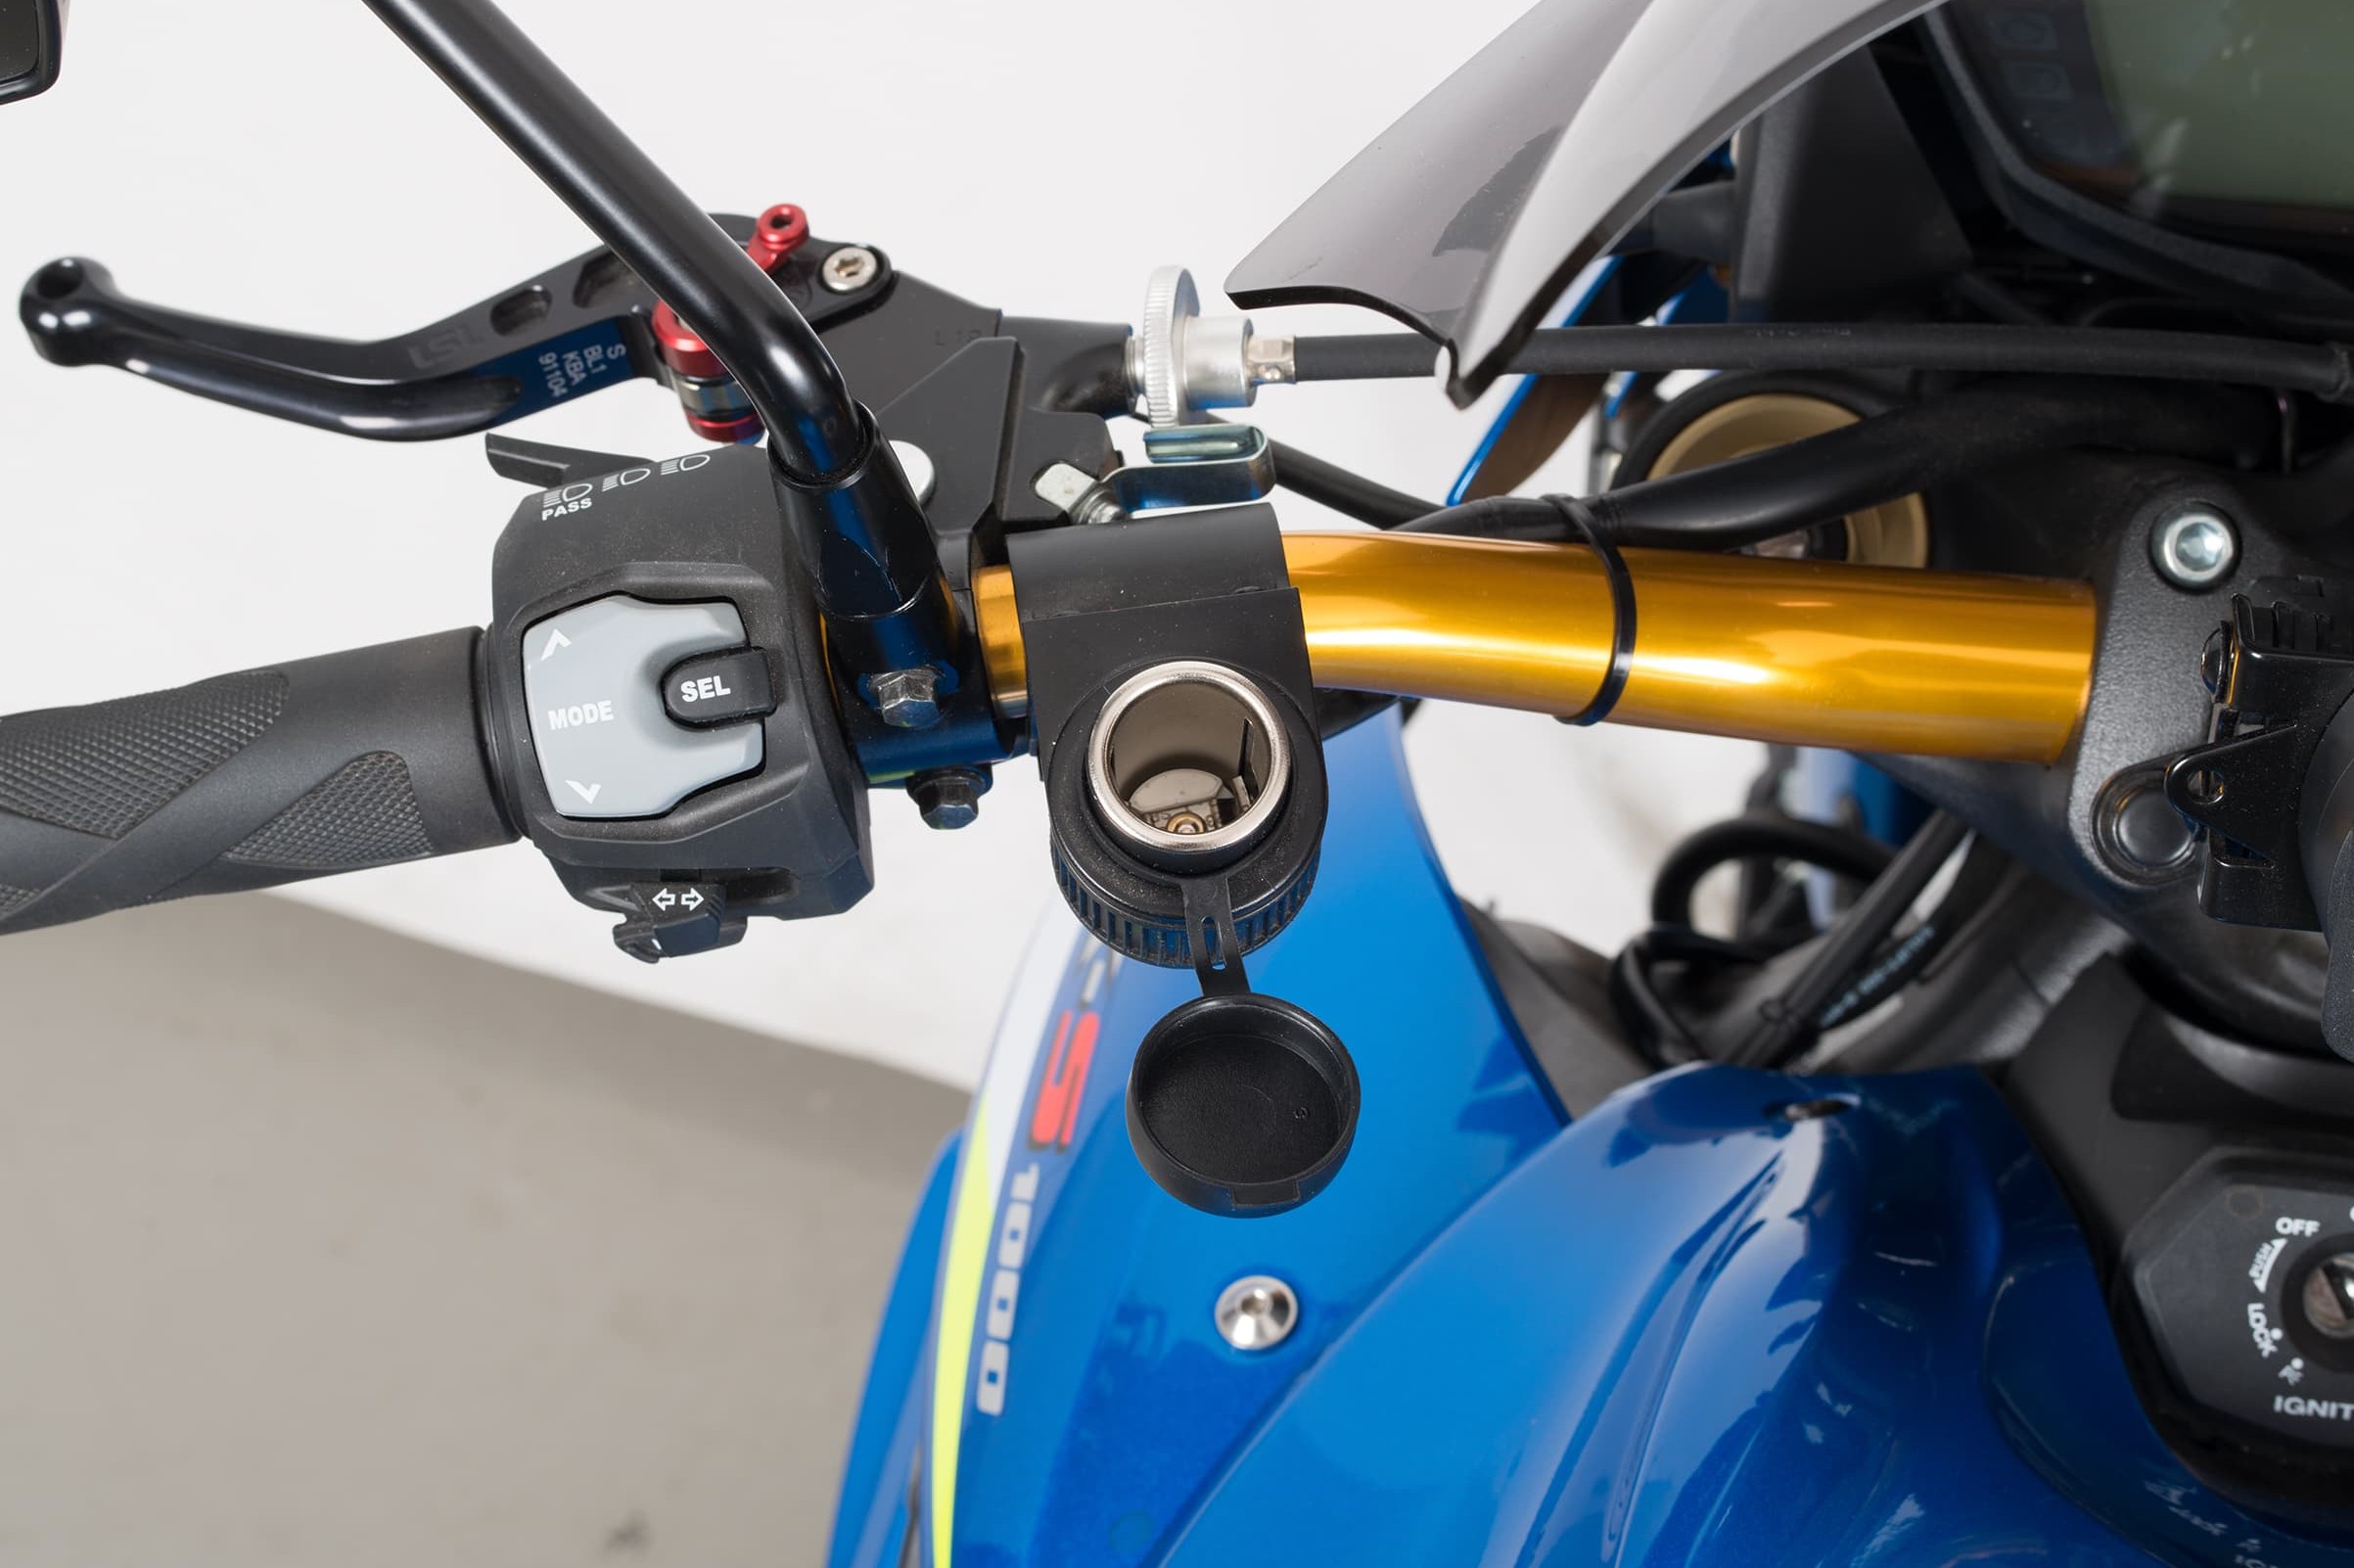
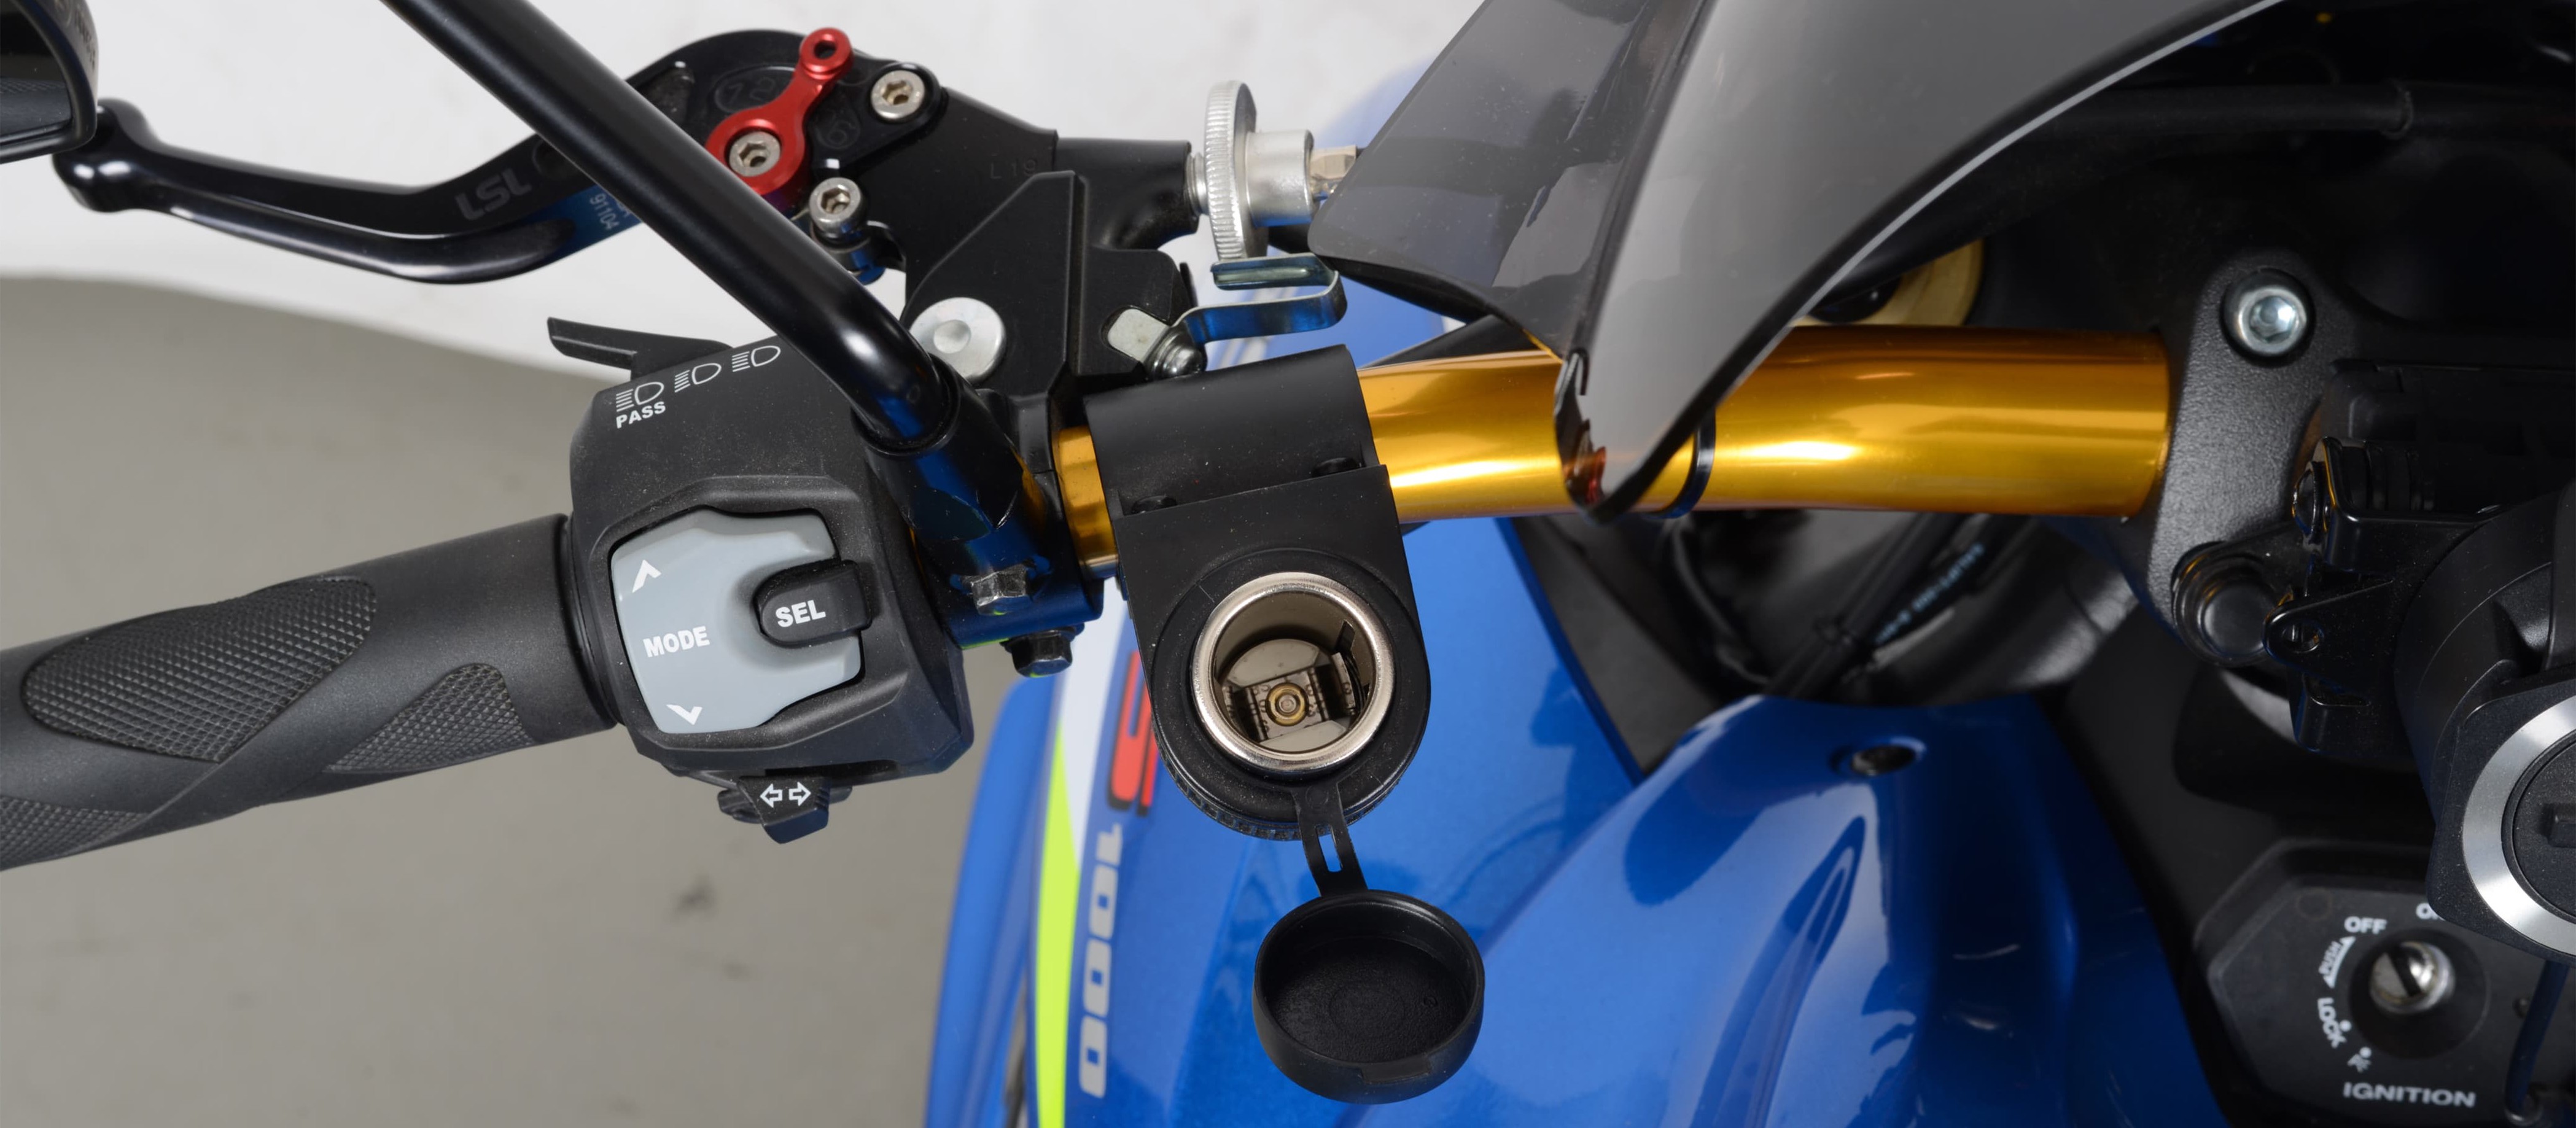
Step 1, Fig. 1: Installation on the handlebar
01 – Select mounting position
First choose where to install the power socket, bearing in mind the limited cable length. The cable must be able to reach the battery.
If you intend to use the socket mainly for charging the battery, it may be a good idea to install it near the battery, e.g. on a frame tube under the side cover. Choose a location where the back of the socket is protected against water spray. It must be mounted securely. Just leaving it dangling from the cables would hardly make a tidy job, and would also create a hazard when you're riding your motorbike because the socket would swing about and could get tangled up. If you were really unlucky, it might even get caught in your wheel spokes ...
For mounting on the handlebar or frame, use the clamp, which is usually supplied together with the power socket. The socket and cable must not impede the steering lock. If your motorbike has a standard metric 22 mm handlebar, you should use the rubber pad when attaching the clamp. For a thinner tube, e.g. on the frame, you may need to use a rubber or metal insert to reduce the diameter of the clamp.
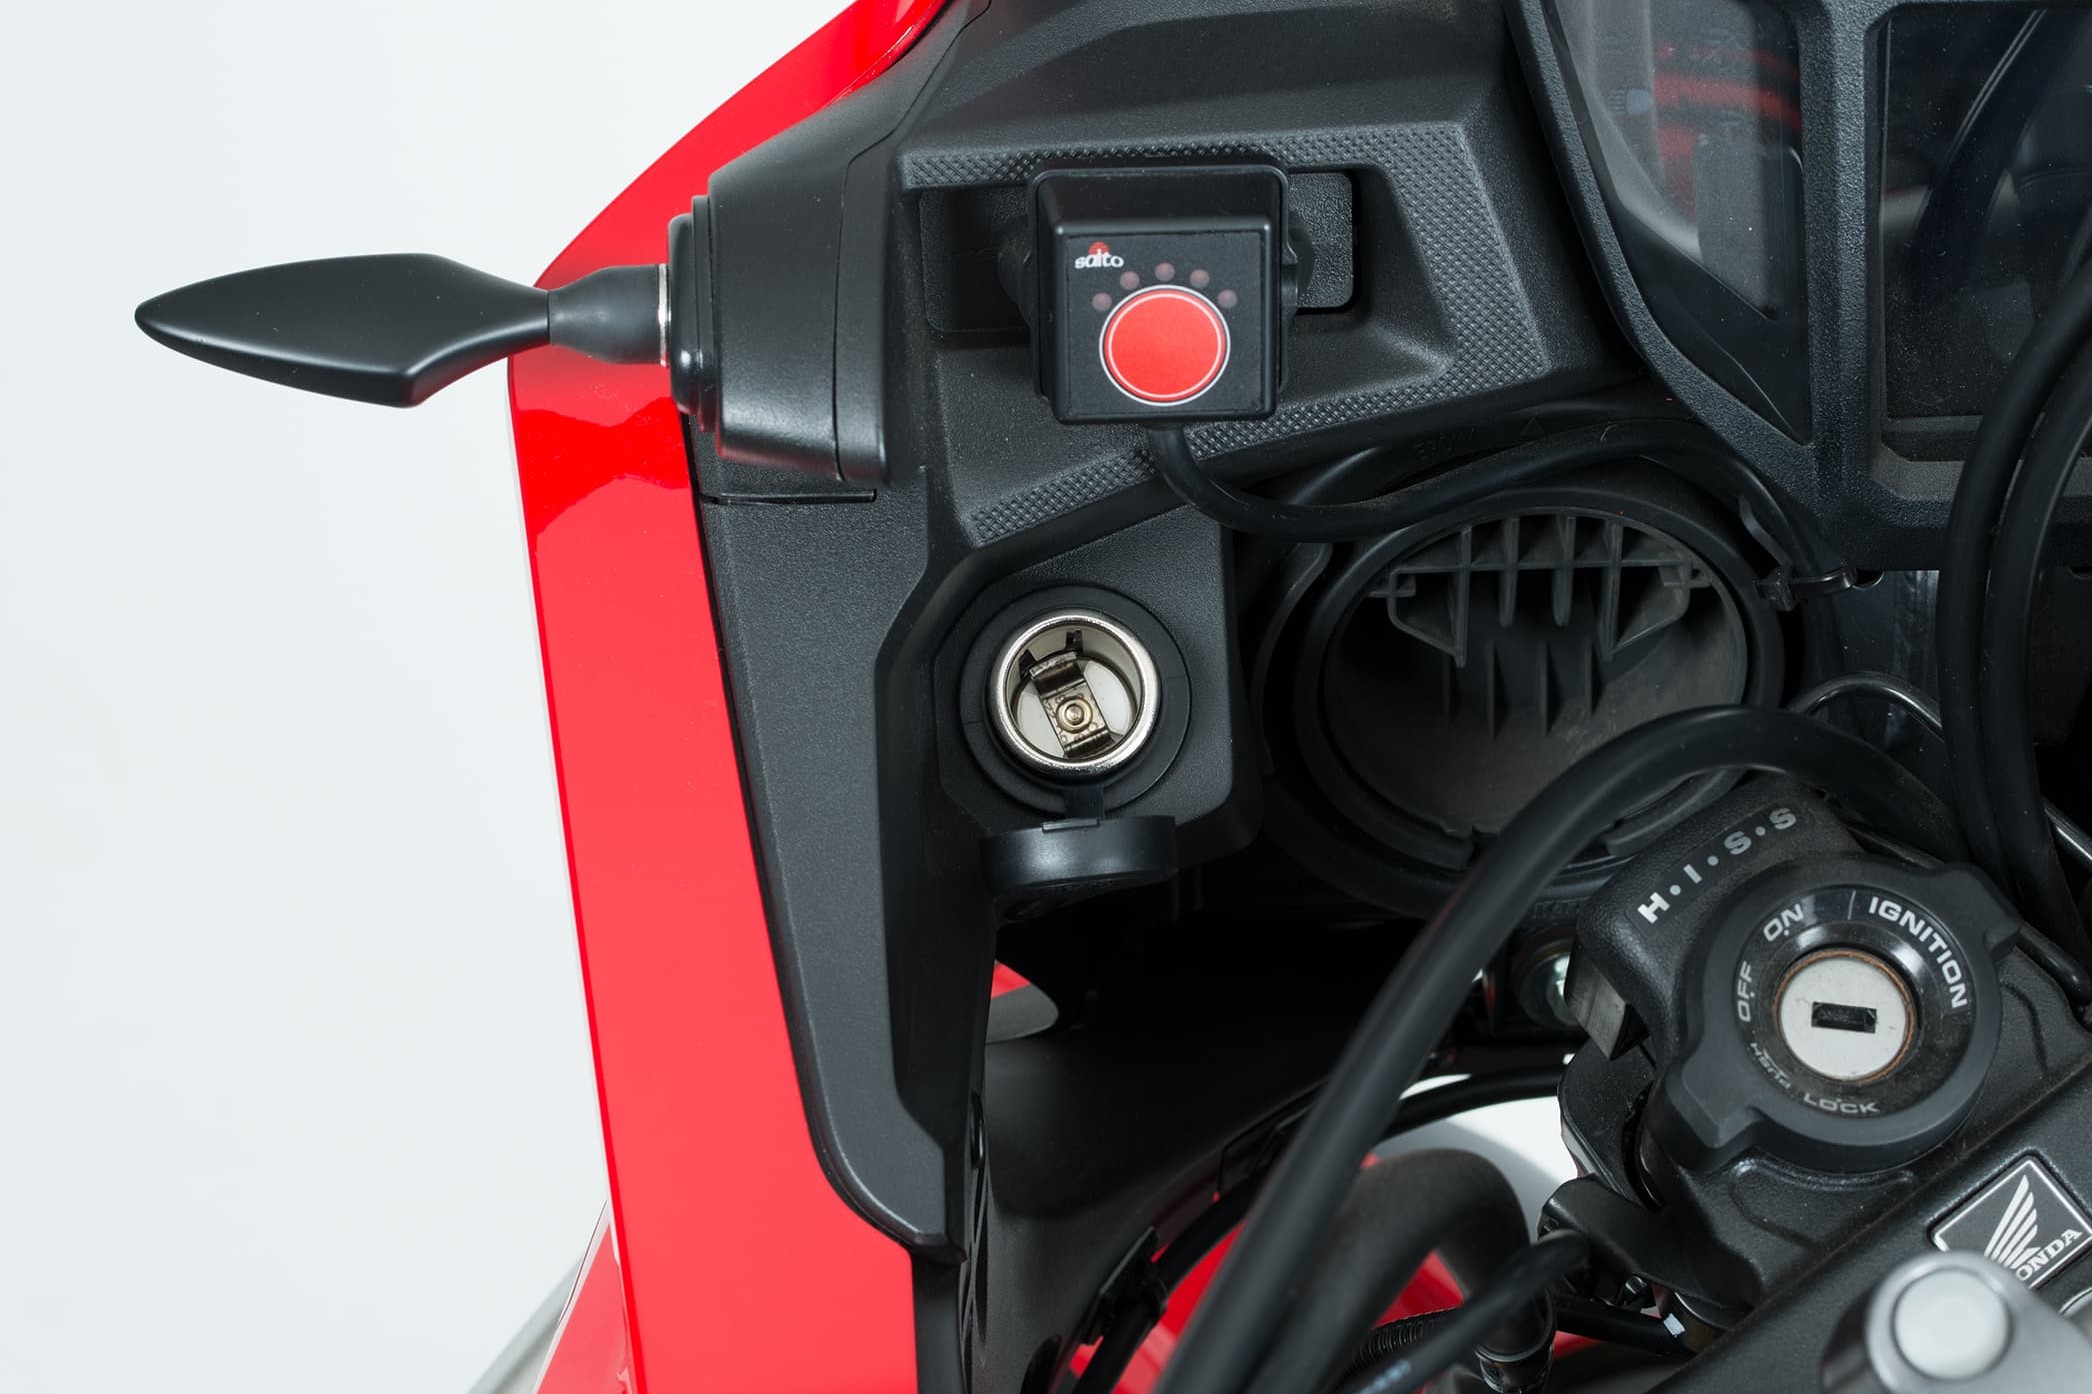
Step 1, Fig. 2: Mounting in the cockpit fairing
If you are installing the power socket in your cockpit or instrument panel or on a bracket, the clamp will not be required, of course. In this case, drill a suitably sized hole (check the hole diameter specified in the installation instructions for the power socket), insert the power socket from below and secure it with a knurled nut.
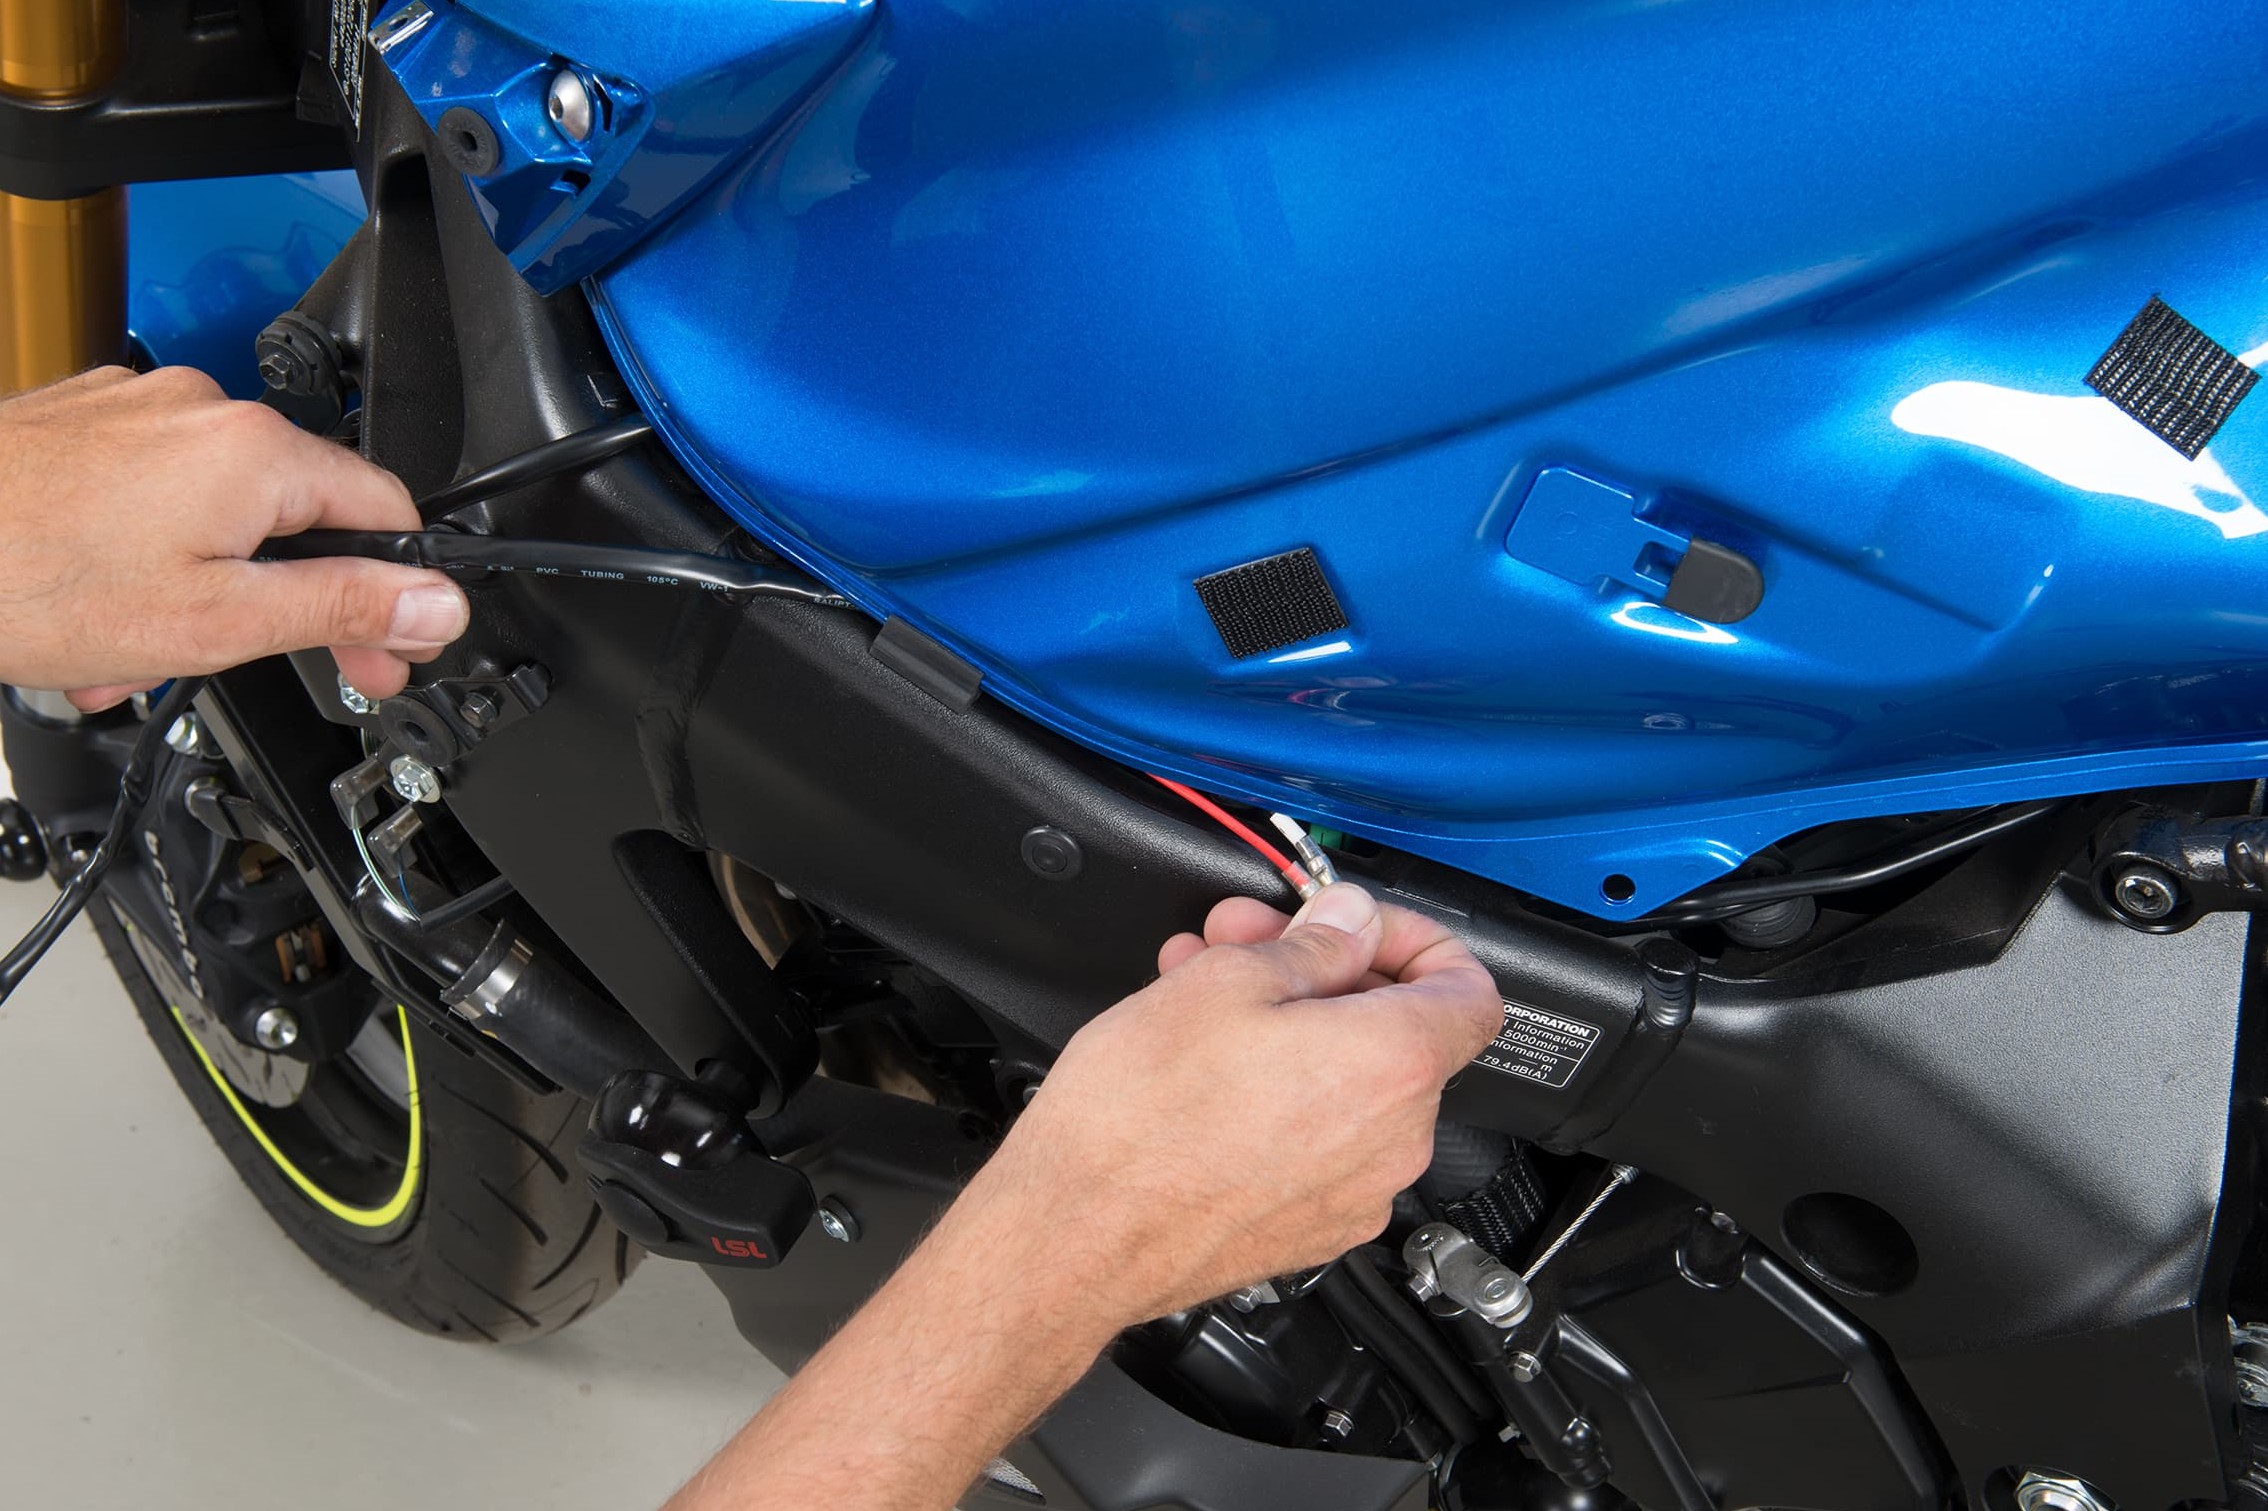
Step 2: Route the cable
02 – Route the cable
Now you need to route the connecting cable to the battery. This may involve removing the tank, seat, and possibly a side cover.
Make sure that the cable cannot snag anywhere or be pulled off (e.g. when the handlebar is at full lock). The cable must also be a safe distance from the hot engine and all moving parts.
It's very important to secure the cable adequately with cable ties – preferably of a colour that goes well with your motorbike's paintwork. It will simply look that much better!
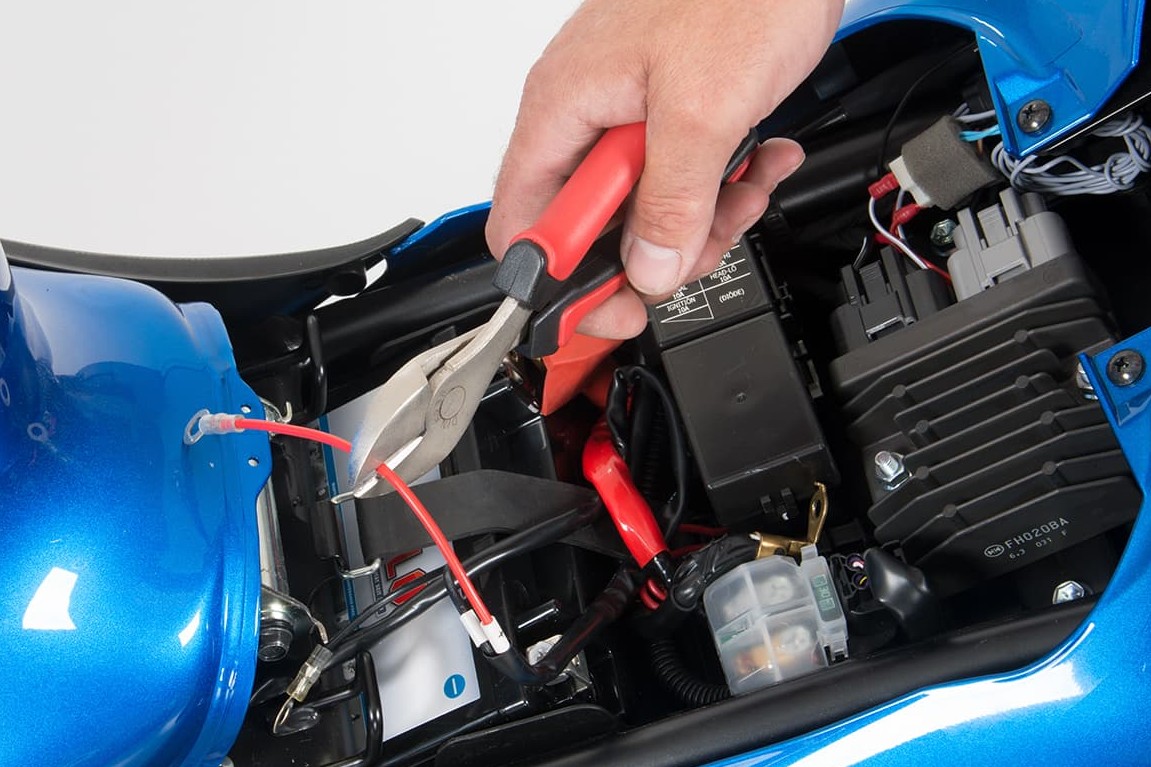
Step 3, Fig. 1: Cut the positive cable, ...
03 – Connecting power socket
There are two options for connecting the positive lead: either on the battery itself or via the positive ignition terminal. Whichever you choose, you should install an in-line fuse.
Direct connection to the battery
If you intend to charge your battery via the power socket, e.g. using a ProCharger battery charger, then it's advisable to connect the socket to the battery itself. This is also a good option if you want to charge your electronic devices whenever you stop to take a break from your journey.
The ignition must be switched off before you connect the cable lugs to the battery. But first find a suitable place for connecting the small in-line fuse box (e.g. under the side cover). There are various types of fuse boxes. With the one illustrated here, you need to cut the socket's positive cable, then place the two cable ends on the metal clips of the fuse box, and press the clips together so that they penetrate into the cable and make the contact. You should clearly hear the clips snap into place.
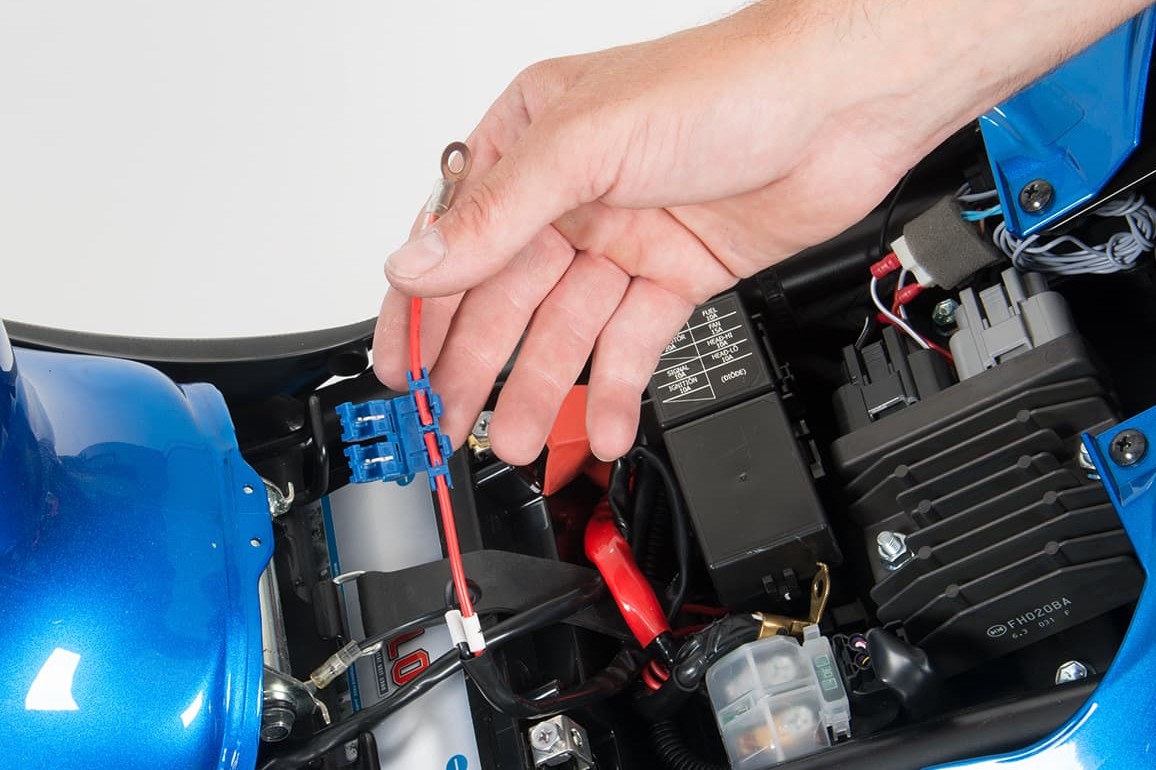
Step 3, Fig. 2: … place the cable ends in the (in-line ) fuse box …
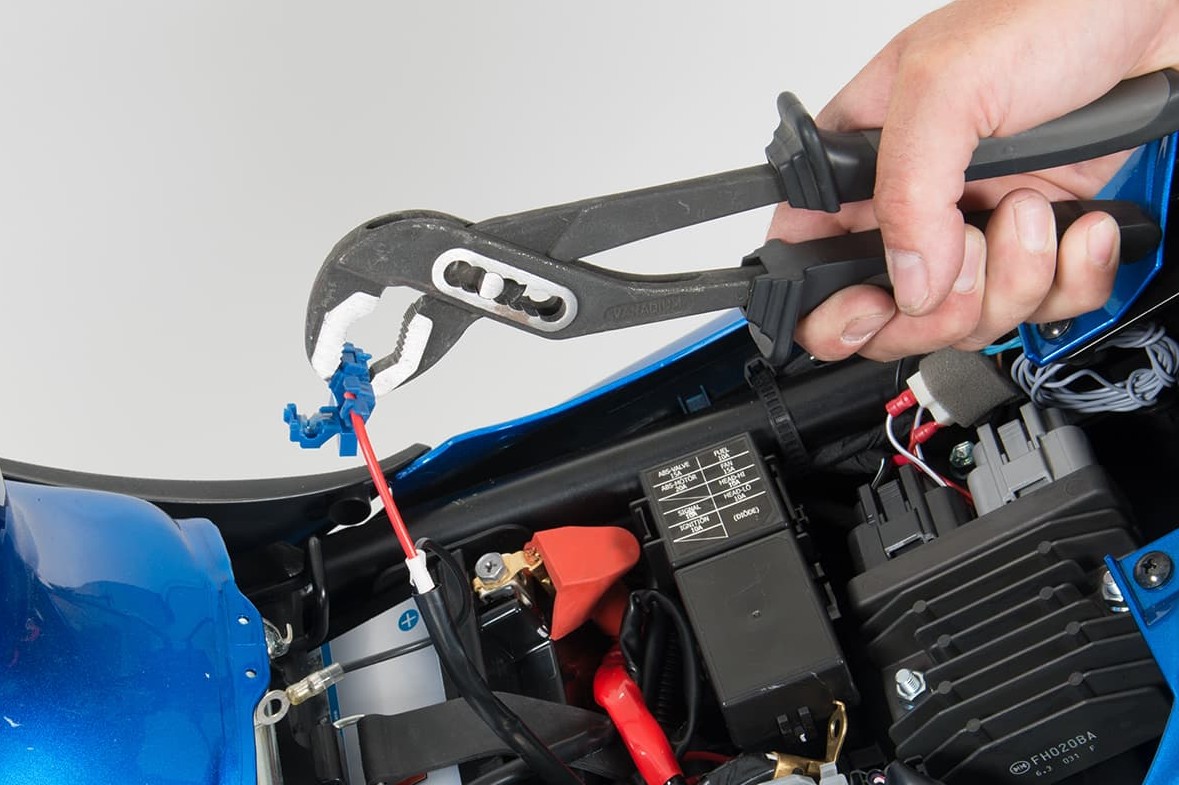
Step 3, Fig. 3: … and close the box
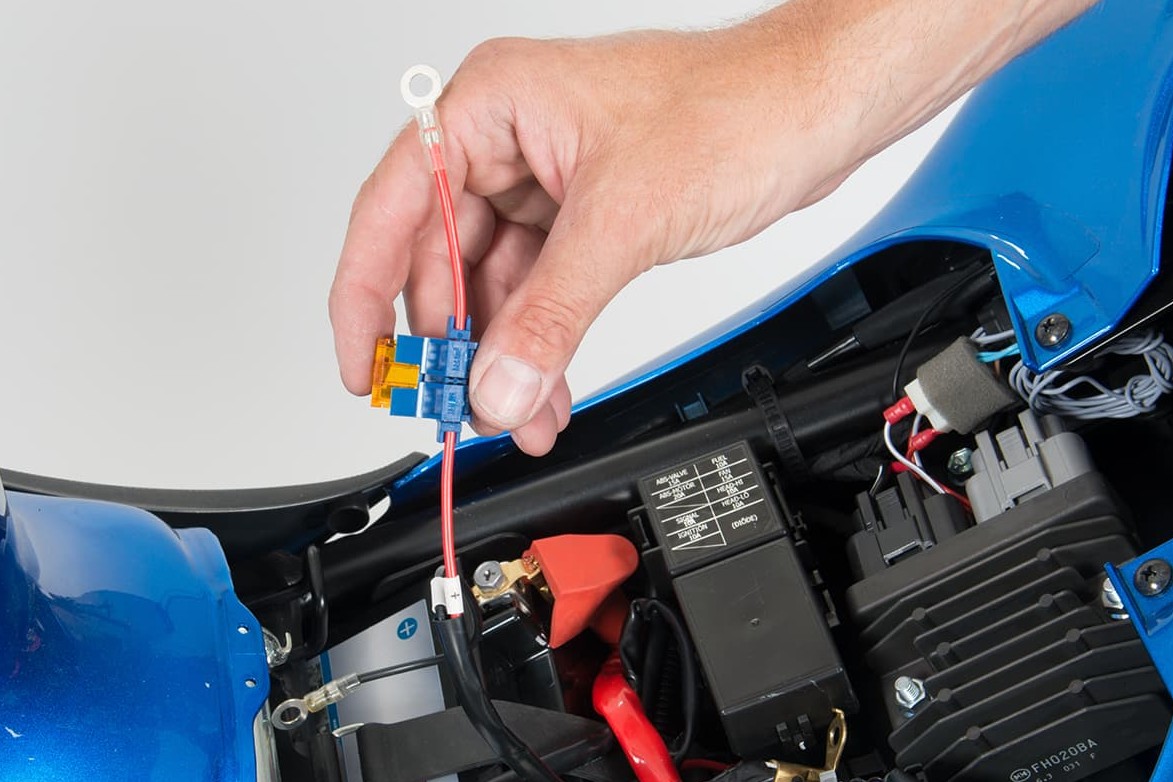
Step 3, Fig. 4: Insert the blade fuse
Then insert the 5 A blade fuse into the fuse box.
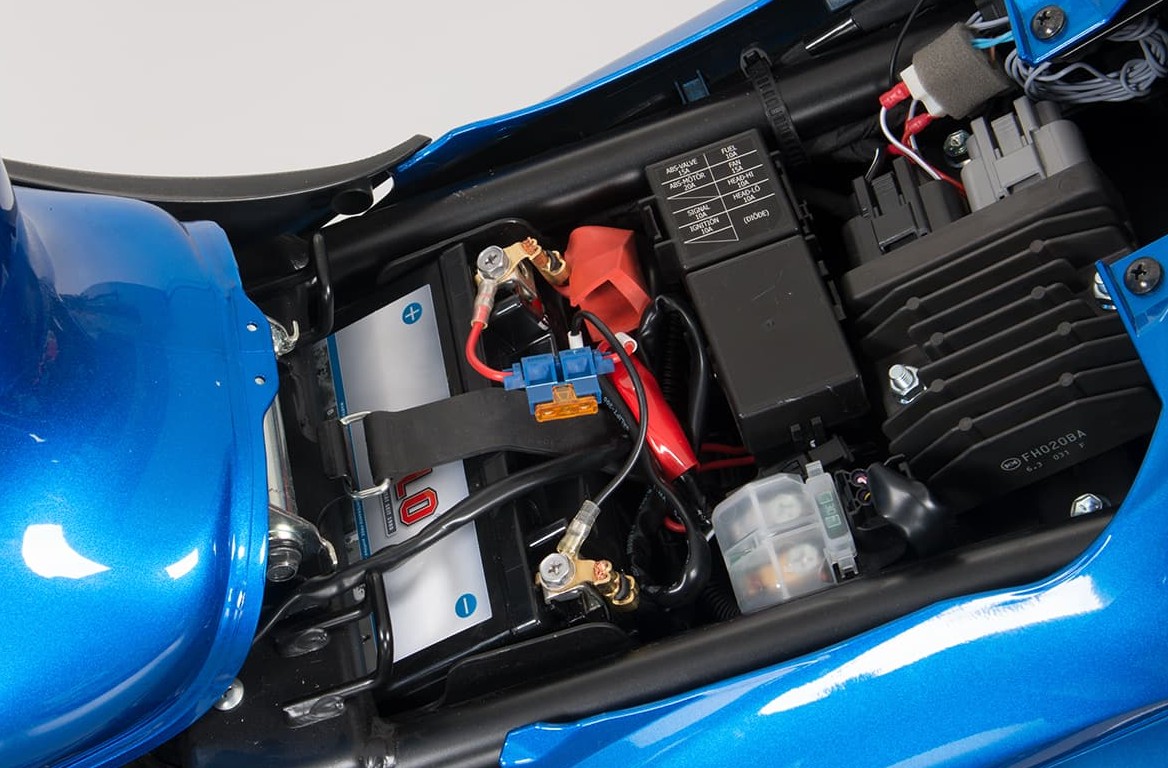
Step 3, Fig. 5: Wired-up power socket
Now screw the cable lugs onto the battery. To avoid a short-circuit if the tool you are using should touch the frame, first remove the earth cable from the battery's negative terminal, and then the cable from the positive terminal. Afterwards, you secure, firstly, the red cable to the positive terminal, followed by the black cable on the negative terminal.
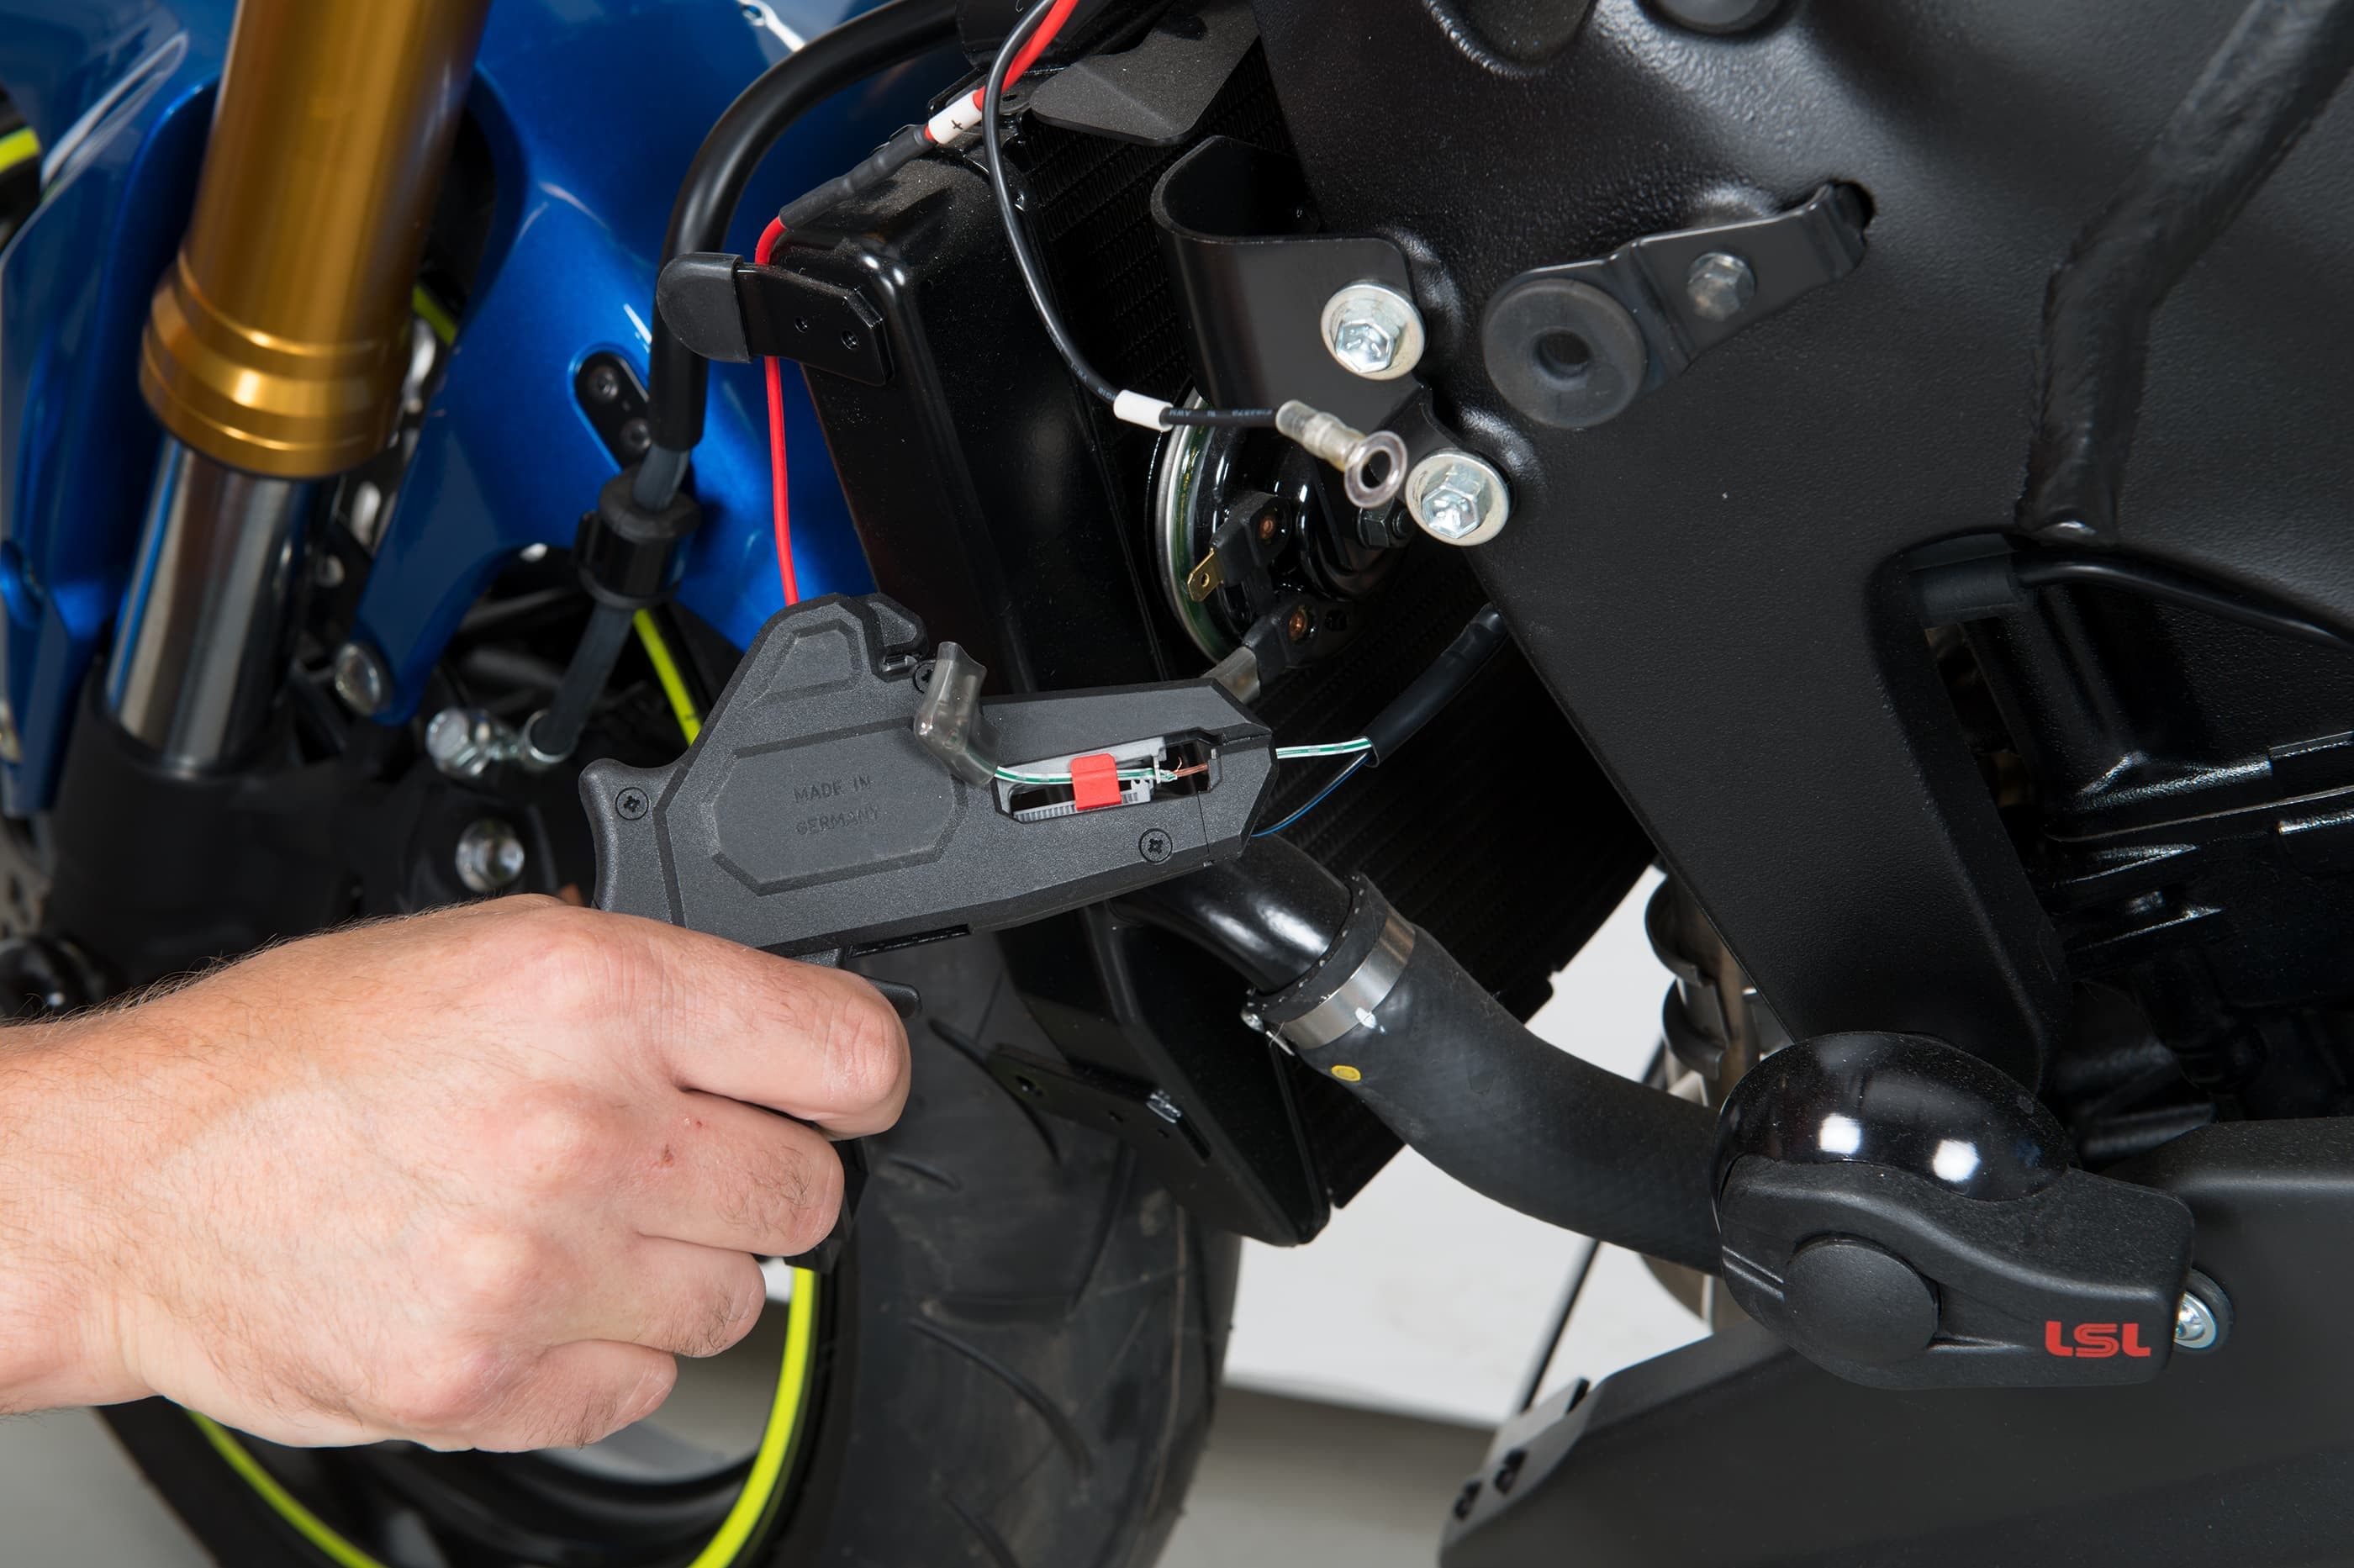
Step 3, Fig. 6: Strip the insulation off the horn cable to make the connection.
Connecting to the ignition positive terminal
The advantage of this method of connection is that nobody can use the power socket unless you allow them to because the socket only works when the ignition is switched on. Never tap any power lead that supplies important components (e.g. light or ignition coil). We recommend instead connecting to the horn cable.
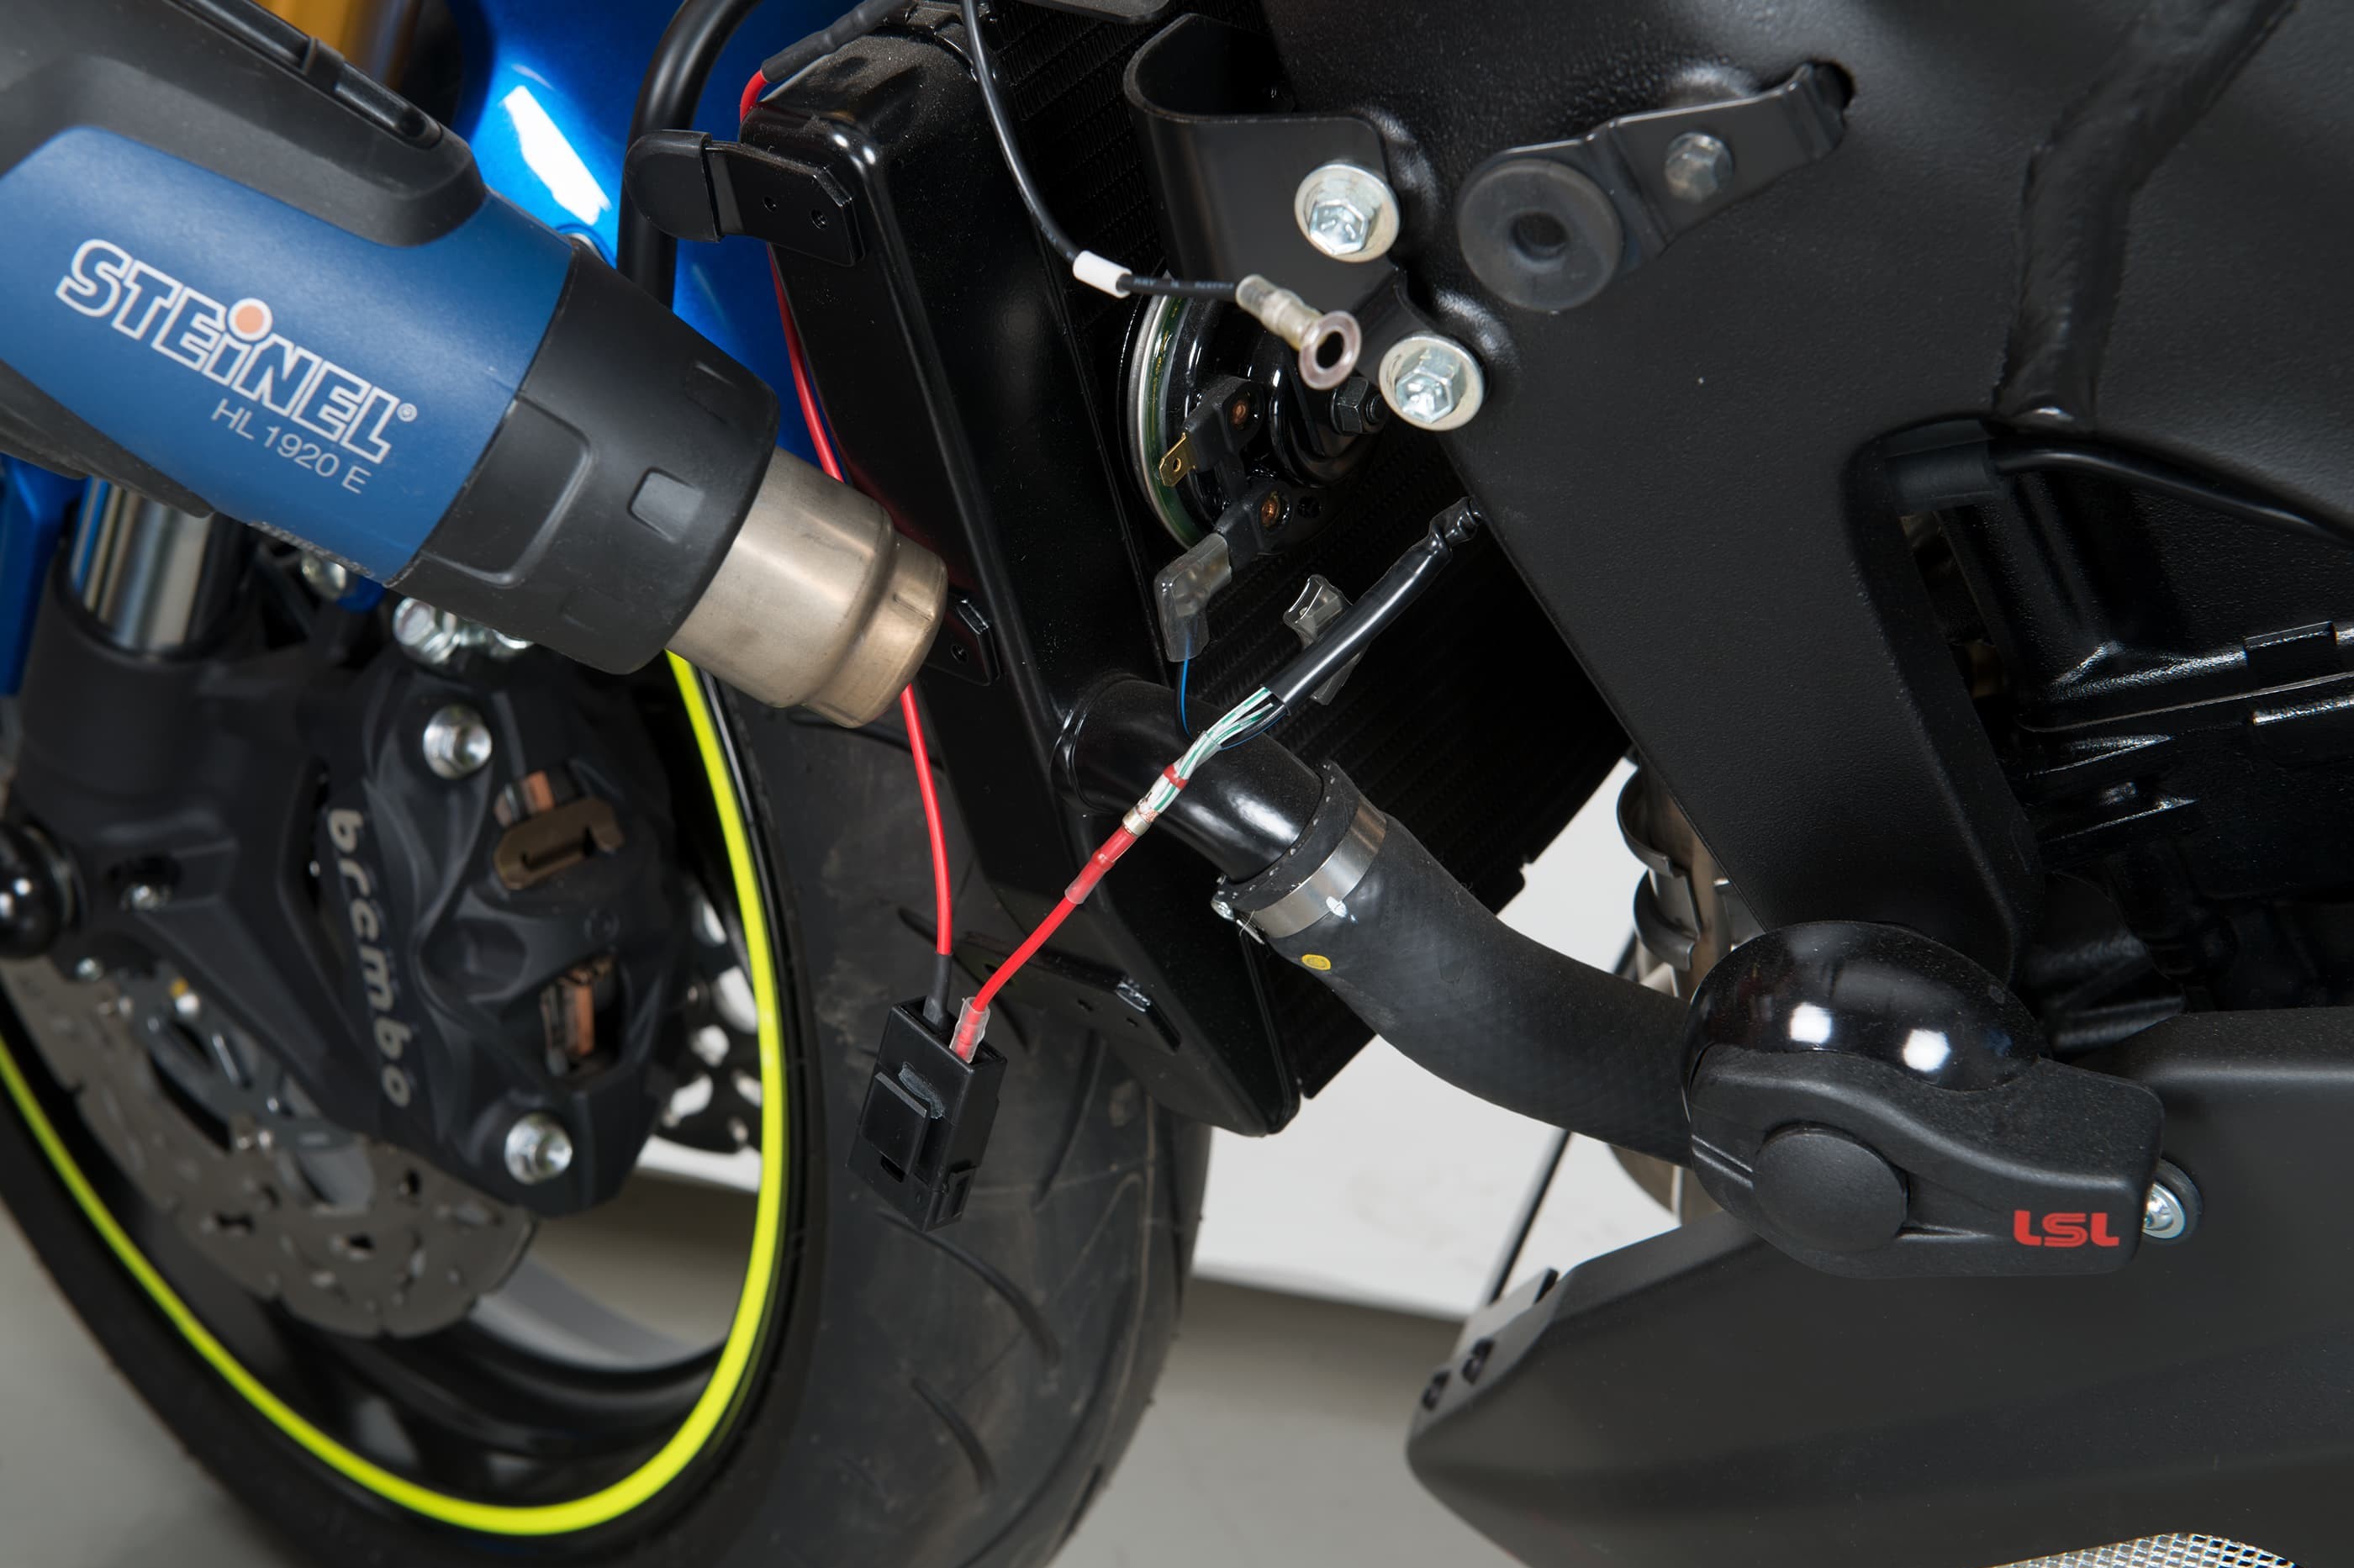
Step 3, Fig. 7: Connect the cable
Here too, it is important to first switch off the ignition. Then connect the power socket's red positive cable to the horn cable.
For more information on the best way to make this connection, go to the DIY tip Cable Connections. In our example, we have connected the cable using a solder sleeve.
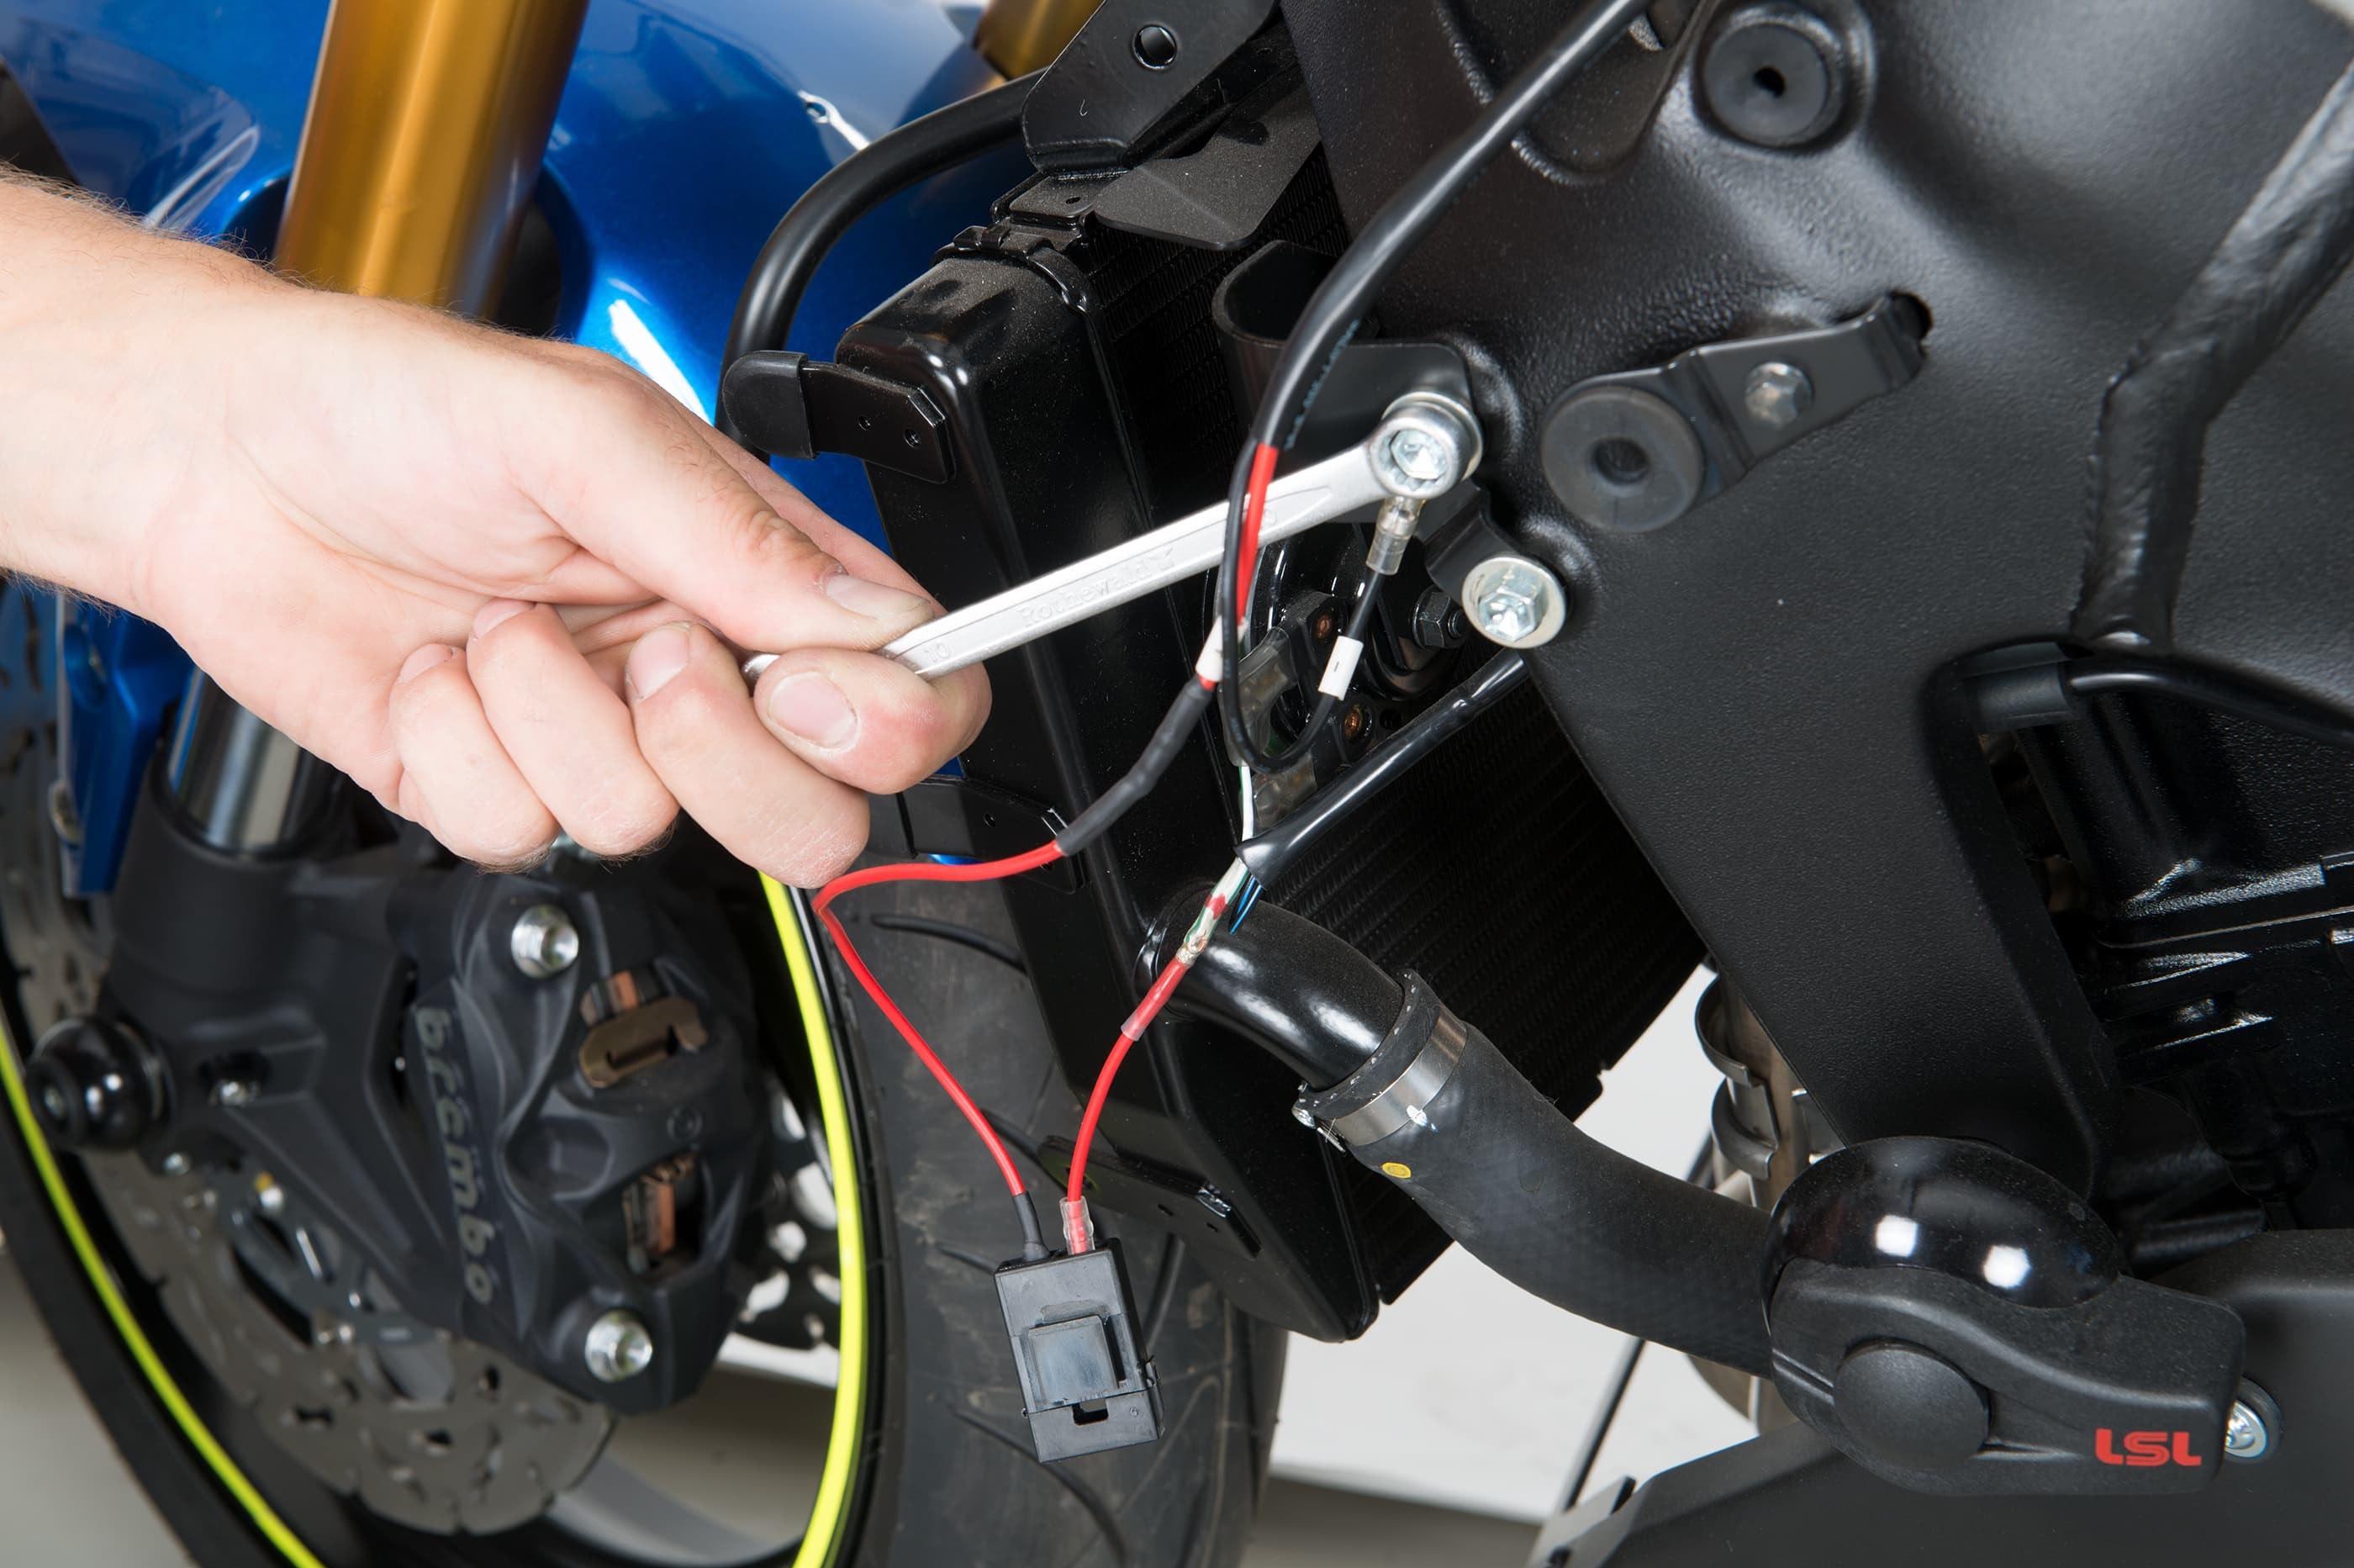
Step 3, Fig. 8: Connect to earth
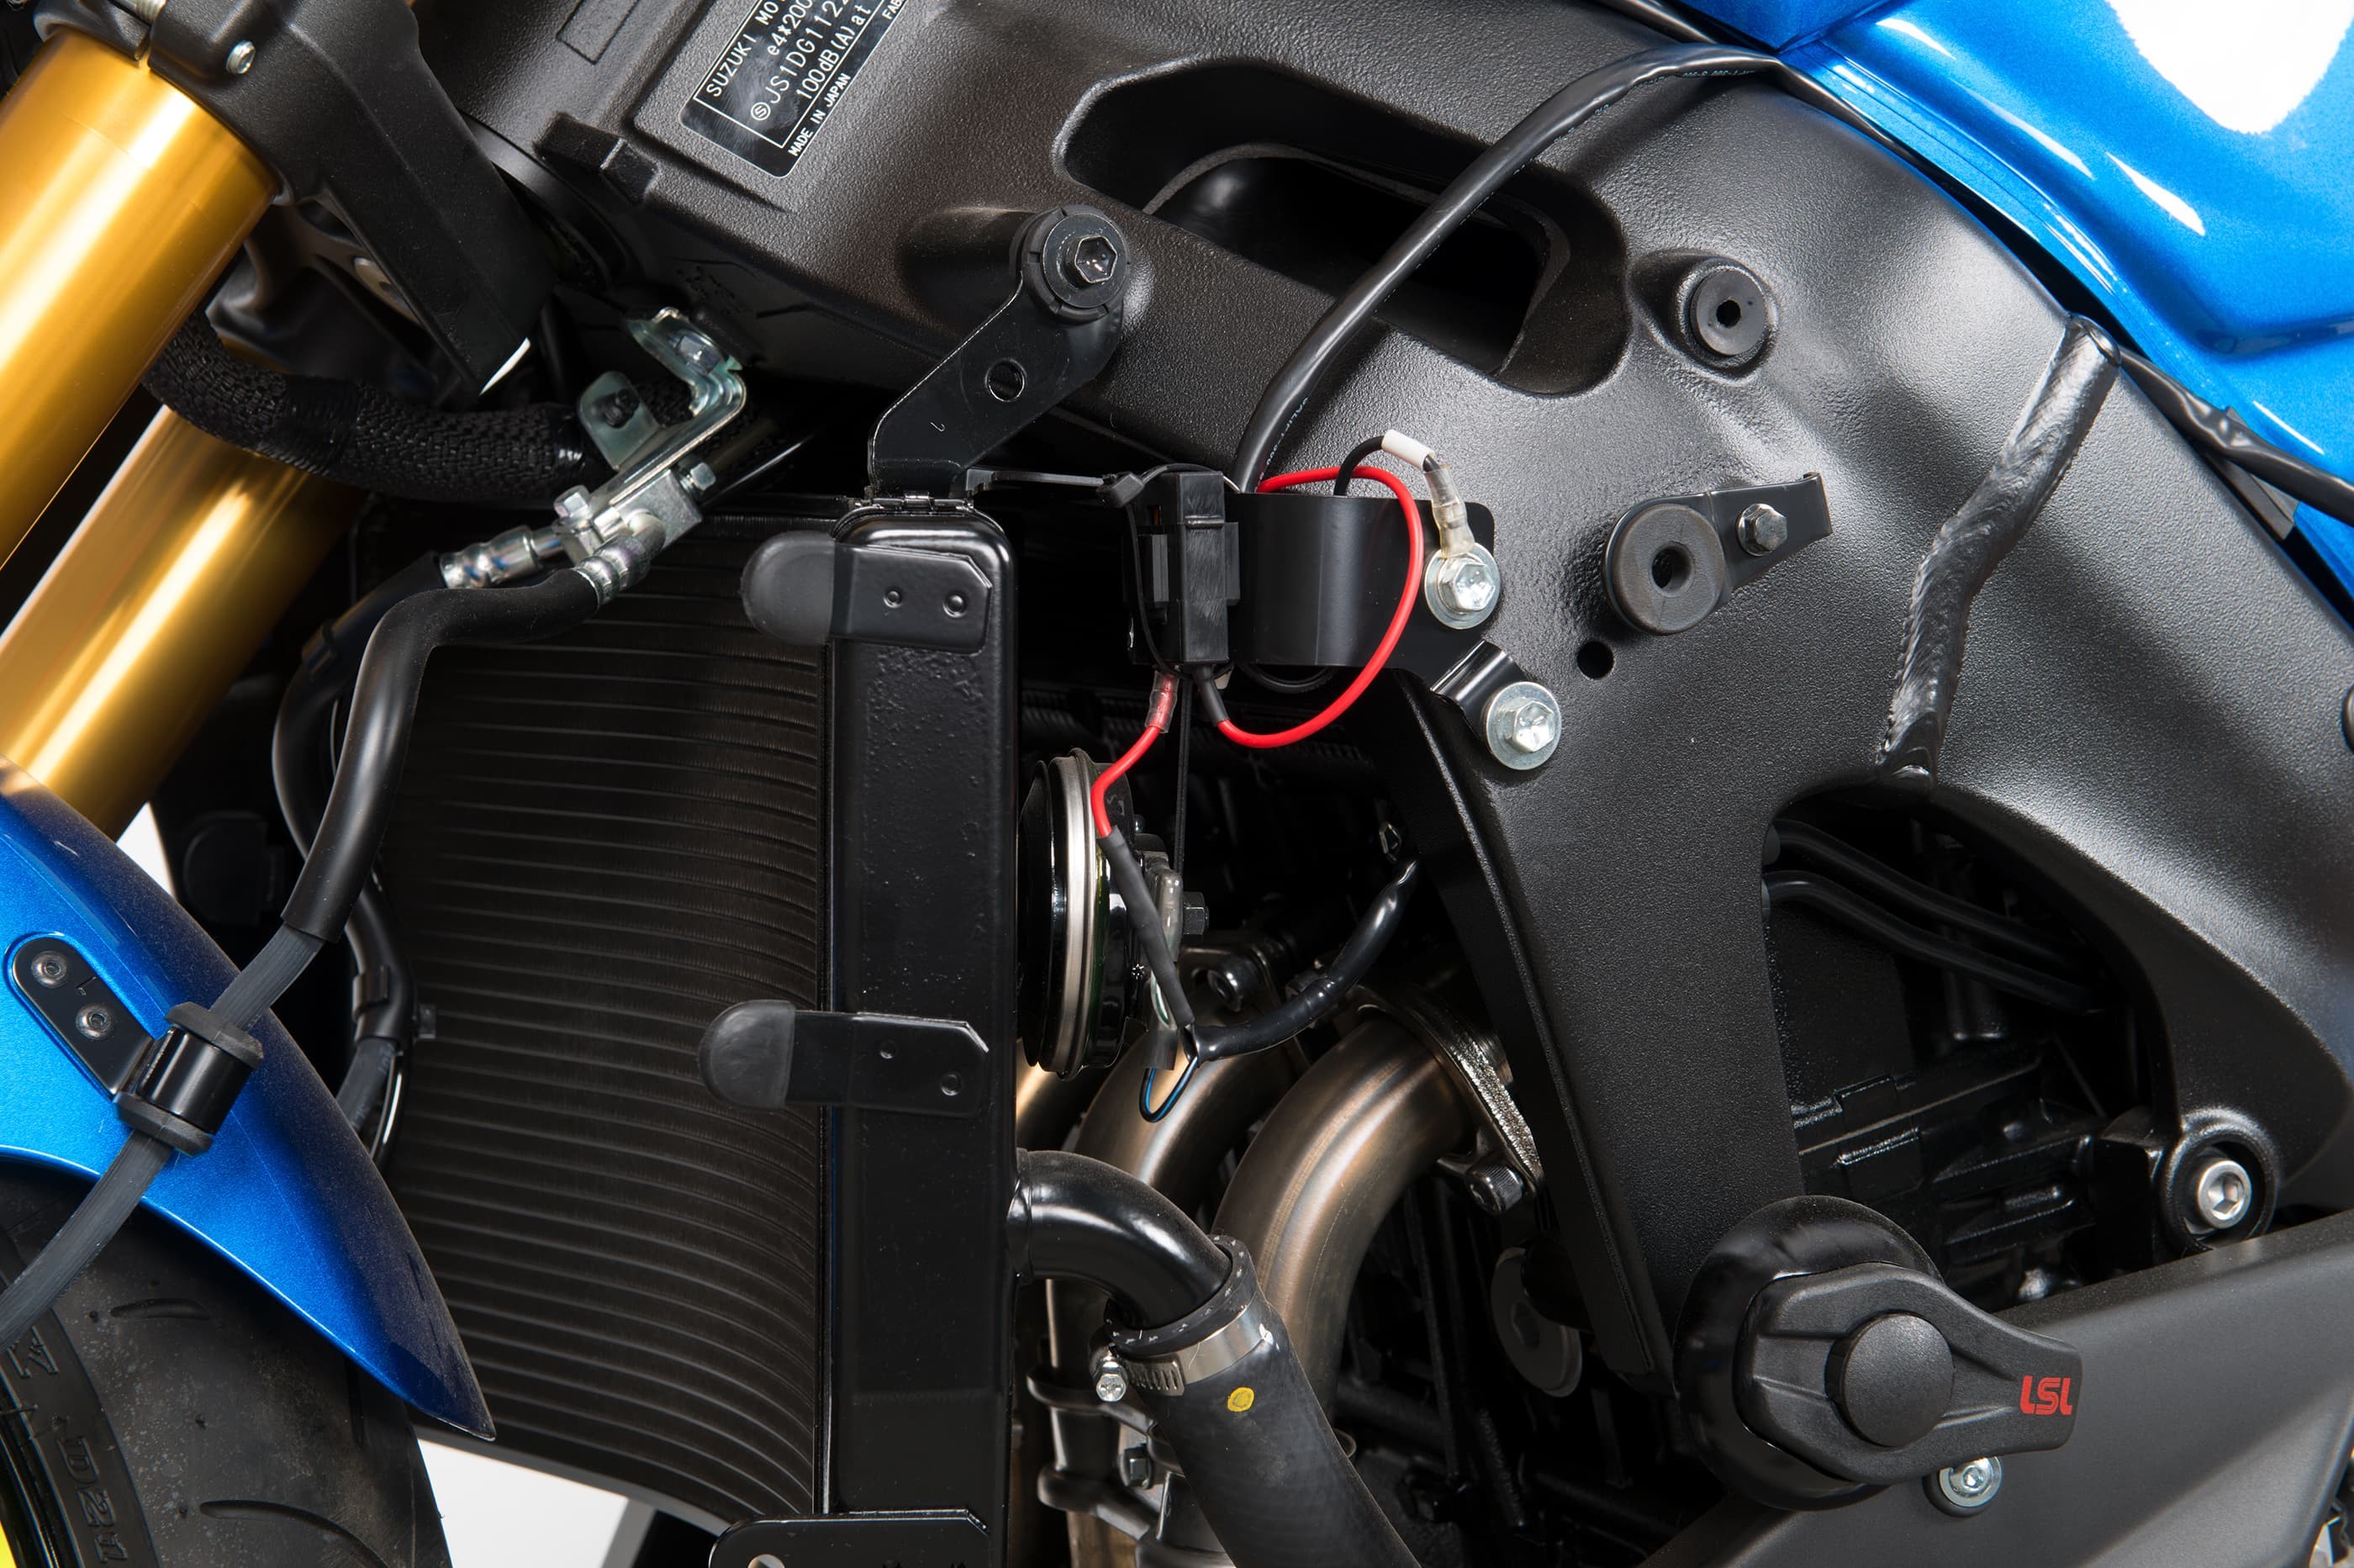
Step 3, Fig. 9: Connection of the fuse box is complete
Here again, you should use an in-line fuse to give the power socket additional protection. Connect the black negative cable to an earthing point. The power socket is now fully connected and ready to use.
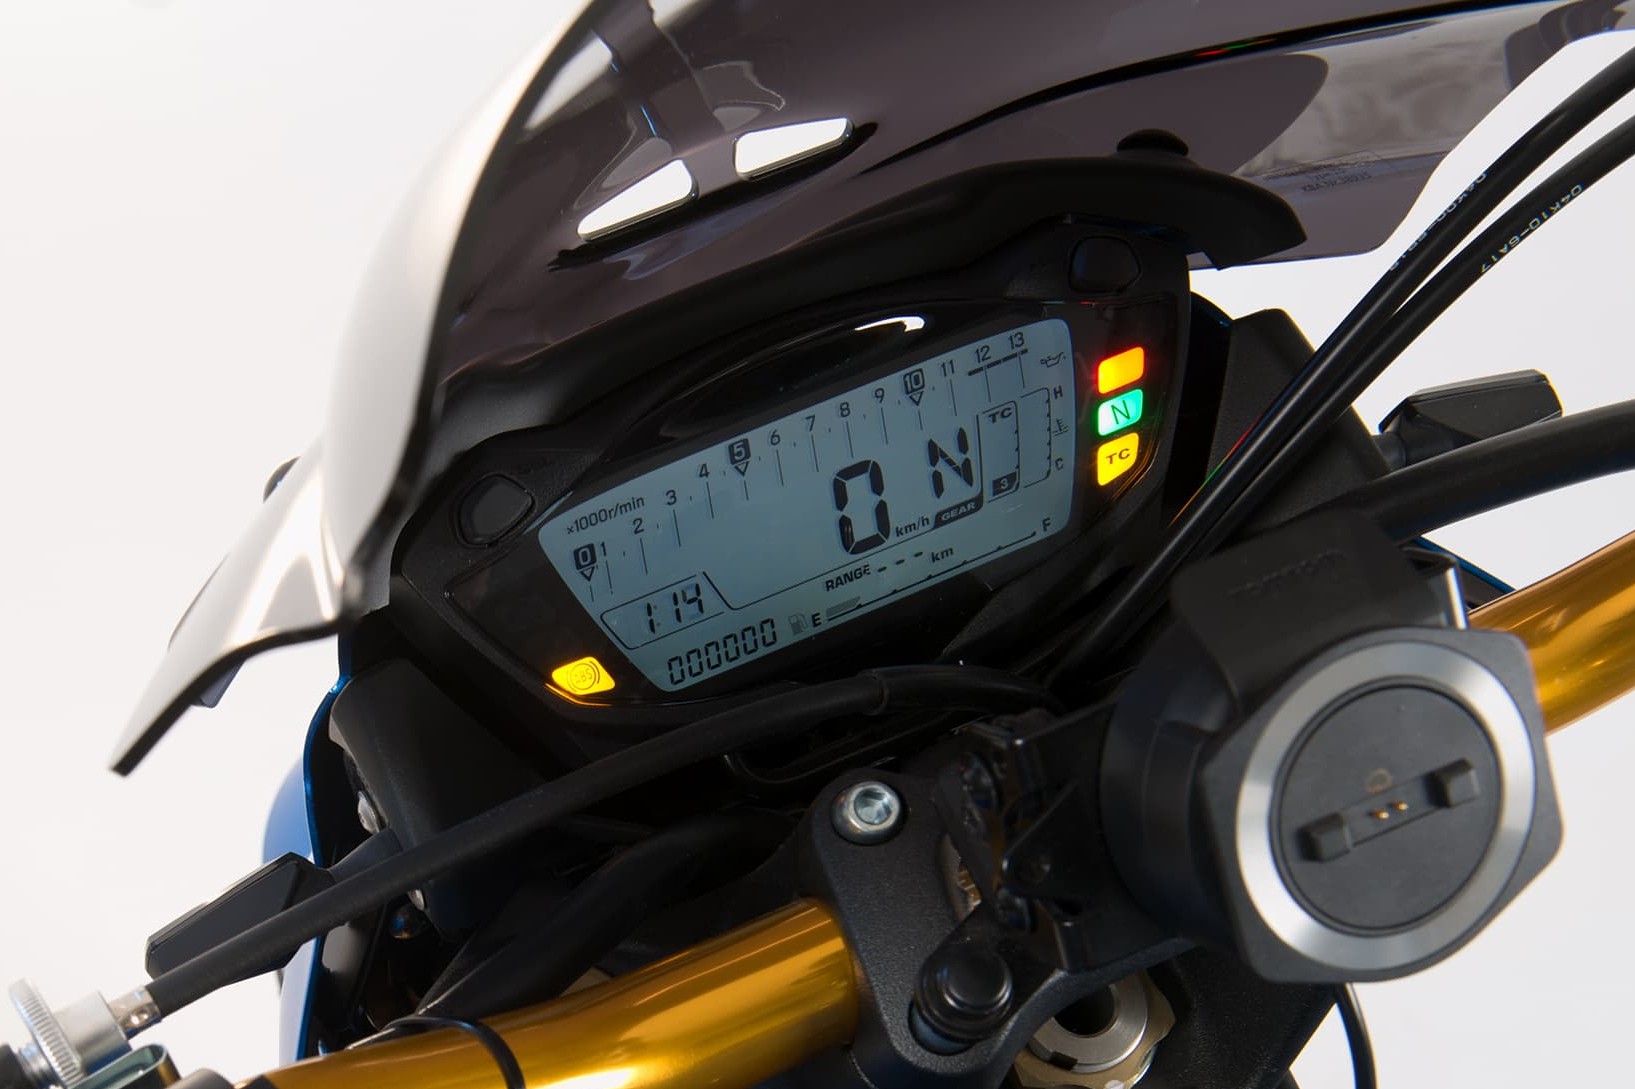
Step 4: Function check
04 – Function check
Check that the power socket and your motorbike's electrical system are functioning correctly everywhere before you refit the parts you removed.
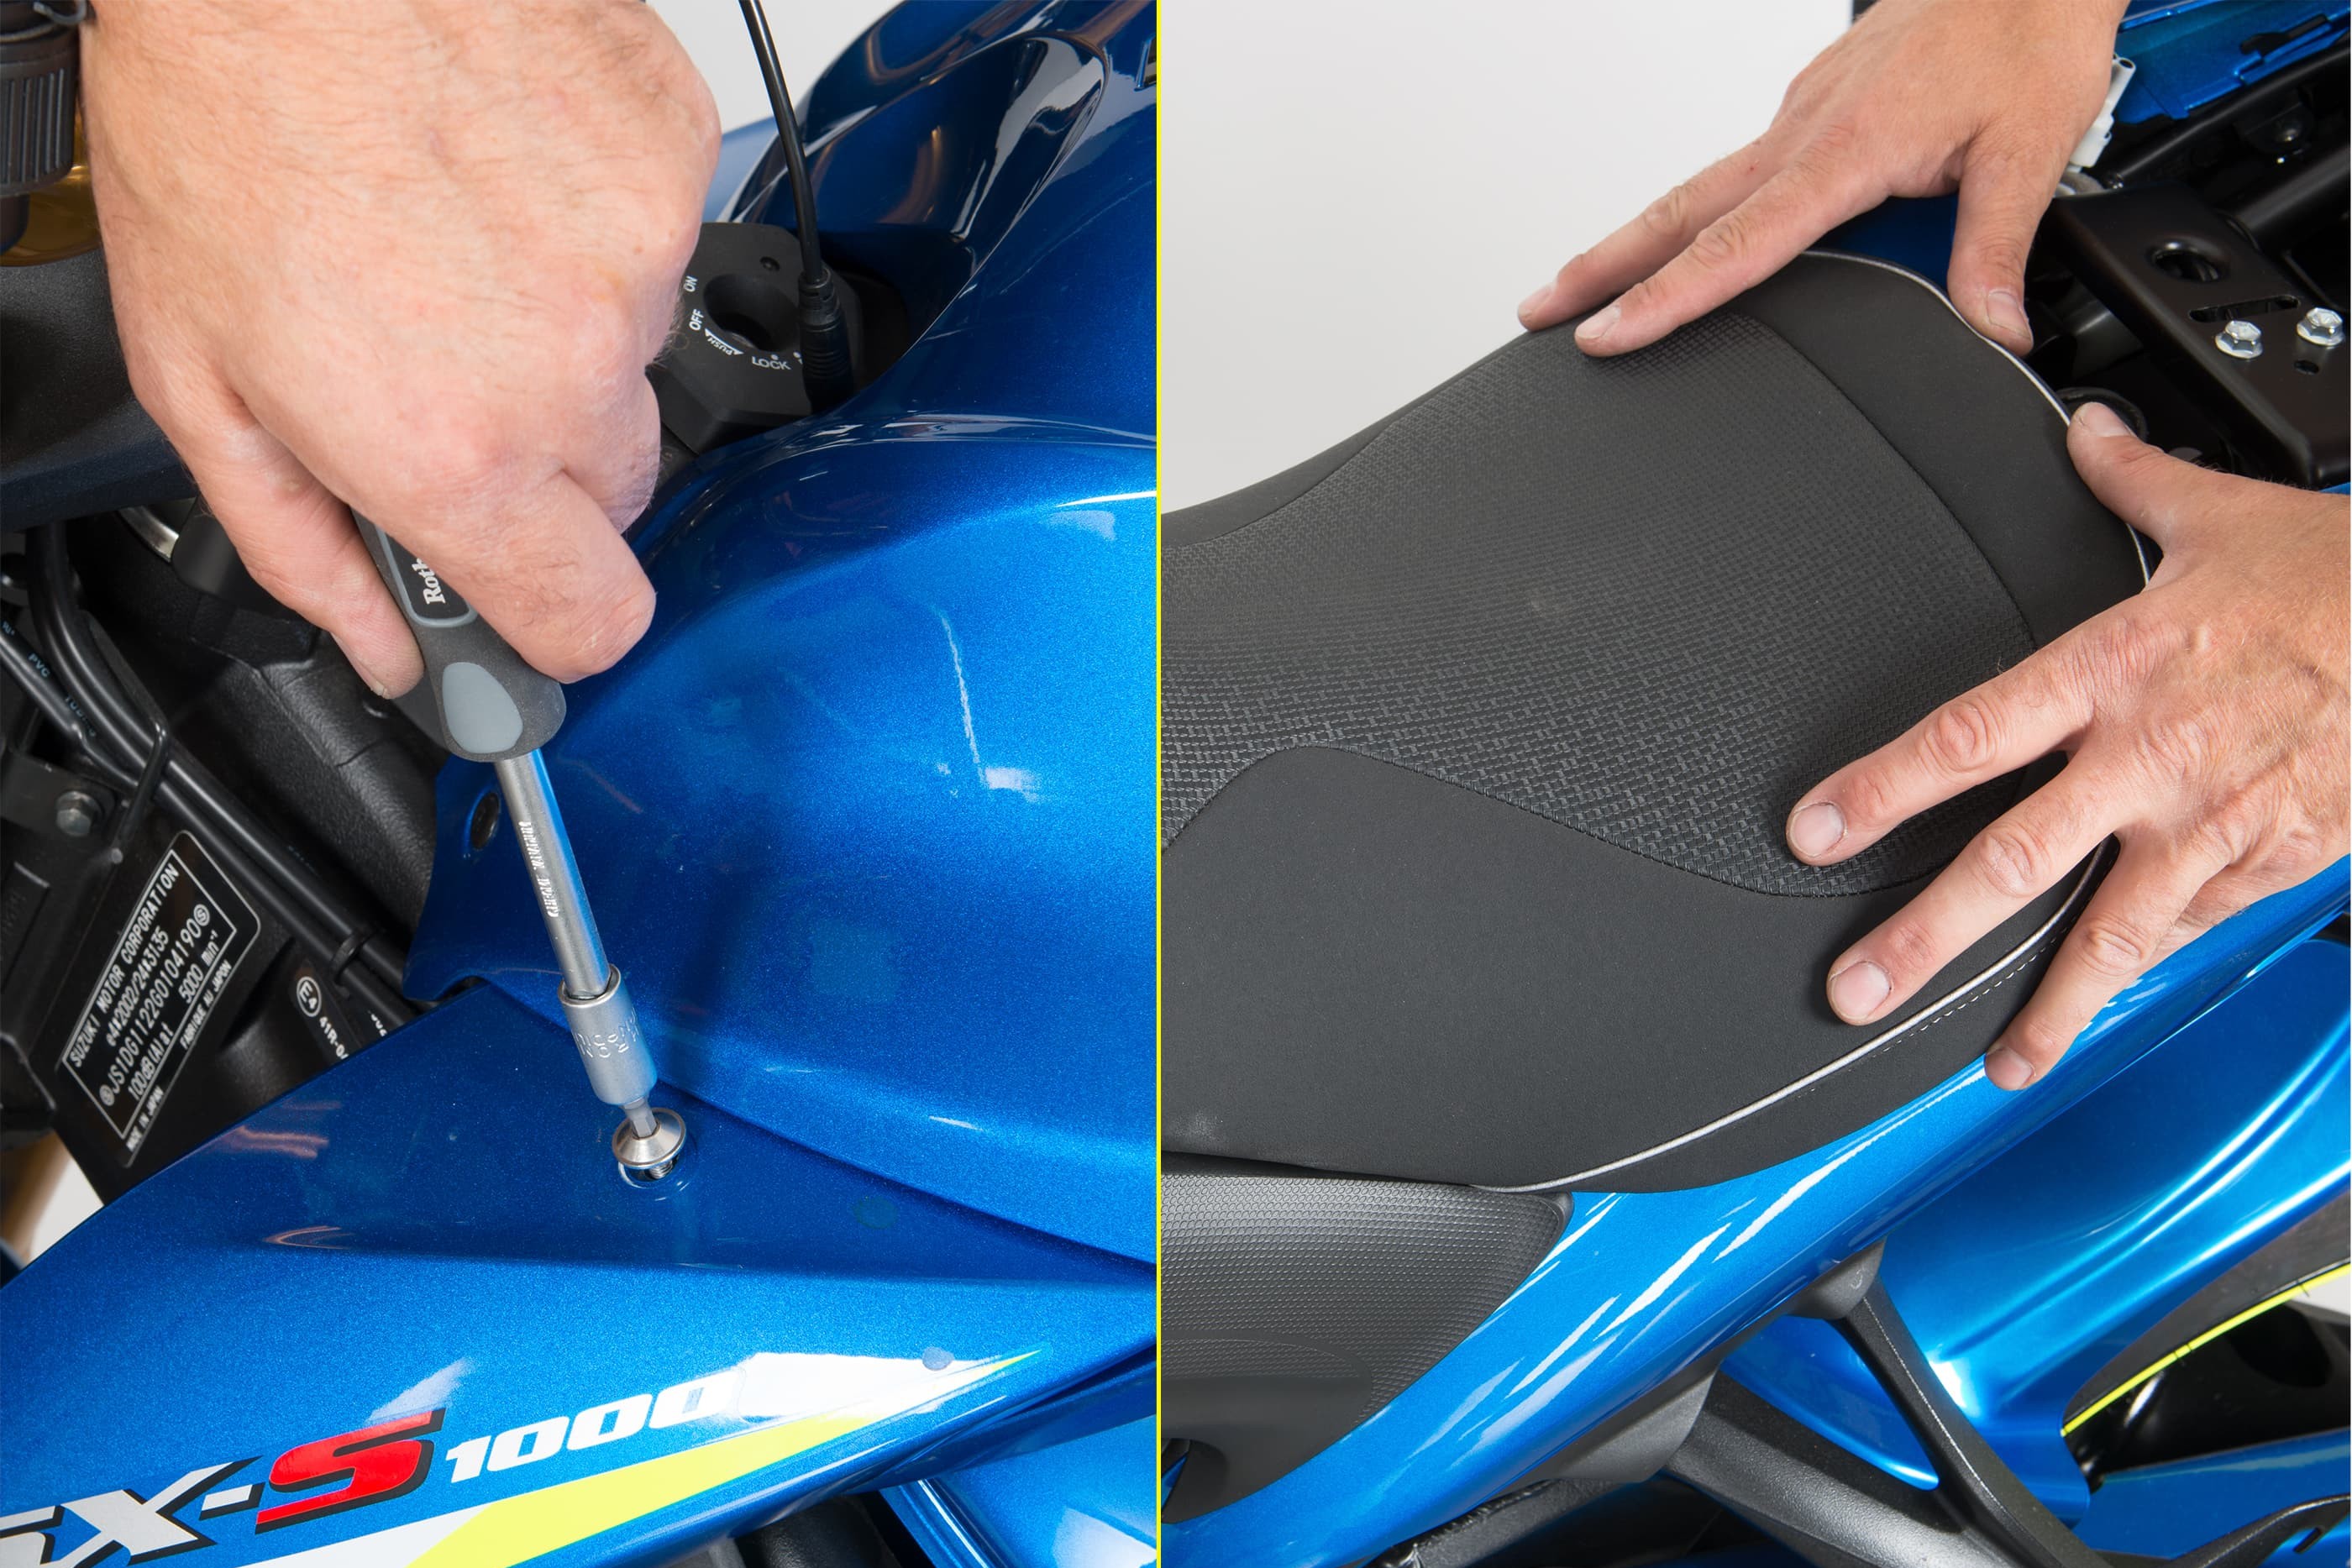
Step 5: Refit fairing and seat
05 – Refit fairing and seat
Now you can re-install all the parts that you removed before.
06 – Check the electrical system again
Before setting off on your motorbike, double-check that all the electrics are functioning properly. Better safe than sorry!
Important: Keep the power socket closed when it's not in use to prevent rainwater and dirt from collecting in it.
Bonus tips for real DIY mechanics
The right sequence matters when undoing or tightening up screws
It's not so much about clockwise or anticlockwise, but rather the right sequence for undoing multiple screws (e.g. on housings). The answer is: in reverse order. So if your workshop manual specifies the correct sequence for tightening screws, you simply do the opposite when undoing them. Then you can't go wrong.
An old carpet is a great idea
No matter how good the freshly painted concrete floor in your garage or workshop may look, it's still much better to put down an old, but still serviceable, piece of carpet. To start with, it's a lot more comfortable for your knees. And if you happen to drop anything, it won't immediately smash, while oil and other liquids are quickly absorbed. An old carpet will also help to keep your feet warm on a cold floor.
The Louis Technical Centre
If you have a technical question about your motorbike, please contact our Technical Centre, where they have endless experience, reference books and contacts.
Please note!
These tips for DIY mechanics contain general recommendations that may not apply to all vehicles or all individual components. As local conditions may vary considerably, we are unable to guarantee the correctness of information in these tips for DIY mechanics.
Thank you for your understanding.


